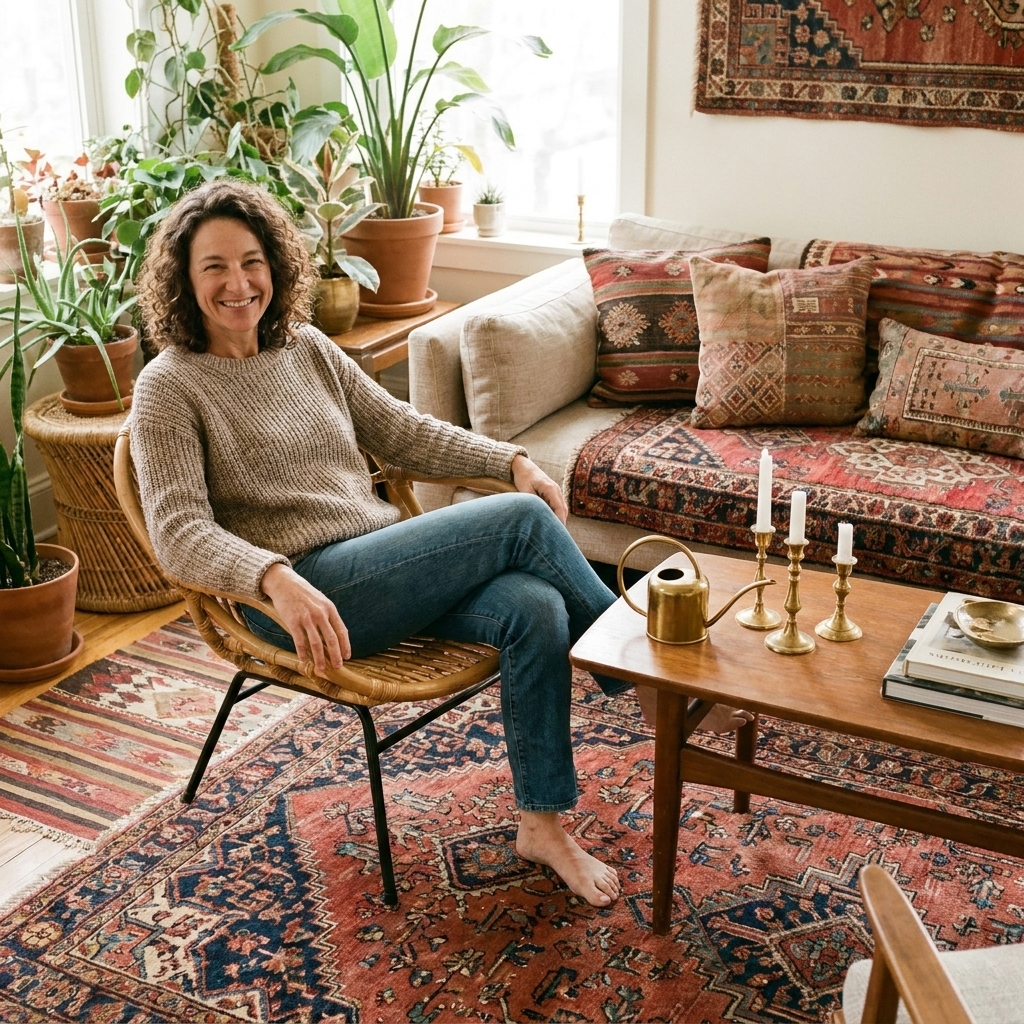

When I want a room to feel brand new without buying anything big, I change the pillow covers. It is my favorite little styling trick from years of decorating rentals and living out of thrifted textiles. An envelope pillow cover is the quickest win because there is no zipper and no complicated closures. You just overlap two back panels like a tucked-in shirt.
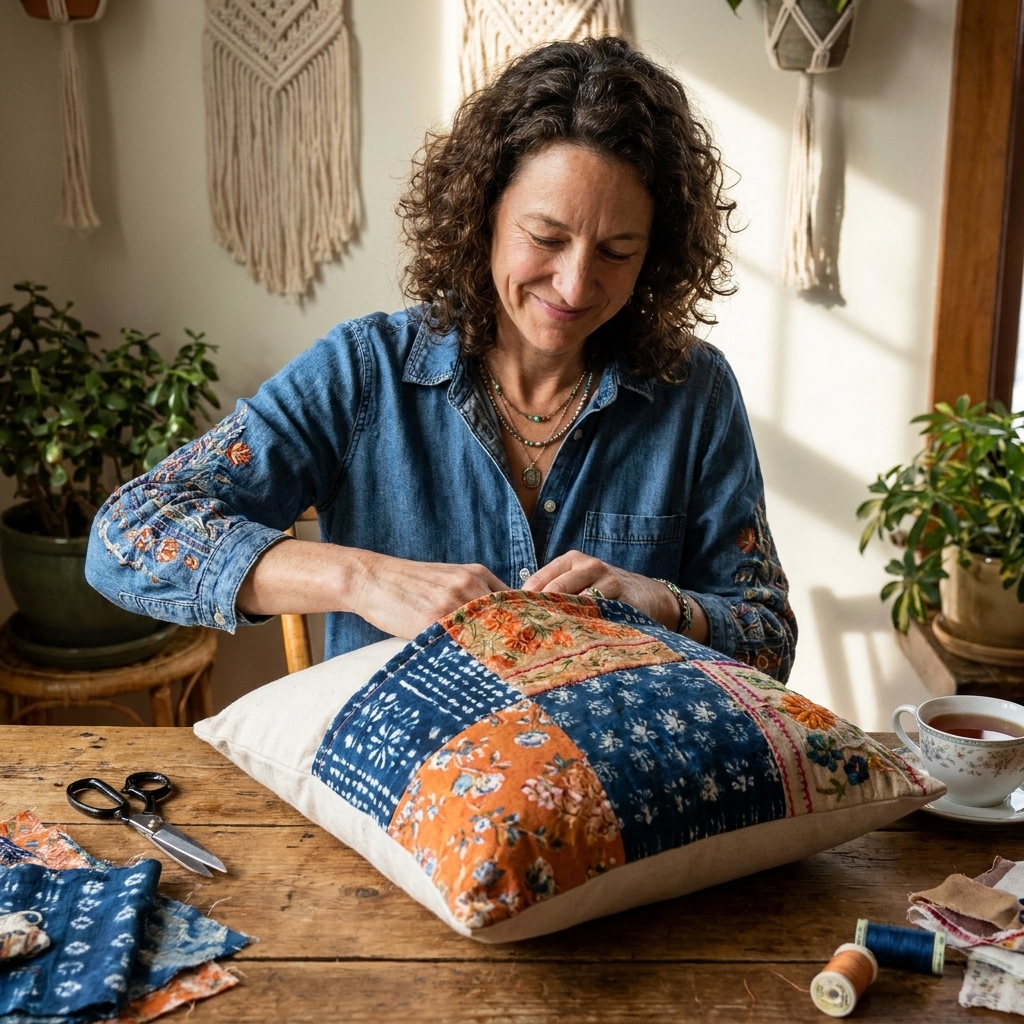
Today I am walking you through my go-to 18-inch envelope pillow cover that you can sew fast once your fabric is pressed and cut. Think about 15 minutes of sewing time, or closer to 15 to 30 minutes if you are brand new and taking it slow (which you should). It is beginner-friendly, forgiving, and perfect for showing off that one beautiful remnant you could not leave behind at the flea market.
Why envelope covers work
Boho and eclectic rooms look the most soulful when they are layered and a little unexpected. A couple of handmade pillow covers does that instantly, especially if you mix textures like linen, mudcloth-inspired prints, woven stripes, or vintage florals.
- No zipper required: less time, less fuss, fewer tools.
- Easy to wash: slip it off, toss it in the laundry (as your fabric allows).
- Perfect for scraps: you can piece the back panels if needed and it still looks intentional.
- Great for renters: soft changes make a big impact without painting or drilling.
If you are building a textile-heavy space, you will probably enjoy my deeper dive into global-inspired fabrics here: Authentic Mudcloth: Sourcing and Styling Global Textiles.
What you need
- Fabric (see the cut list and yardage estimate below)
- 18-inch pillow insert (a slightly fuller 18x18 insert makes covers look extra plush)
- Sewing machine (or you can sew by hand with a backstitch if you are patient)
- Thread that matches or blends
- Scissors or rotary cutter + mat
- Measuring tape or ruler
- Iron and ironing board (this is the secret to “it looks store-bought”)
- Pins or clips
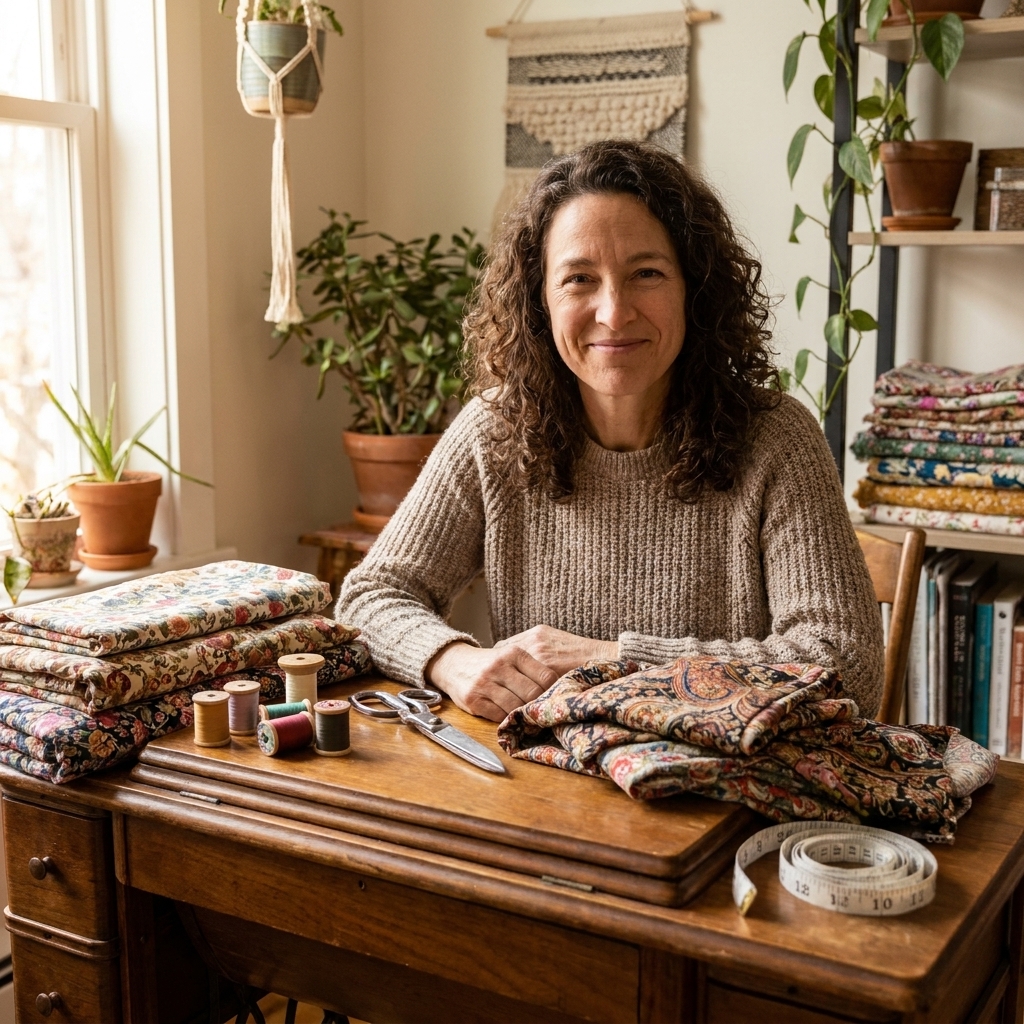
Fabric notes from my thrifting life: I love medium-weight fabrics for pillows. Think cotton canvas, linen blends, upholstery-weight cotton, or even a sturdy tablecloth from the thrift store. If your fabric is lightweight or frays easily, keep your seam allowance sturdy and plan to finish the raw edges (simple zigzag, overcast stitch, serger, or even pinking shears on stable cottons).
More thrift-first styling ideas live here: Budget Boho & Thrifting.
Measurements for an 18-inch cover
This tutorial makes a snug 18-inch finished cover. With a 19-inch cut size and a 1/2-inch seam allowance, your front finishes at about 18 inches.
Cut list
- Front panel: cut 1 at 19 in x 19 in
- Back panel A: cut 1 at 19 in x 13.5 in
- Back panel B: cut 1 at 19 in x 13.5 in
About the overlap: With the hem below (a 1-inch double-fold hem on each back piece), each back panel finishes to about 12.5 inches tall. Two panels together give you about 25 inches of coverage against an 18-inch pillow, so you get roughly 7 inches of overlap. That is secure, and it helps keep the insert from sneaking out.
Yardage estimate
If you are buying fabric (not thrifting a mystery cut), here is a simple estimate for 45-inch wide fabric:
- About 1/2 yard is usually enough for one 18-inch envelope cover.
- If you are matching a large print or working with a directional pattern (stripes, florals with “up,” velvet nap), grab 2/3 yard so you have wiggle room.
Want a looser fit?
If your fabric is thick, or you prefer an easier insert, cut the pieces 19.5 inches square for the front and 19.5 inches wide for both backs. The method stays the same.
Envelope pillow cover steps
I am assuming your fabric is already washed (if it is washable) and pressed. Pressing takes longer than sewing, but it is worth it every single time.
1) Hem the back panels
On one long edge only of each back panel (the 19-inch side), make the hem that will form your envelope opening:
- Fold the edge over 1/2 inch to the wrong side and press.
- Fold over another 1/2 inch to hide the raw edge and press again.
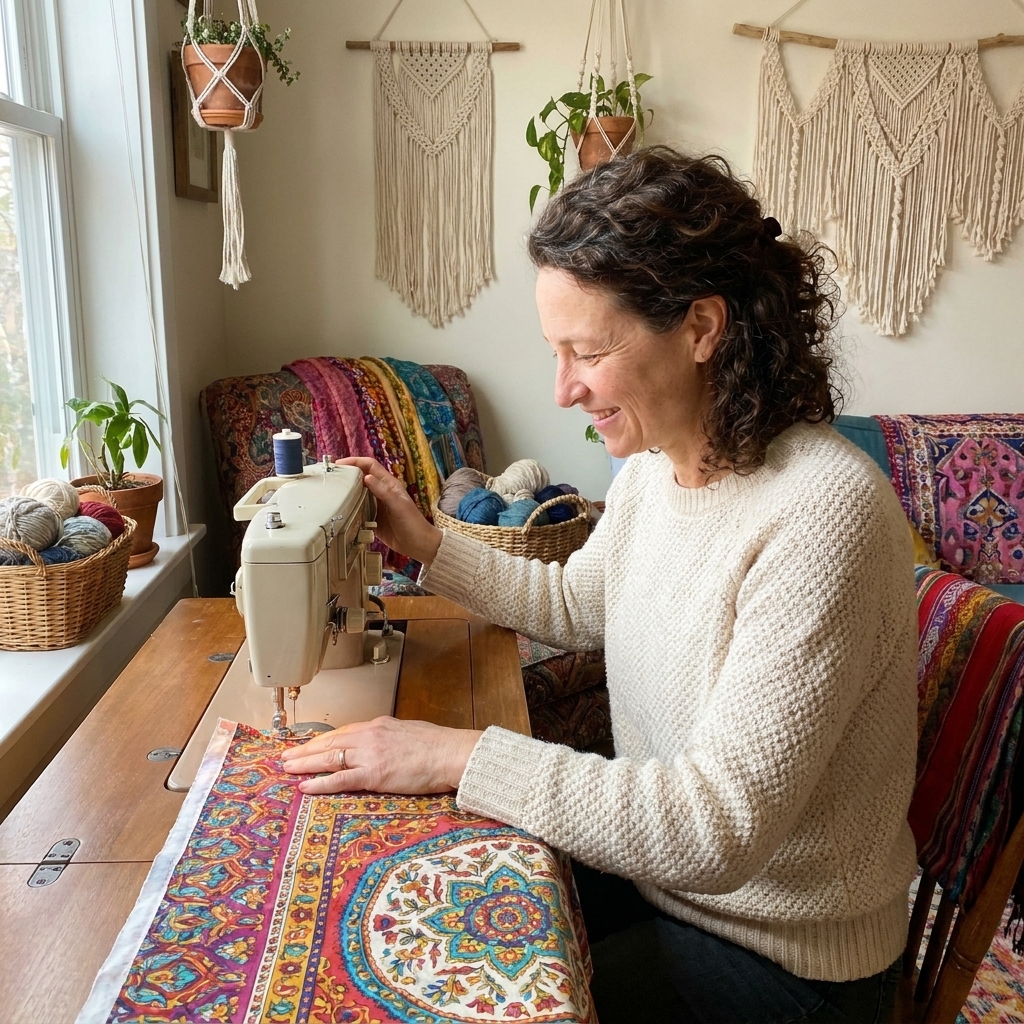
- Stitch the hem down close to the inner folded edge.
Speed tip: chain sew the hems. Do the first fold on both panels, then the second fold on both panels, then stitch both panels one after the other.
2) Stack the pieces
We want the right sides facing so the seams end up inside when you turn it.
- Lay your front panel right side up.
- Place Back panel A on top, right side down, with the hemmed edge facing toward the center.
- Place Back panel B on top, right side down, hemmed edge also facing toward the center, overlapping the first back panel.
Align all raw edges around the outside. Pin or clip all the way around.
Directional fabric note: If your print has an obvious top and bottom (or a nap like velvet), lay both back panels so the design will read upright when the cover is finished. I like to quickly “mock fold” the back overlap before pinning, just to double-check.
3) Sew the perimeter
Using a 1/2-inch seam allowance, stitch around all four sides.
- Backstitch at the start and end.
- Pivot at corners with the needle down for crisp edges.
Finish the seam if needed: If your fabric frays, run a zigzag or overcast stitch along the raw edge, or serge if you have one. For stable cottons, pinking shears can be a quick, beginner-friendly option.
4) Trim, turn, press
- Trim the seam allowance at the corners (do not cut through your stitches).
- Turn the cover right side out through the envelope opening.
- Push corners gently with a blunt tool (a chopstick works).
- Press the cover flat, especially along the edges.
This is the moment it starts looking finished. Pressing makes the seams behave.
5) Insert the pillow form
Fold the insert in half like a taco, slide it in, and then work the corners into place. Fluff, karate-chop if that is your thing, and you are done.
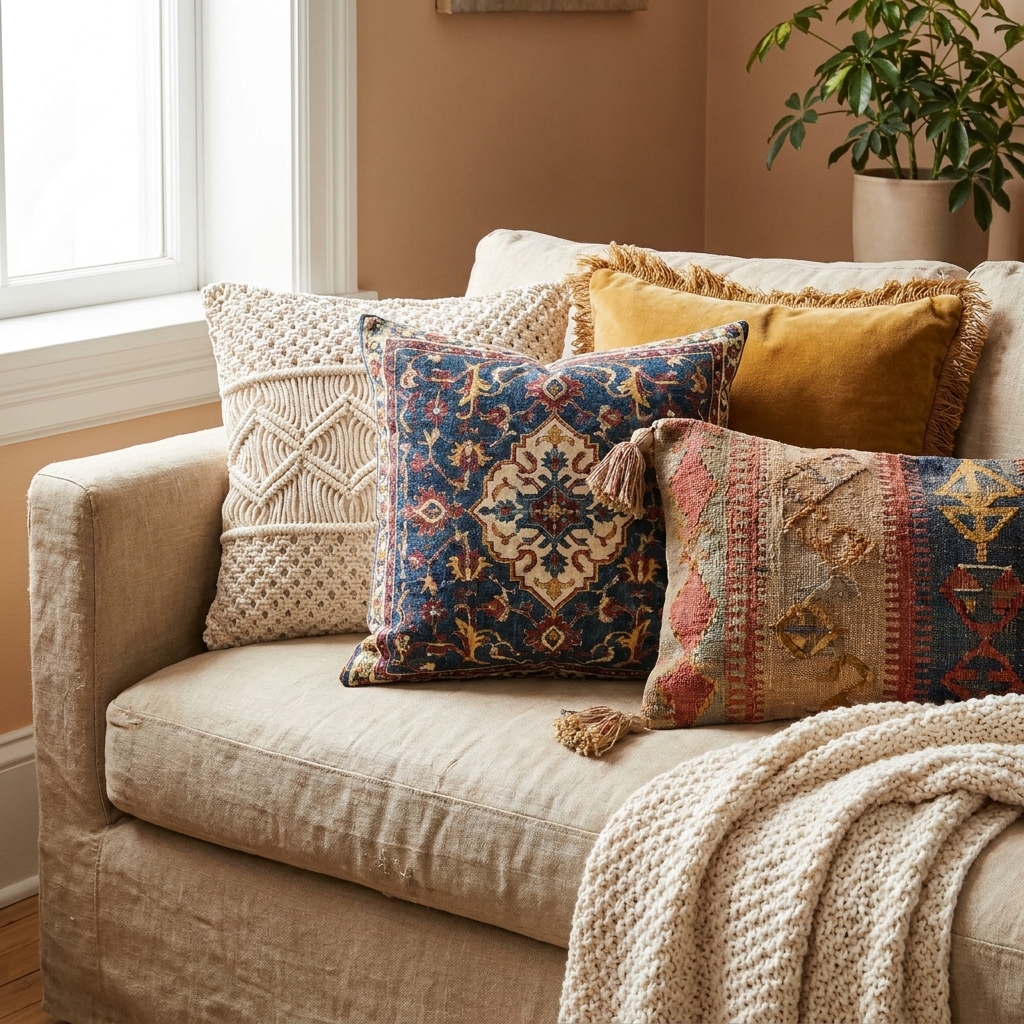
Styling ideas
This is where you get to play. The easiest way to make pillows feel intentional, not random, is to repeat something.
- Repeat a color: pull one shade from the pillow fabric and echo it in a throw or rug.
- Mix one bold with one calm: pair a loud pattern with a solid linen, velvet, or textured neutral.
- Layer textures: woven pillow plus a soft knit plus a nubby linen looks collected, not coordinated.
If you love mixing materials, you will like this texture guide: Leather, Velvet, and Linen: The Texture Mixing Formula.
And if pattern mixing makes you nervous, I wrote this with my most judgment-free, trial-and-error advice: How to Mix Bold Patterns Without Clashing.
Common mistakes
It feels too tight
- If you are using thick fabric, cut your pieces 19.5 inches instead of 19 inches next time.
- Double-check that your seam allowance is truly 1/2 inch. A little extra can shrink the finished size quickly.
- Consider a pillow insert with a slightly softer fill if yours is very firm.
The back gapes open
- Increase the overlap by making the back pieces taller, like 14.5 inches instead of 13.5.
- Make sure the hemmed edges face inward and overlap at the center.
The corners look lumpy
- Trim corners more aggressively, but do not cut the stitches.
- Press after turning, and use a blunt tool to shape corners.
The fabric frays
- Finish the raw edges with zigzag, overcast, or serging.
- Use a slightly shorter stitch length for a stronger seam.
- For very loose weaves, consider adding a simple lining.
Quick FAQ
Can I make this without a sewing machine?
Yes. Use a sturdy needle and sew with a backstitch around the perimeter for strength. It will not be lightning fast, but it is very doable, especially if you keep the seam allowance consistent.
What fabric works best?
My favorites are linen blends, cotton canvas, and thrifted upholstery remnants. They hold their shape and show off texture beautifully. If you are using something special and globally inspired, keep care in mind before pre-washing.
Do I need to pre-wash thrifted fabric?
If it is washable, I do it. Thrifted fabric can shrink, and I would rather it shrink before I sew. If it is delicate or has a special finish, I skip washing and spot clean later.
One last cozy thought
I love DIY projects like this because they make a home feel personal. You are not just decorating. You are layering in a story, whether that fabric came from a road trip flea market, a grandma-style tablecloth, or the bottom of your scrap bin.
If you want more easy textile upgrades like this, start here: Textiles & Natural Elements.