
The first time I lived with open kitchen shelving, I treated it like a tiny museum. Gorgeous, yes. Functional, absolutely not. I was climbing on a chair to reach the one bowl I actually used, and everything else collected a fine layer of “why is the stove so dusty?” seasoning.
These days, I style open shelves the way I thrift: with a plan, a little wiggle room, and a deep respect for what I actually use. If you love an eclectic kitchen with vintage ceramics, colorful glassware, and a few trailing plants doing their thing, here is my step-by-step method for shelves that feel soulful and lived-in, not chaotic.
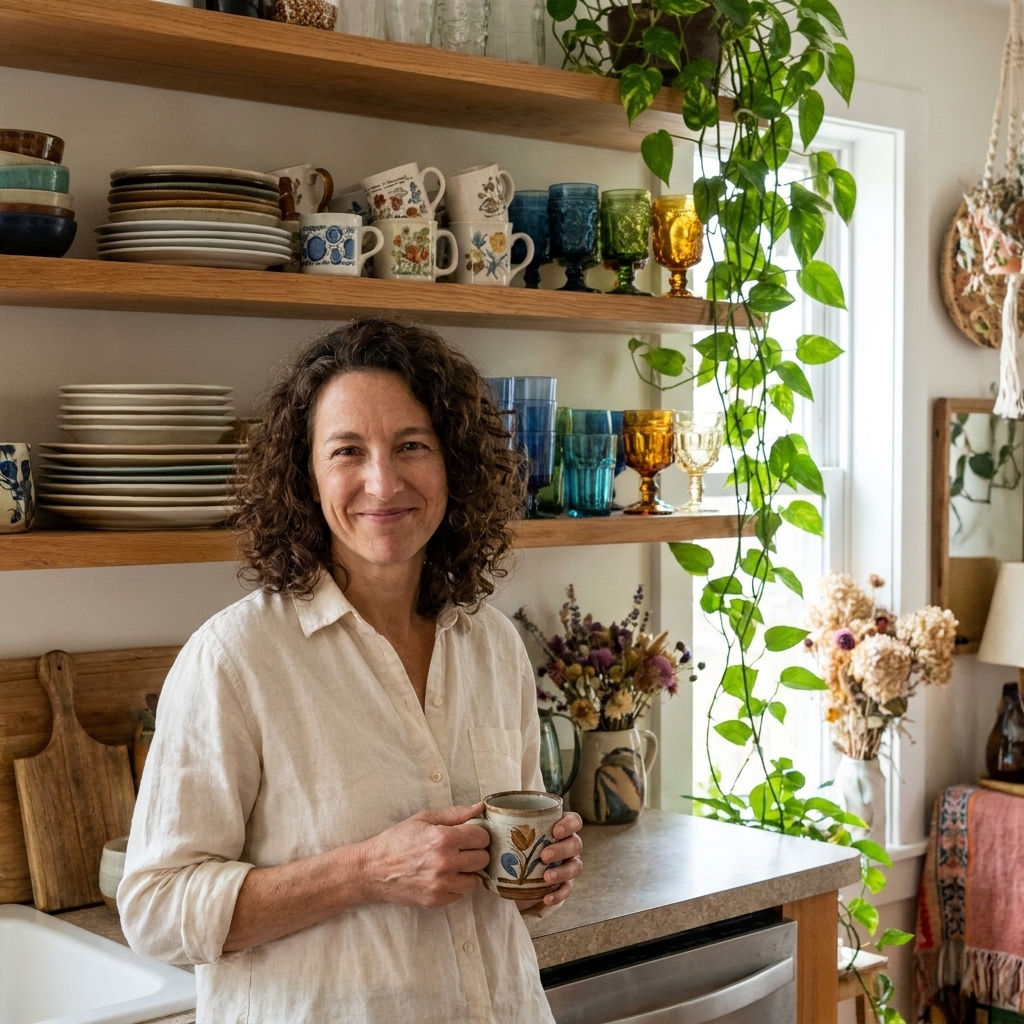
Prep: pick your “workhorse” shelf
Open shelving works best when at least one shelf is designed for real daily use. Decide which shelf is the easiest to reach and make that your workhorse zone. This is where your everyday plates, bowls, and most-used mugs go.
Everything else is supporting cast: pretty serving pieces, thrifted pottery, your favorite glassware, and plants.
- Top shelf: lighter use, most visual impact (glassware, special ceramics, a plant or two)
- Middle shelf: daily use (plates, bowls, mugs)
- Bottom shelf: heavier and taller pieces (pitchers, canisters, cookbooks, baskets), if your shelves are built for it
Quick safety note: before you load up the “bottom shelf,” double-check how the shelves are mounted and what they can realistically hold. Secure brackets into studs (or use the right anchors for your wall), and keep heavy breakables away from the very edge.
Step 1: Clear, clean, and measure
I know, not the fun part. But open shelves spotlight dust, grease, and the “mystery crumbs” vibe faster than any other kitchen setup.
- Take everything off.
- Wipe shelves with a degreasing cleaner, especially if the shelves are near the stove.
- Measure vertical clearance between shelves, not just width. This tells you what heights you can realistically display.
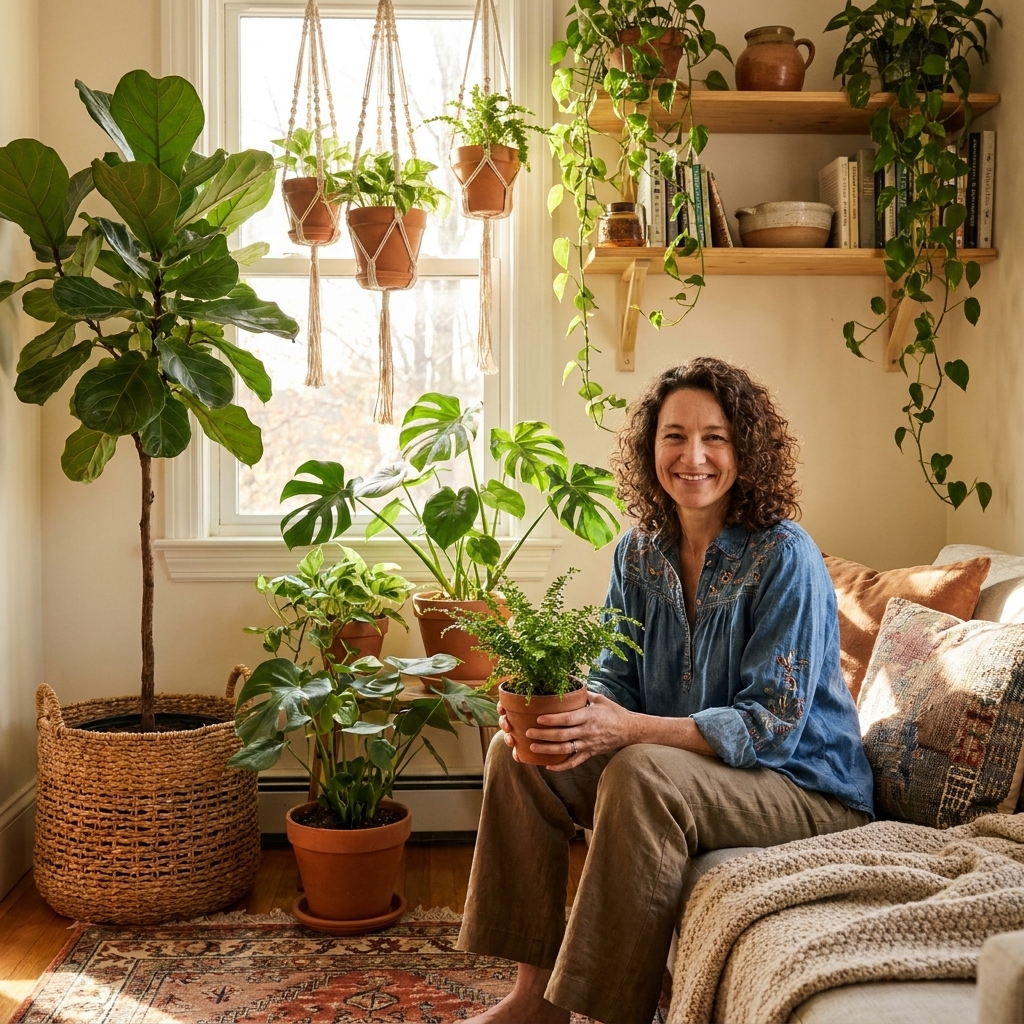
If you have plants planned, check light exposure too. In a truly bright room, pothos and heartleaf philodendron may be happy a few feet from a window, especially if you can comfortably read there without turning on lights. If the kitchen is dim, choose a different spot or keep your shelf plant count simple. My general plant-styling approach is in Arrange Houseplants Like a Designer.
Step 2: Sort by real life use
Instead of starting with color or style, start with life. What do you grab every day, weekly, and only when friends come over?
- Daily: plates, bowls, go-to mugs, water glasses
- Weekly: serving bowls, salad plates, mixing bowls, teapot
- Occasional: vintage ceramics, delicate glassware, that gorgeous platter you swear you will use
This keeps you from building a shelf that looks pretty for a photo and then immediately falls apart in actual Tuesday-night reality.
Step 3: Choose a color story
Eclectic does not mean random. The easiest way to keep open shelves from looking cluttered is to pick a quiet base and let your favorites pop.
Low-stress formulas
- Warm neutrals + one bold color: cream stoneware with cobalt glasses or emerald tumblers
- Earthy pottery + clear glass: terracotta, brown glazes, and simple transparent glassware
- White dishes + mixed vintage accents: white plates as the calm backdrop, then add patterned mugs, brass, colorful bowls
If you are deciding between moody jewel tones and softer earth tones, I broke it down in Earth Tones vs. Jewel Tones for Eclectic Homes.
Step 4: Build the anchors
Anchors are what make the shelf feel grounded. They are usually your least exciting pieces, and that is exactly why they are so useful.
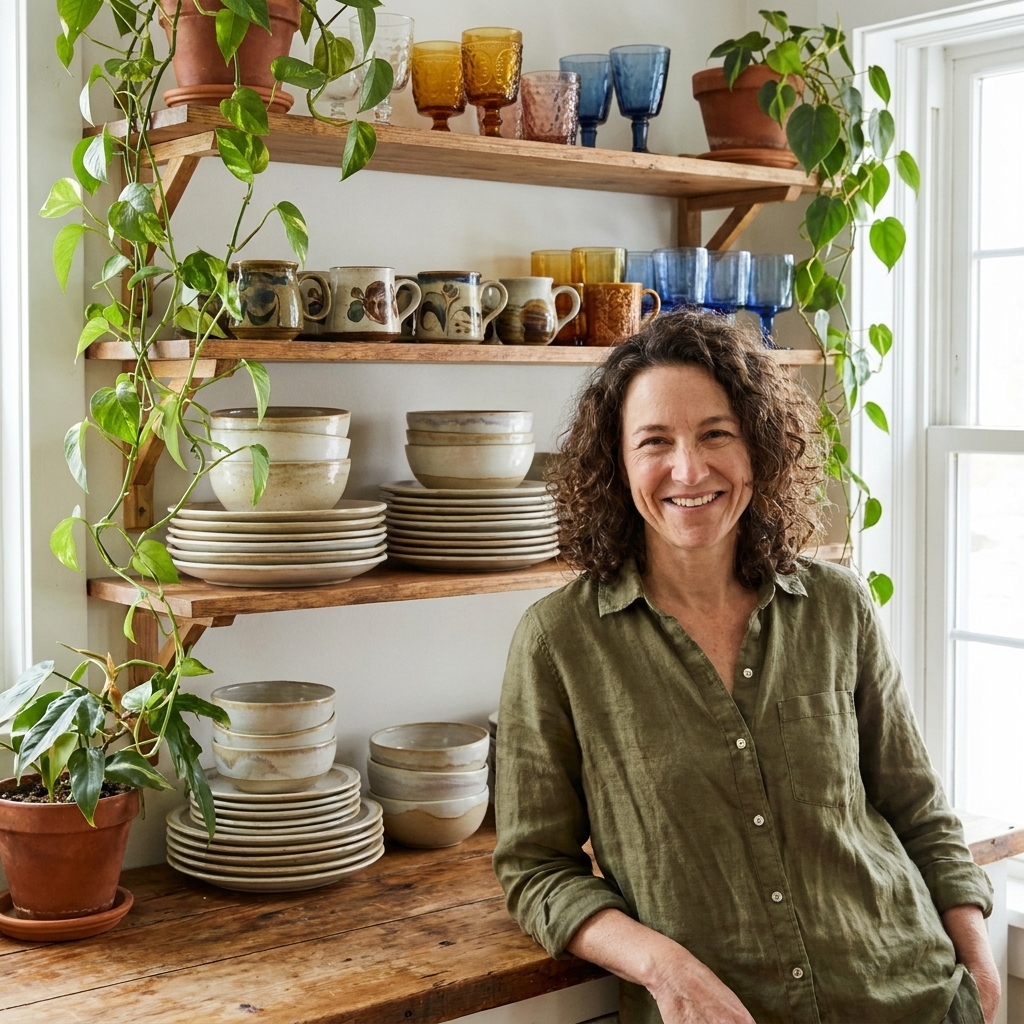
- Stack plates in 2 to 3 piles rather than lining them like soldiers.
- Group bowls by size, nesting where possible.
- Keep stacks to a practical height. Pretty is not worth a plate avalanche.
Quick rule I use: if you would hesitate to grab it one-handed, the stack is too tall for open shelves.
Step 5: Add vintage ceramics
Now the fun part. Vintage ceramics are where eclectic kitchens really start to feel like someone lives there. Think pitchers, vases, lidded jars, and quirky pottery finds.
Make it look intentional
- Put tall pieces near the ends of a shelf or slightly behind stacks to create depth.
- Use odd numbers for smaller objects (a trio of mugs, three small bowls).
- Repeat a finish at least twice. If you have one glossy green vase, echo it with a green mug or a bottle.
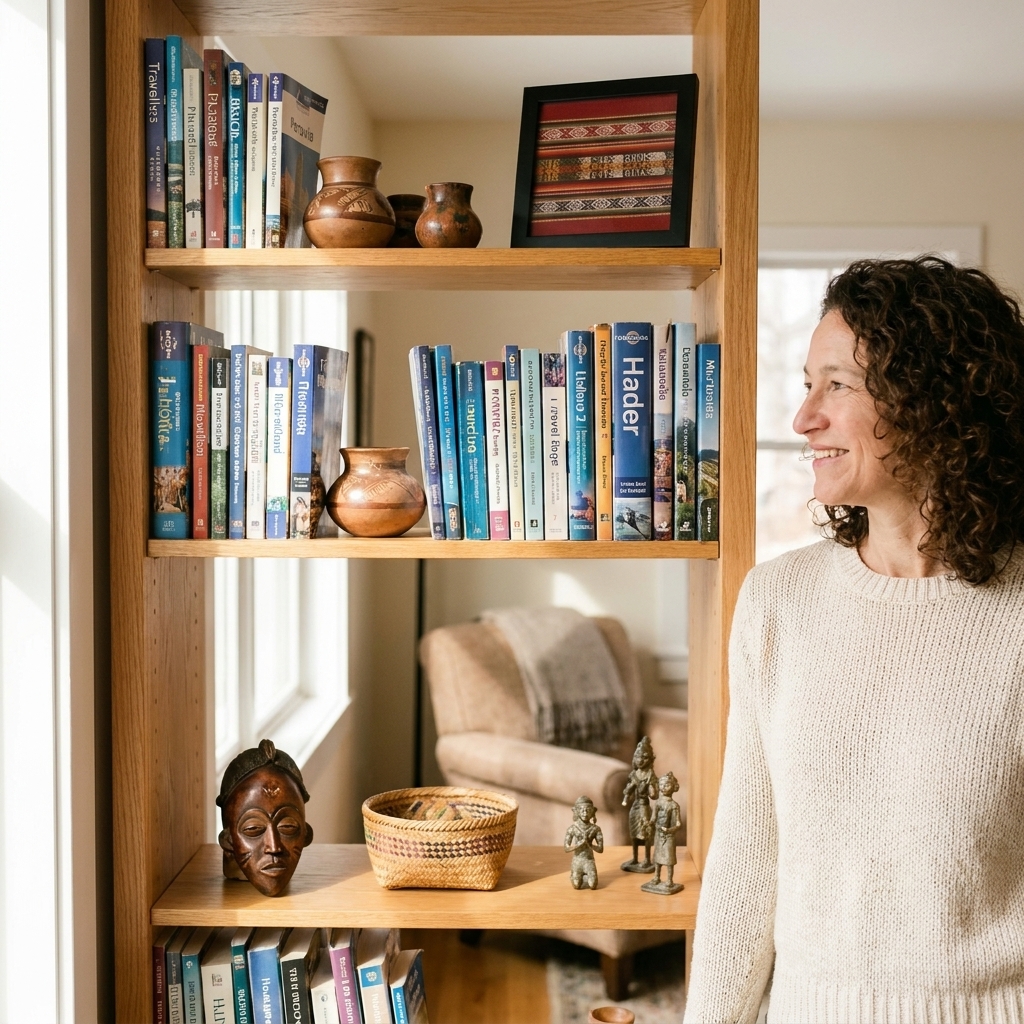
If you love story-filled objects, you might also enjoy How to Tastefully Display Travel Souvenirs and Global Artifacts. The same “grouping and repetition” rules apply beautifully on kitchen shelves.
Step 6: Style colorful glassware
Colorful glass is the easiest way to make open shelving glow, especially when light hits it. The trick is to keep the shapes organized so the color can be the star.
Two layouts that work
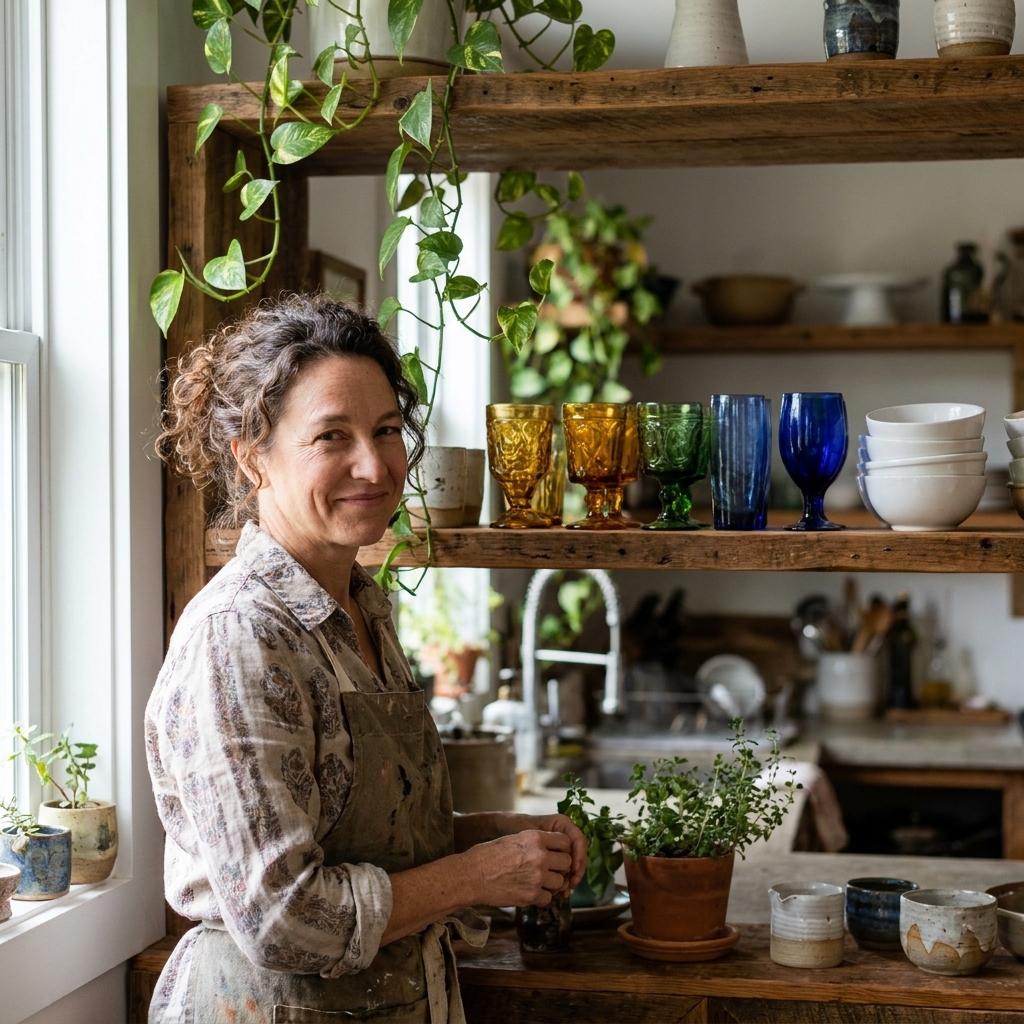
- Gradient row: arrange glasses from light to dark (amber to green to cobalt). This reads calm even if the colors are bold.
- Matched shapes, mixed colors: same silhouette, different hues. This looks collected, not messy.
Tip from my rental-kitchen years: if your shelf depth is shallow, keep glassware in a single line. Double rows look like clutter fast.
Step 7: Add trailing plants
I love a kitchen plant moment, but open shelves can go from “romantic indoor jungle” to “why is a vine in my coffee mug?” quickly.
Plants that behave on shelves
- Pothos
- Heartleaf philodendron
- String of hearts (bright light helps)
- Spider plant (great for a fuller drape)
Keep it styled, not wild
- One main trailing plant per shelving unit is often enough. Let it be the star.
- Keep the pot simple if your dishes are patterned. A warm terracotta or a matte neutral is my go-to.
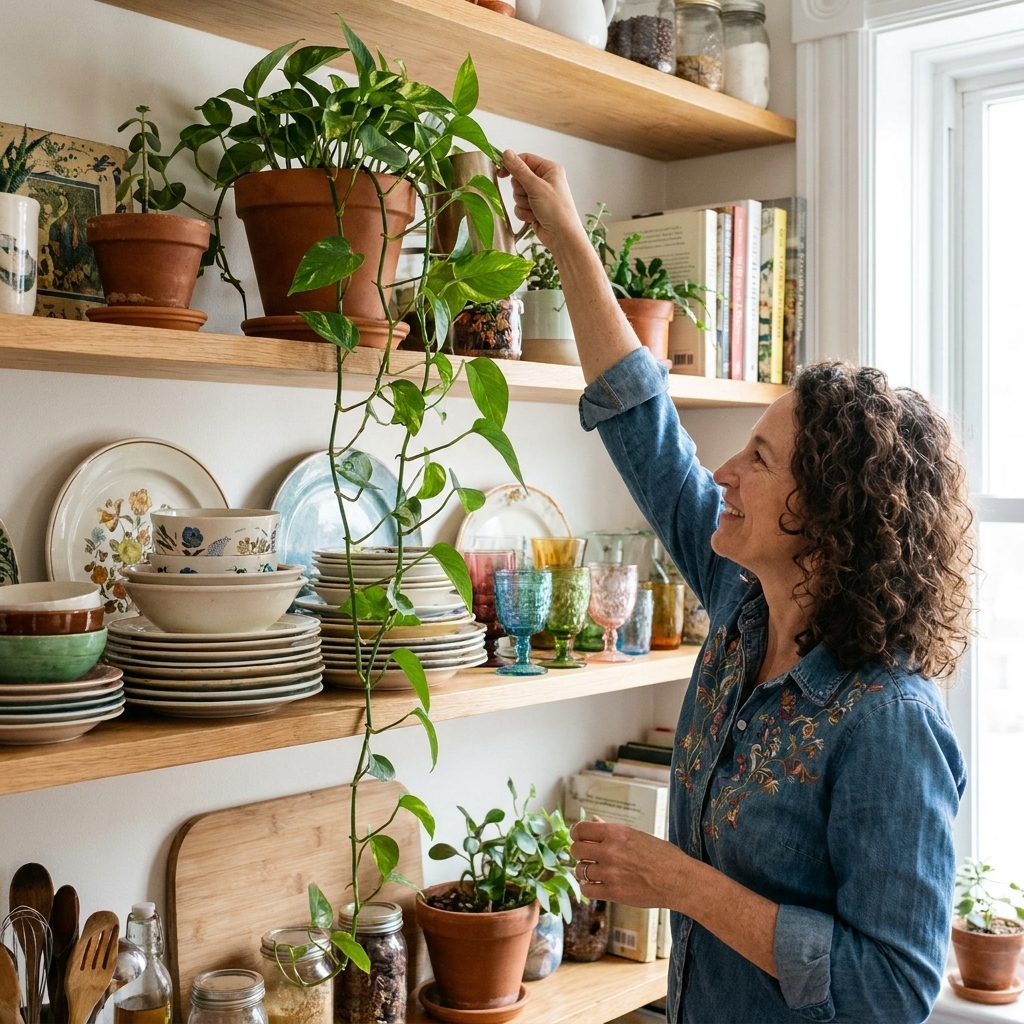
- Tuck vines to the side so they frame objects instead of crawling across your stacks.
Kitchen reality check: keep plants a little away from the stove, kettles, and vents, and always use a saucer or drip tray so you do not end up with surprise water rings on wood shelves.
For a deeper plant-focused approach, The Indoor Jungle section is where I keep all my leafy trial-and-error lessons.
Step 8: Leave negative space
This is the part most maximal-leaning decorators skip because we love stuff. I am speaking from experience.
Negative space is what makes the ceramics look special and the colorful glass look curated. Aim to leave:
- at least one small “empty patch” per shelf
- a few inches around your tallest pieces
- some visible shelf surface so the arrangement feels lighter
If your shelves start to feel busy, remove one item from each shelf before you add anything new. It is the easiest reset.
Step 9: Add one “mess manager”
Open shelves show everything, so I like to give myself one intentional place to hide the not-cute necessities.
- A basket for snack bags or tea boxes
- A lidded canister for coffee pods or sweeteners
- A small tray to corral oil bottles (bonus: easy to wipe under)
Thrifting is perfect for this. I find my best baskets and trays secondhand. If you want my approach for spotting the good stuff, start at Budget Boho & Thrifting and then browse 10 Thrift Store Staples for Authentic Boho Style.
Step 10: Do a 48-hour test
Before you call it done, live with it for 48 hours. Make coffee. Unload the dishwasher. Cook something that splatters. You will learn what placement works immediately.
Micro-adjustments that matter
- If you keep bumping a plant pot, move it up a shelf or to the far end.
- If mugs are hard to grab, reduce the number on display and store extras elsewhere.
- If the shelf looks chaotic, simplify shapes: swap three different bowl styles for one stacked set plus one special bowl on display.
A simple cleaning routine
Open shelves are not “set it and forget it.” They are more like “set it and keep a cloth nearby.” What has worked for me:
- Weekly: quick wipe of the shelf fronts and the area around oil bottles and the coffee station.
- Monthly: pull everything off one shelf at a time, wipe down, and do a fast edit (anything you never reach can move elsewhere).
- Near the stove: expect more buildup. Ventilation and distance matter more than rotation, so keep your most precious pieces farther from the splash zone when you can.
Two layouts you can copy
Layout A: Calm base, eclectic accents
- Left: stack of everyday plates
- Center: a vintage pitcher behind a short stack of bowls
- Right: row of clear glasses with 2 to 3 colored glasses mixed in
- Top corner: one trailing plant in terracotta
Layout B: Color-forward, still tidy
- Left: gradient colorful glassware (same shape)
- Center: white bowls nested, one patterned bowl on top
- Right: mugs grouped by color family (warm tones together, cool tones together)
- One small empty zone to keep it from feeling packed
Common problems and fixes
“It looks cluttered no matter what I do.”
Reduce variety before you reduce personality. Keep one main dish style as the base (even if it is thrifted), then layer in your special pieces.
“Everything gets dusty or greasy.”
Dust is just part of the open-shelf deal, so plan for quick wipes. Grease is more about where the shelves sit and how well your kitchen vents. If your shelves are near the stove, keep the most-used, easy-to-wash pieces there and move special ceramics and delicate glass farther away.
“My shelves look flat.”
Add depth: place one taller piece behind a stack, lean a small cutting board, or vary heights with a pitcher and a short stack next to it.
“My plants are struggling.”
Go simpler. One hardy trailing plant is better than three stressed ones. Also, keep plants away from heat and steam, and make sure water is not pooling on the shelf.
“Kids or pets keep grabbing things.”
Put glassware and sharp or heavy items higher, keep trailing vines out of reach, and save the lower shelves for sturdy daily dishes.
Finish with one personal detail
The last step is always the one that makes it feel like your kitchen: a tiny framed postcard from a road trip, a hand-painted salt cellar, a little wooden bowl you found at a flea market. One object with a story turns styled shelves into a home.
If you want more eclectic styling ideas that still feel livable, visit Styling & Inspiration.