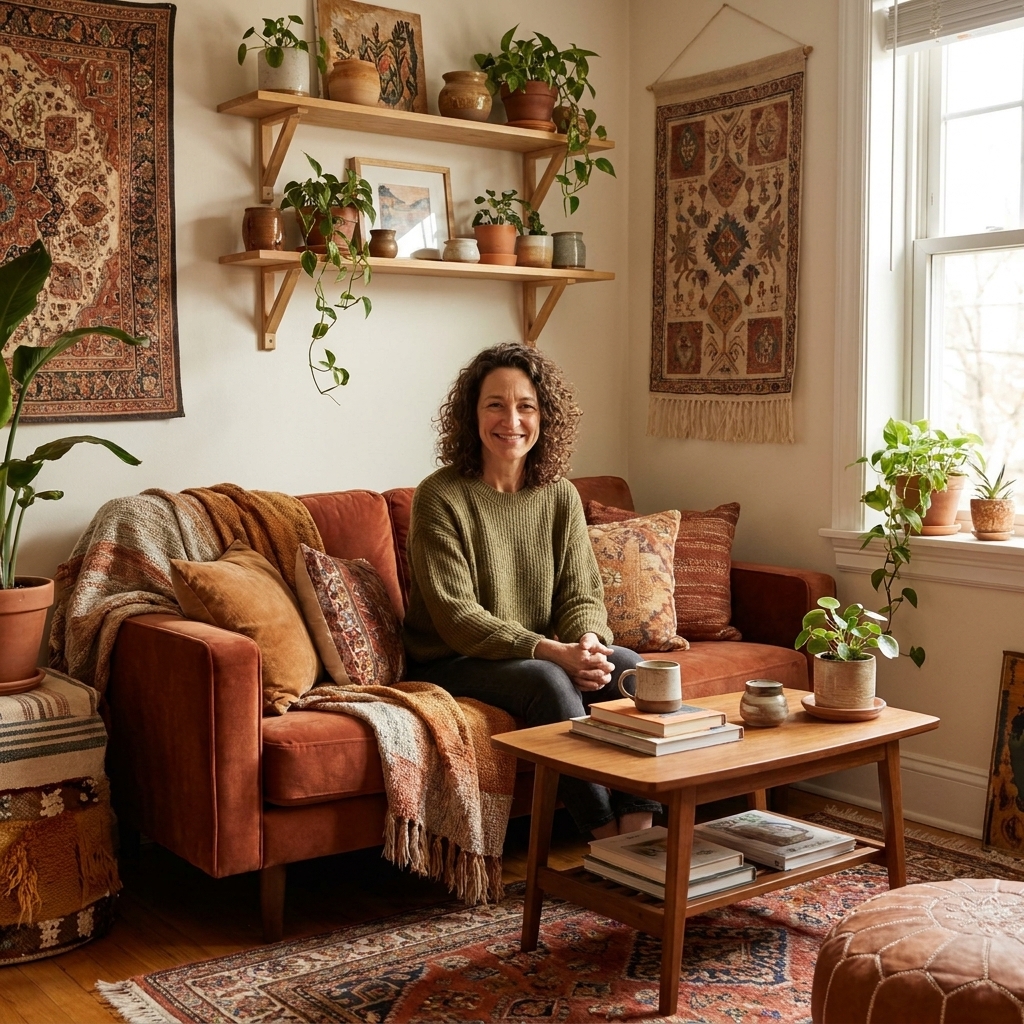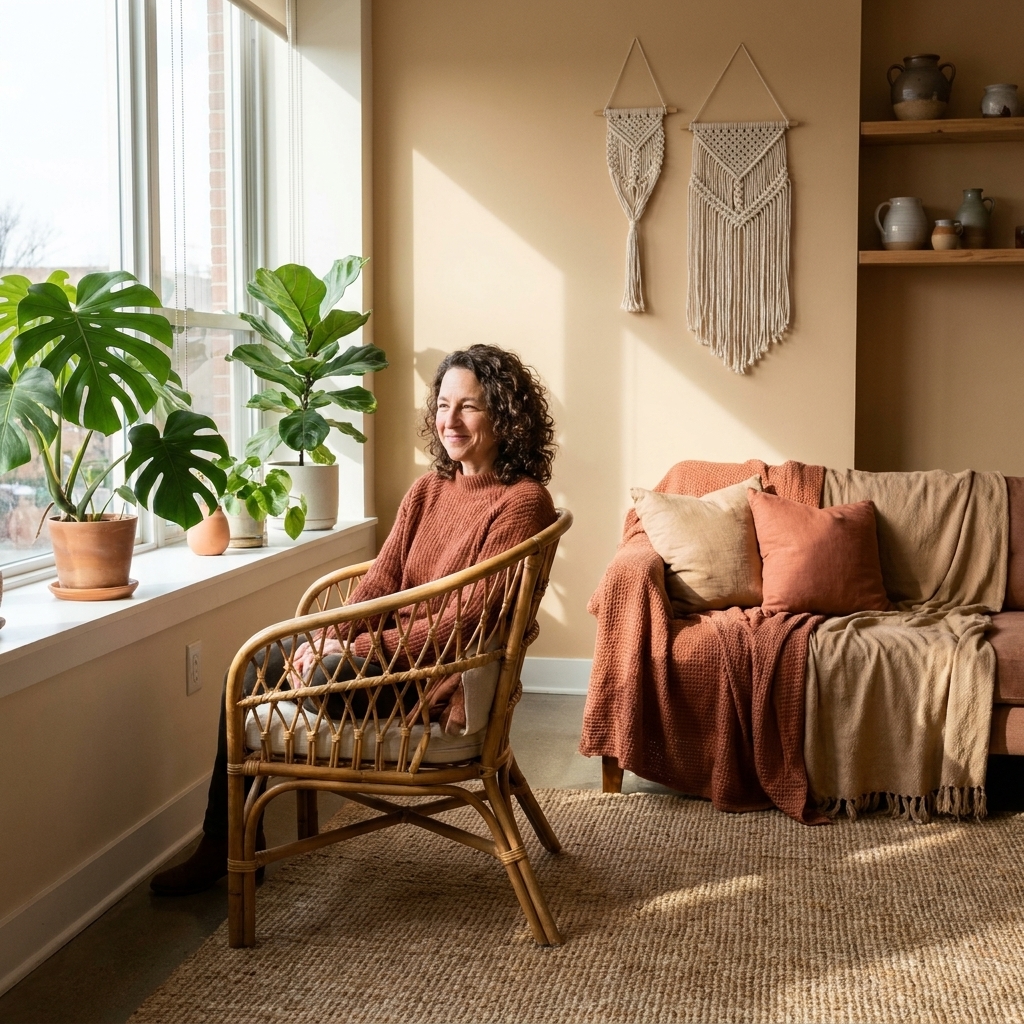

The first time I brought home a large macrame wall hanging, I treated it like a normal piece of art. I held it up, squinted, and thought, “Cute.” Then I actually hung it, stepped back, and realized what big macrame really is: texture you can feel from across the room. It softens harsh angles, fills awkward blank walls, and somehow makes a rental look more collected and intentional, even when the rest of the space is thrifted, hand-me-down, and still in progress.
If you are new to macrame, oversized pieces can feel intimidating because they are not just decor. They are decor and a little bit of architecture. This guide will walk you through choosing the right scale, mounting it securely, and styling it so it looks like it belongs in your eclectic space.
What “large-scale” macrame means
Large-scale macrame is any hanging that reads as a primary focal point, not a small accent. Measurements vary a lot by maker and material, but these are common starting points:
- Width: often around 30 inches and up
- Length: often around 40 inches and up, especially if there is long fringe
- Visual weight: thick cotton cord, dense knotting, chunky yarn, or added elements like wood beads
The “right” size depends on what you want it to do. If you want it to replace a headboard, anchor a sofa, or calm down a loud gallery wall, going bigger than you think usually looks more intentional. If you want it to add softness in a corner, you can go slightly smaller while still keeping it oversized for the wall area.
How to choose the right macrame
Start with the wall’s job
I like to decide what the wall needs before I decide what the macrame looks like.
- Blank wall that feels cold: choose a wide, airy piece with negative space and long fringe
- Wall that feels cluttered: choose a simpler pattern with fewer layers, or one dramatic piece instead of multiple hangings
- Room that needs height: choose a long vertical design that draws the eye up
- Room that needs grounding: choose a wider piece with a thicker rod or a strong top line
Pick a color strategy that suits eclectic style
Macrame does not have to be plain cream, but neutrals are popular for a reason. They act like a “texture neutral,” meaning they play nicely with pattern, art, and thrifted furniture.
- Natural cotton and warm cream: calms bold patterns and makes a room feel more settled
- Tea-dyed or tan macrame: warms up white walls and looks beautiful with vintage wood tones
- Black or charcoal macrame: adds graphic contrast, especially in boho-meets-modern rooms
- Dip-dyed or ombre: a fun bridge between boho texture and eclectic color
If you love rich color, I recommend choosing macrame that leans neutral and letting your color come from pillows, rugs, and art. It keeps the room layered without tipping into chaos. If color palette choices trip you up, my post on earth tones vs jewel tones for eclectic homes can help you decide which direction feels most like you.
Check hang depth in small rooms
Some oversized pieces are very dimensional, especially those with thick, layered knots. In a tight space, that depth can feel bulky near walkways or above beds.
If you live in a small apartment, look for:
- a flatter knot pattern
- less dramatic 3D rosettes or clustered fringe
- a narrower silhouette that still reads tall
And if your style leans maximalist, you can absolutely do big macrame in a small room. The trick is editing everything around it so the texture can be the star. You might like maximalist boho in small spaces without the clutter for that balancing act.
Where large macrame works best
Over a sofa
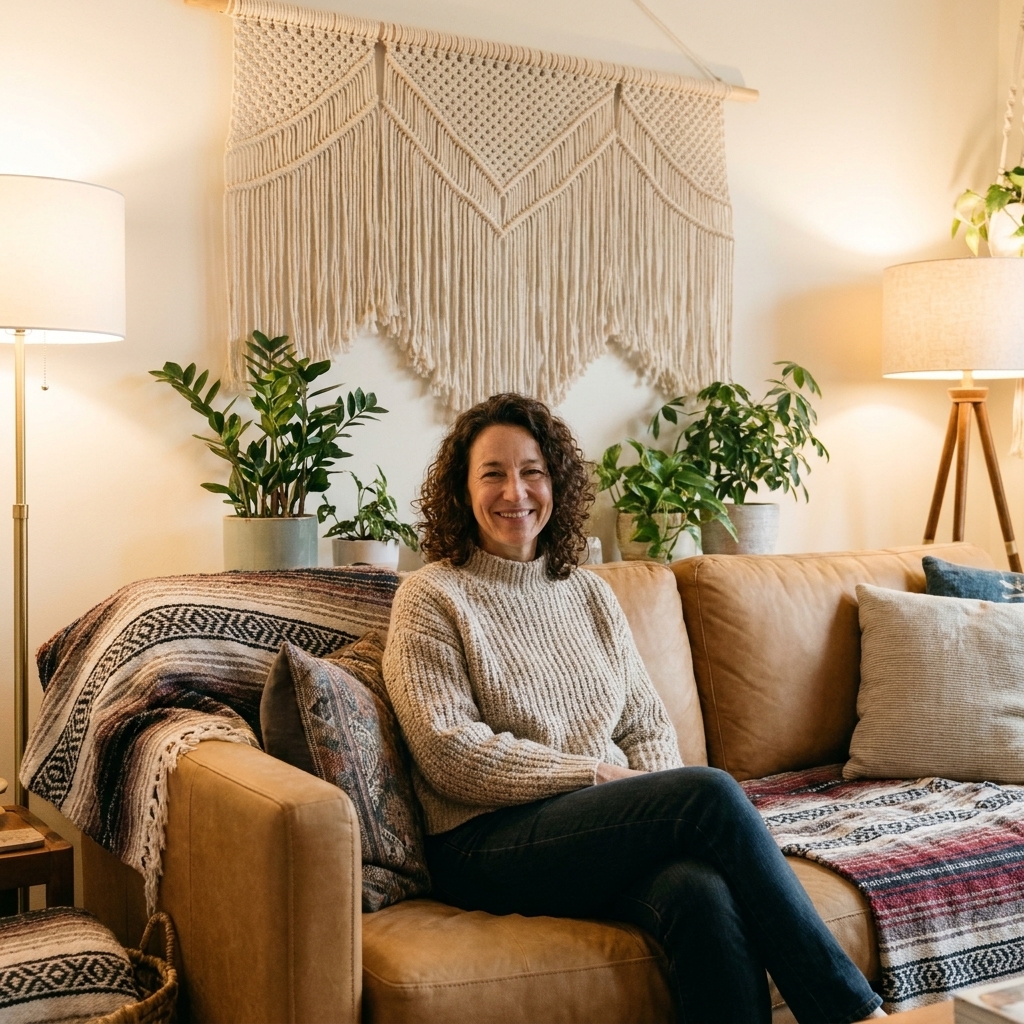
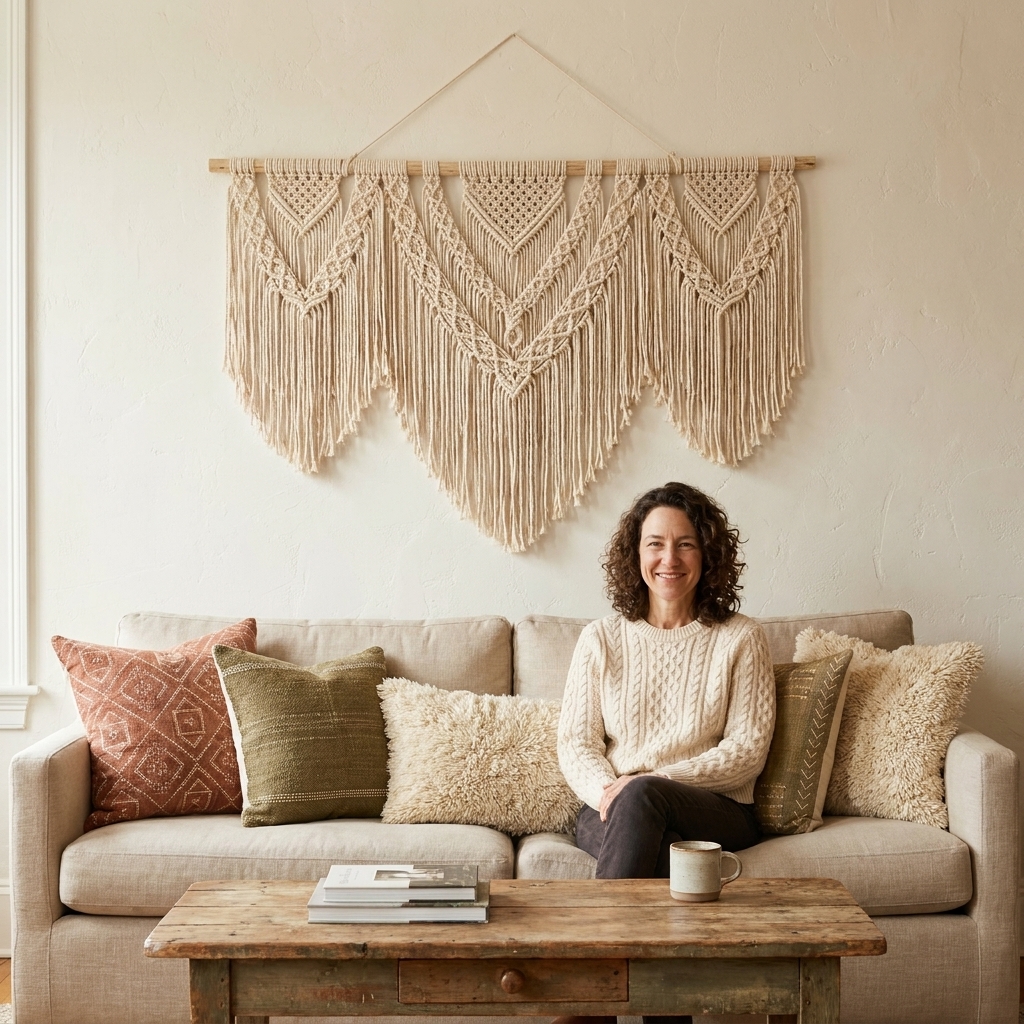
Macrame over a sofa is a classic because it adds softness where you normally have hard lines: a rectangular couch, straight arms, and a flat wall.
- As a rule of thumb, aim for the macrame to be around two thirds the width of the sofa, then adjust based on ceiling height and how much wall space you want showing.
- Hang it so the bottom fringe clears the back cushions and does not constantly get rubbed or sat on.
Behind a bed
This is my favorite rental trick. A large macrame instantly creates that headboard moment without buying furniture you do not want to move later.
- Choose a piece with a strong top line (a dowel, branch, or metal rod) to visually replace that headboard edge.
- Hang it high enough that pillows do not crush the lower knotwork. Fringe length matters here, so do a quick hold-up test before you commit to holes.
If you want more texture without piling on clutter, pair macrame with a simple jute or vintage rug layered under the bed. I go deeper into rug pairing in layering vintage and jute rugs.
In a dining nook or entry
A large hanging can make a small, overlooked area feel intentional, especially where you do not have room for big furniture.
- Entry: hang it above a slim console or a wall-mounted shelf to soften keys-and-shoes chaos.
- Dining nook: use it as a soft backdrop behind a bench, especially if your table and chairs are mismatched thrift finds.
Next to plants
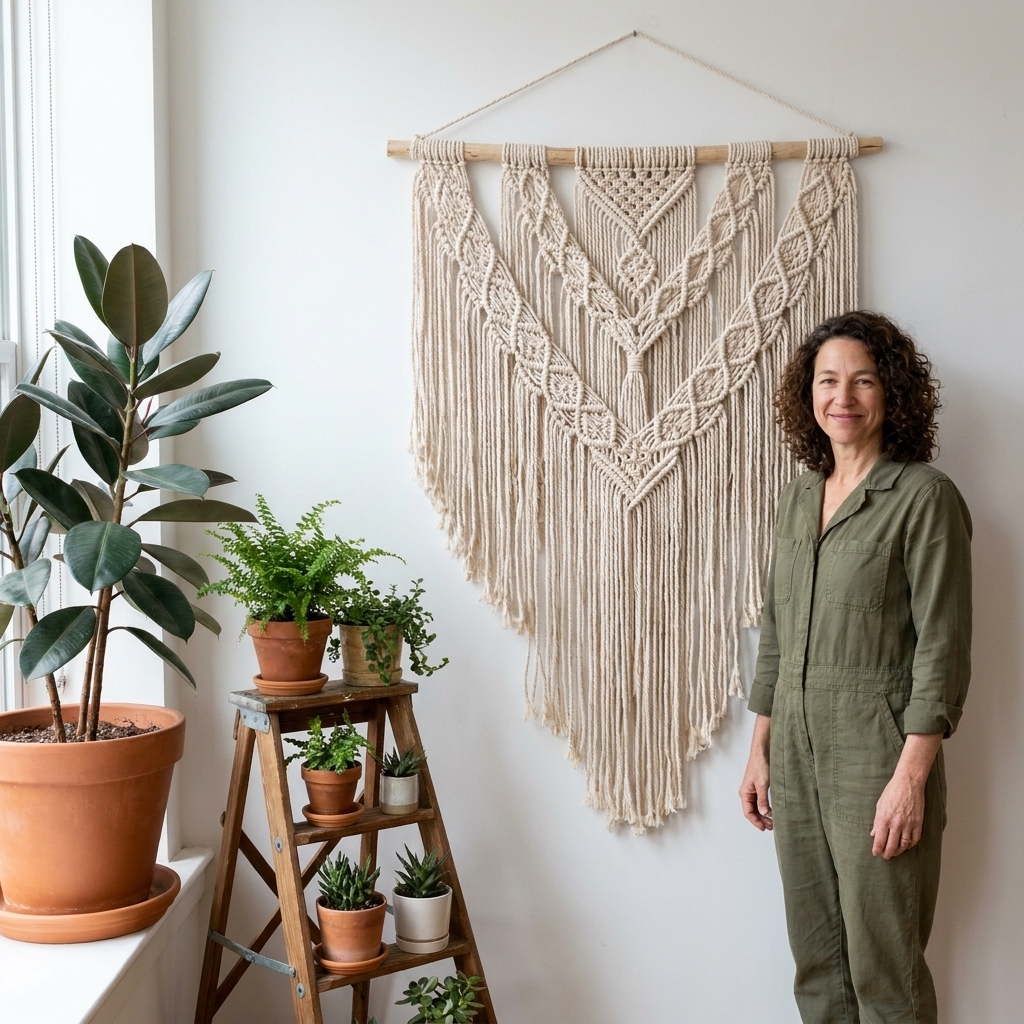
Macrame and houseplants are best friends. The texture of cord next to glossy leaves gives you that layered, lived-in look fast.
- Place macrame near a tall plant like a fiddle leaf fig or rubber tree for scale balance.
- Avoid hanging it where you constantly mist plants, especially if the cord is undyed cotton that stains easily.
If you want your plant grouping to look designed rather than random, see arrange houseplants like a designer and the indoor jungle.
How to mount large macrame safely
Oversized macrame can be heavier than it looks, especially with thick cord and a solid wood rod. The goal is secure, level, and kind to your walls.
Step 1: Weigh it first
If you are not sure what it weighs, quickly weigh it before you buy hardware. A luggage scale works, and in a pinch you can use a bathroom scale by weighing yourself, then weighing yourself holding the piece and doing the math.
Once you know the weight, choose hardware based on the wall type and the manufacturer’s rating. Those ratings assume proper installation and specific wall materials, so when in doubt, hit a stud or ask a pro for very heavy pieces.
Step 2: Know what you are hanging into
- Wood studs: most secure option
- Drywall only: use a heavy-duty anchor rated for drywall, installed exactly as directed, and rated well above the real weight
- Plaster: can be tricky and crumbly; pre-drill carefully and use hardware made for plaster, or aim for studs when possible
- Masonry (brick, concrete): use masonry screws and the correct drill bit
If you are renting, anchors can still be worth it, but choose the smallest hole that safely does the job. I would rather patch two tiny holes than watch a beautiful piece tumble down at 2 a.m.
Step 3: Choose the right hardware
These are common approaches, from simple to more installed looking:
- One centered hook: works for lighter hangings with a single hanging loop, but it can twist on textured walls
- Two hooks: best for wide or heavy pieces, and helps prevent tilting and rod bowing
- Brackets or a picture ledge: great for thicker rods and a more architectural look, but it still needs proper anchors or studs. A ledge is not a damage-free workaround for heavy fiber art.
Step 4: Match the hanging method to the rod
The rod matters more than people think because it affects straightness and sag.
- Wood dowel: common and clean looking, but cheaper dowels can bow on wide pieces. Two hooks usually helps.
- Natural branch: beautiful and organic, but it can be slightly uneven. Plan to level it by eye and consider two points of support so it does not rotate.
- Metal rod: often the straightest option for very wide hangings, and less likely to bow.
Step 5: Hang it at the right height
These are guidelines, not laws. Use them as a starting point, then adjust based on ceiling height, furniture height, and fringe length.
- Furniture guideline: leave about 6 to 10 inches between the top of furniture (sofa, headboard, console) and the macrame rod.
- Eye-level guideline: the densest, most detailed knotwork usually looks best around eye level, not way above it.
Step 6: Prevent leaning and sagging
- If the rod bows, add a second hook point to distribute weight.
- If the piece leans forward, use a small clear bumper behind the lower corners to keep it from flaring out.
Renter-friendly reality check
Removable adhesive strips and “damage-free” hooks are tempting, but big macrame plus a rod can be too heavy and too pull-forward for many adhesive systems. If you truly cannot put holes in the wall, consider placing the piece on a properly anchored picture ledge, or styling it as a draped textile over a clothing rack or blanket ladder. For anything heavy above a bed or sofa, I do not gamble with adhesive.
Styling oversized macrame
Let it be the calm in your pattern mix
In eclectic rooms, we love pattern. Vintage kilim pillows, striped throws, a busy rug, maybe even wallpaper. Macrame adds texture without adding another print.
If your room already has a lot going on, keep the wall around your macrame relatively clean. You can still do color and pattern elsewhere. If you want a better feel for balancing bold pieces, read how to mix bold patterns without clashing.
Pair it with warm materials
Macrame looks especially good with natural finishes:
- rattan or cane
- worn wood
- linen
- jute
- terracotta
If you are debating which woven material works best in your space, rattan, wicker, or bamboo breaks down the vibe and where each shines.

Use lighting to show off the texture
This is the easiest styling upgrade and it costs nothing if you already have a lamp. Texture needs shadows to look dimensional.
- Place a floor lamp nearby so the light hits across the knots.
- If you have overhead lighting only, try shifting the macrame to a wall that gets side light from a window.
Try a one-big-thing moment
If you want a room to feel collected quickly, resist the urge to add five smaller boho items around your macrame. One large hanging plus two supporting elements usually looks more elevated:
- Large macrame
- A grounding plant or tall floor vase
- A small vintage object on a table (a carved bowl, a stack of books, a thrifted candlestick)
Macrame and gallery walls
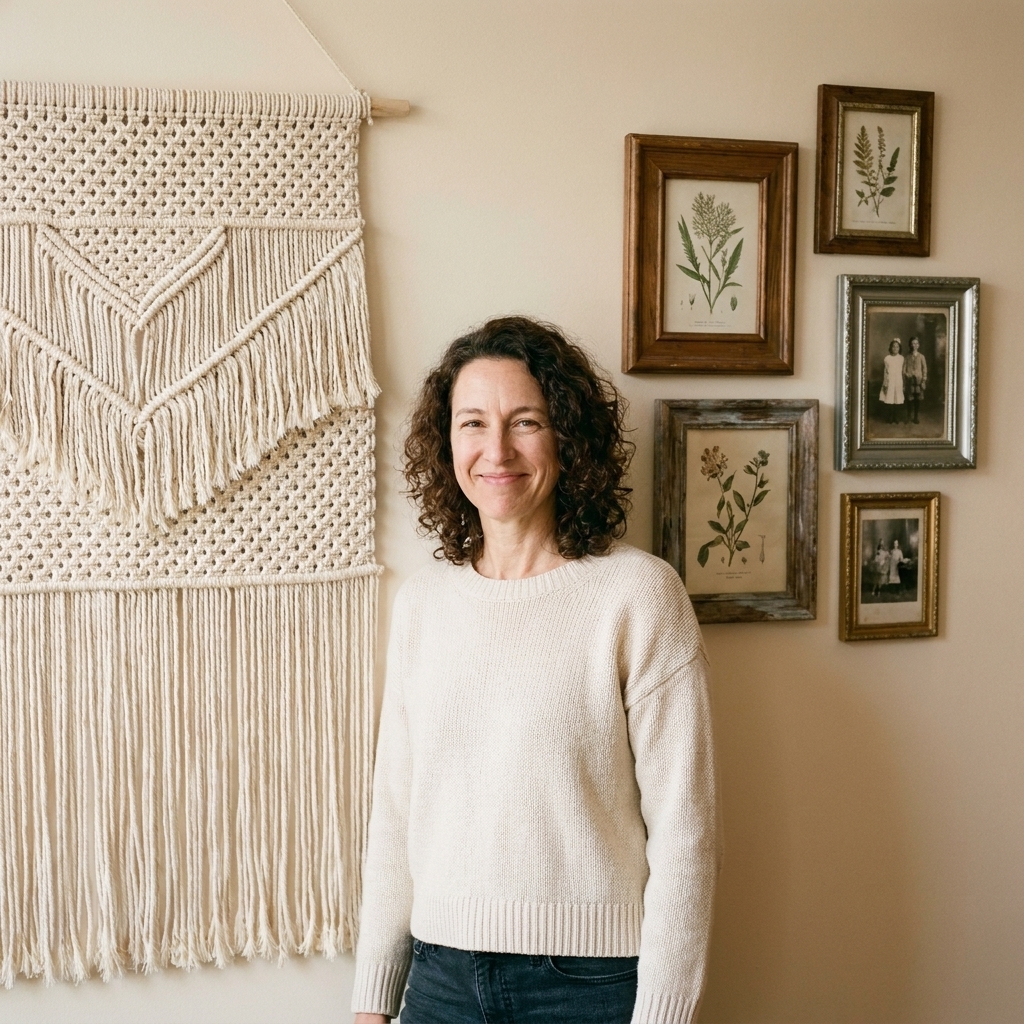
Yes, you can mix macrame with art. The trick is treating it like a texture panel, not like another framed print fighting for attention.
Macrame as the anchor
Hang the macrame first, then build a small cluster of frames to one side, keeping the frames tighter and more structured so the contrast feels intentional.
Macrame as the break
If you already have a busy gallery wall, macrame can act like a soft pause between frame clusters. Use a narrower piece and give it breathing room.
If you are building your gallery wall from scratch, my step-by-step is in eclectic gallery wall with mixed frames and art.
Care and maintenance
I love thrifted fiber art, but it needs a little extra TLC.
How to de-dust and refresh
- Weekly or biweekly: shake it out gently outside or use a vacuum with a brush attachment on low suction.
- For fringe: use your fingers or a wide-tooth comb to separate and smooth, working from the ends upward.
Spot cleaning basics
Test in a hidden area first. For most cotton macrame:
- Use a barely damp cloth with a tiny bit of mild soap.
- Blot, do not rub.
- Let it air dry fully, and keep it out of direct sun while drying to prevent uneven discoloration.
Watch out for sunlight
Bright windows can slowly yellow natural cotton over time. If your hanging gets full sun every afternoon, consider moving it slightly or rotating it seasonally.
Beginner mistakes and fixes
- Hanging it too high: If it looks like it is floating near the ceiling, lower it so it relates to furniture below.
- Going too small for the wall: If the macrame looks like a postage stamp, either size up or add a second element like a tall plant to balance scale.
- Using one tiny nail for a heavy piece: Upgrade to proper anchors or two-point hanging so it stays level and secure.
- Adding too many boho bits around it: Let macrame be the texture statement. Keep the supporting cast simple.
Quick placement cheat sheet
- Over a sofa: aim for about two thirds of the sofa width, then adjust to fit your wall and ceilings
- Over a bed: hang high enough that pillows do not press into the knotwork, and account for fringe length
- In small rooms: go taller with a slimmer width, and keep the area around it visually calm
- In eclectic spaces: use macrame as a neutral texture to balance bold pattern and color
FAQ
Is macrame still in, or will it look dated?
Any trend can look dated if it is treated like a costume. In an eclectic home, macrame lasts when it is used for what it does best: texture, warmth, and handmade character. Choose pieces that feel timeless to you and pair them with a mix of materials and eras so your room never looks like a one-note trend moment.
Can I put a large macrame in a modern room?
Absolutely. Macrame can be the organic counterpoint to clean-lined furniture. Keep the palette simple, choose a bold silhouette, and let it be the softening element.
What if my walls are textured?
Textured walls are fine for macrame. The bigger issue is keeping it level. Use anchors rated for the weight and wall type, follow the install directions, and consider two hooks so it stays straight.
A final styling nudge
If you are standing in your living room holding a large macrame and wondering if it is “too much,” here is my experience-based answer: oversized fiber art is supposed to feel like a moment. Give it a clean backdrop, hang it securely, and let it do what it does best, which is turning empty wall space into something warm, storied, and a little bit dreamy.