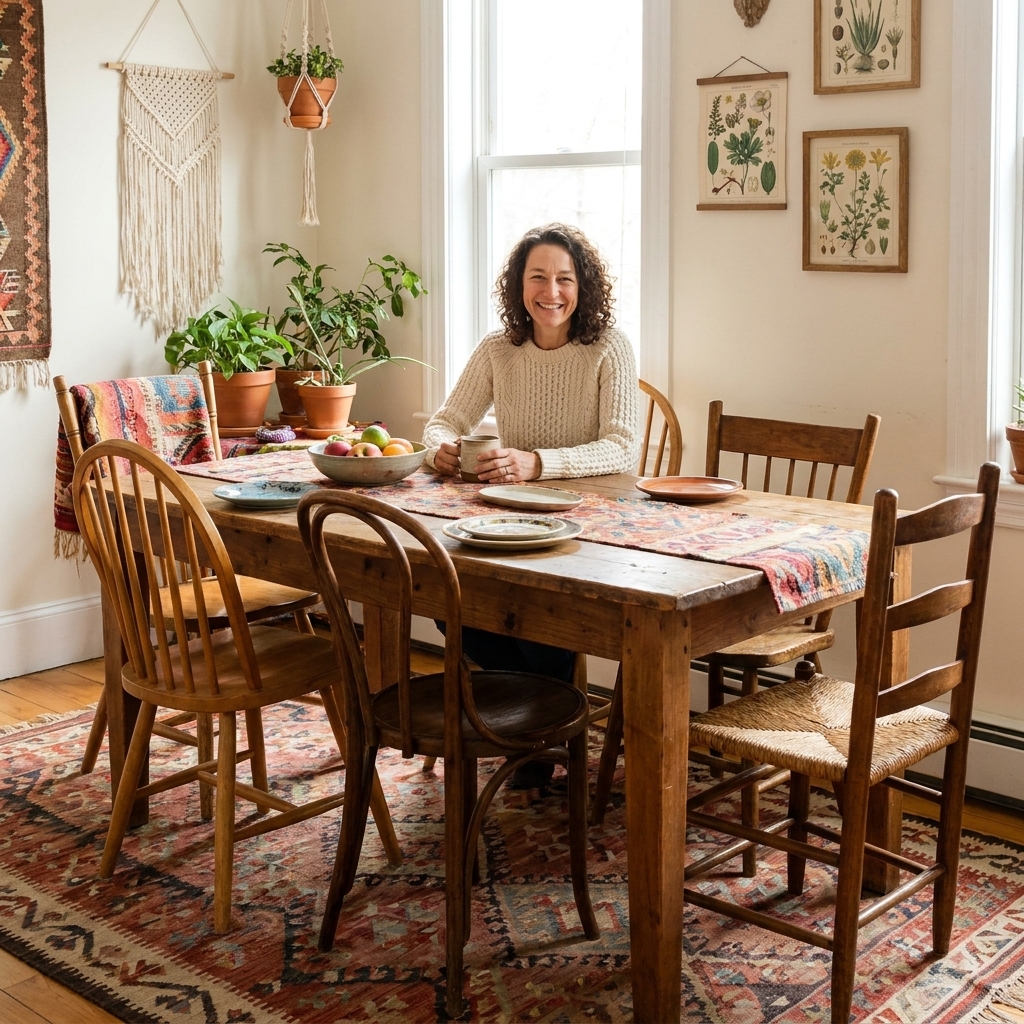

I have a soft spot for thrifted dining chairs. They are usually sturdy, often a little weird in the best way, and almost always one good fabric choice away from looking intentional. If you have ever brought home a set that is solid but sad, this is my favorite beginner upgrade: recovering a drop-in seat with an affordable remnant, a mudcloth scrap, or even a thrifted linen tablecloth.
It is a true afternoon project. No sewing required. Just a screwdriver, a staple gun, and the willingness to pull out a few old staples like you are unwrapping a present from 1998.
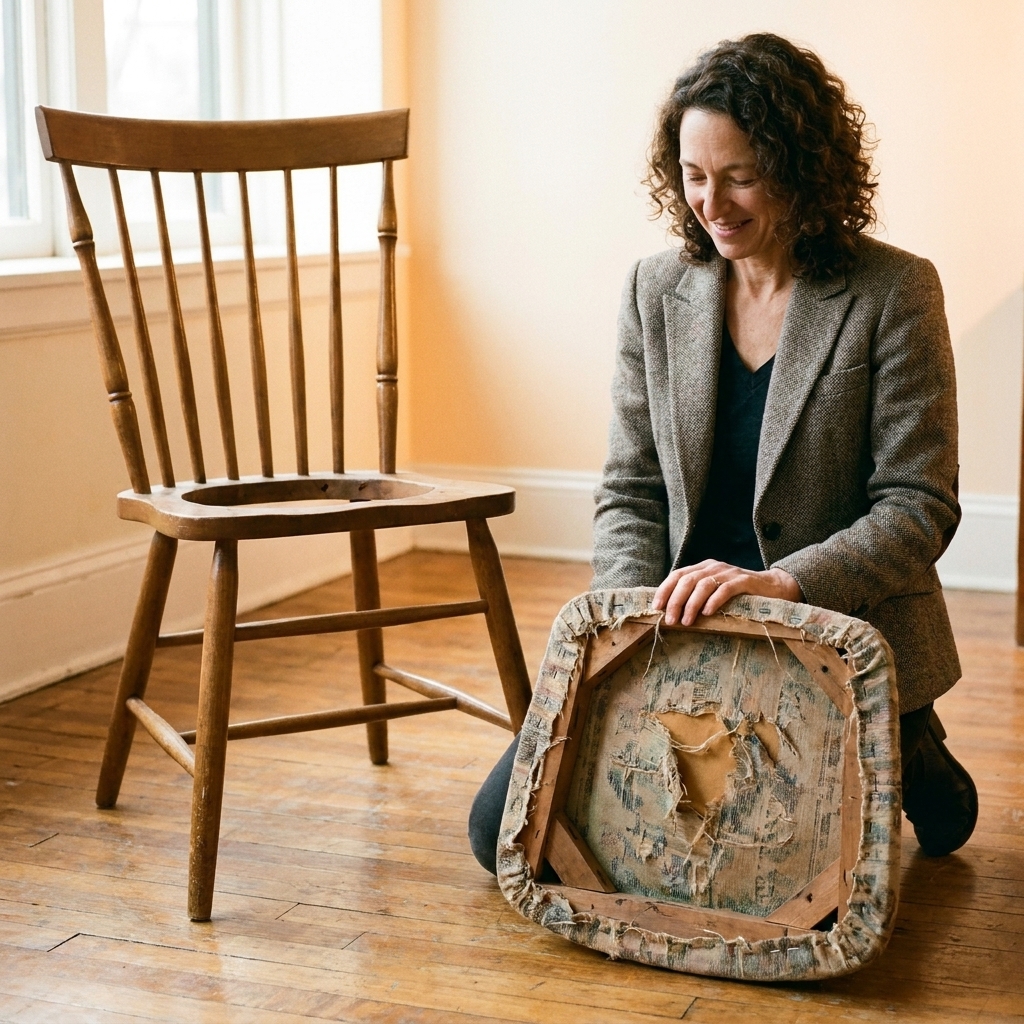
Is your chair a good candidate?
This tutorial is for drop-in (removable) dining chair seats. You will know you have one if:
- You can flip the chair over and see 4 screws (sometimes more) holding the seat to the frame.
- The seat lifts out as a single piece once unscrewed.
If the fabric is wrapped tightly around a fixed frame with no removable seat, it is still doable, just a different level of gymnastics. For your first try, I recommend starting with the easy win.
Quick thrift-store checks I always do
- Wiggle test: Grab the chair back and gently shake. If it racks side to side, plan to tighten joints later or choose another chair.
- Smell test: Musty seats can be cleaned, but deep odor in foam may mean replacing foam.
- Seat base: Particle board can work, but plywood is sturdier for restapling.
If you are building a playful mix-and-match set, I love pairing this project with my thoughts on what makes an eclectic set feel cohesive in The Art of the Mismatched Dining Set.
What to use: budget fabrics with global soul
The chair seat is small, which means you can use fabrics that would be too pricey for curtains or a sofa. Think of it like jewelry for your dining area.
My favorite low-cost fabric sources
- Fabric remnants: End-of-bolt cuts are perfect for seat-sized projects. Look for upholstery-weight cotton, canvas, or home decor fabric.
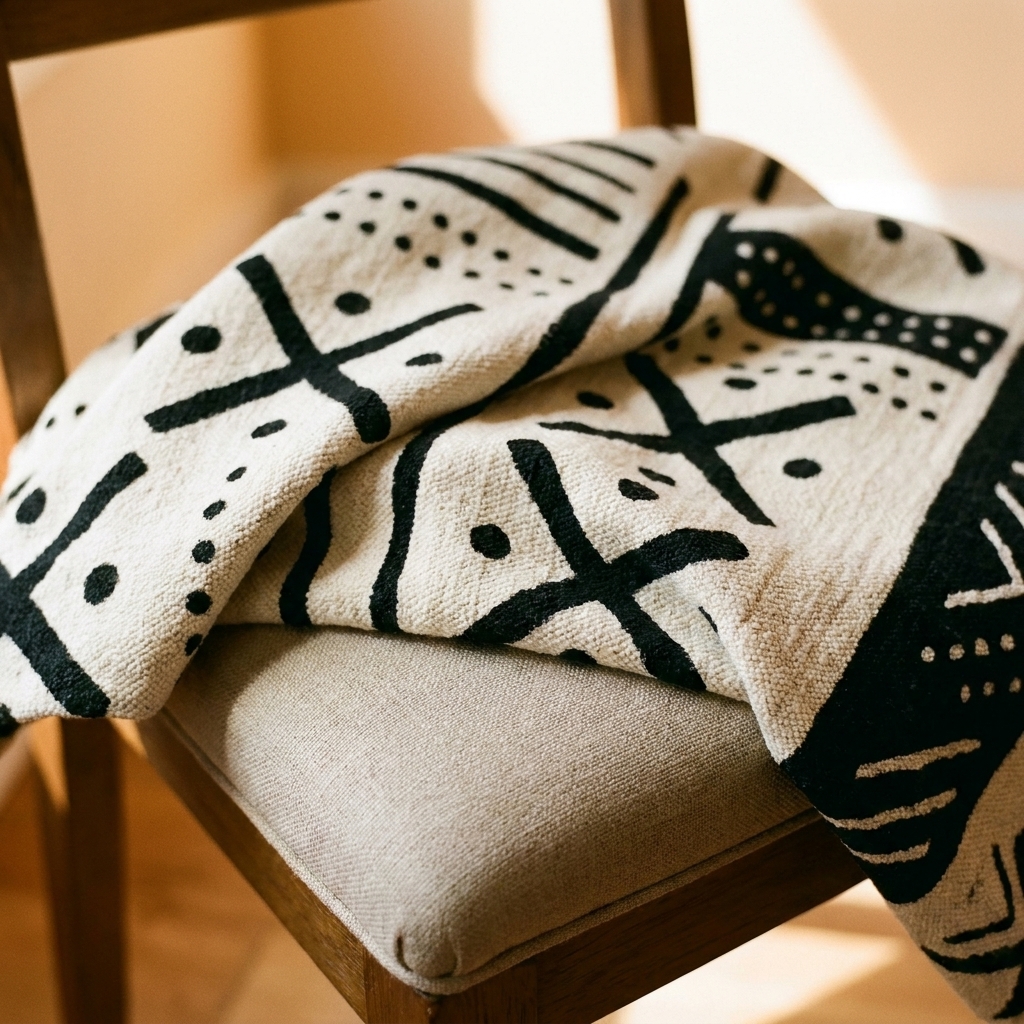
- Mudcloth scraps: A small piece can go a long way on a seat, especially if you center one bold motif.
- Thrifted linens: Tablecloths, heavy cotton curtains, or textured duvet covers can be surprisingly durable when pulled tight.
- Vintage textiles: Use with a little extra care, especially if the weave is loose.
If you are curious about using mudcloth in a way that feels respectful and timeless, I go deeper on sourcing and styling in Authentic Mudcloth: Sourcing and Styling Global Textiles.
Comfort reality check: Before you commit, rub the fabric on your forearm. If it feels scratchy there, it will feel scratchy in shorts. For busy households, pattern is your friend: small motifs, texture, and mid-to-darker tones hide life beautifully.
Fabric weight: the simple rule
If you can see your hand clearly through the fabric when you hold it up to a window, it is probably too thin for a dining chair seat on its own. You can still use it if you:
- Add a layer of muslin or canvas underneath as a backing, or
- Use it as the top layer over a sturdier base fabric.
Tools and supplies
- Screwdriver or drill (to remove the seat)
- Staple remover or small flathead screwdriver
- Pliers (helpful for stubborn staples)
- Staple gun (manual is fine if it is sturdy) and staples
- Scissors
- Measuring tape
- Optional: batting, new foam, spray adhesive, thin muslin for a dust cover
Staple size tip: I keep a few sizes on hand. 3/8 inch is a common sweet spot for many seats. Use 1/4 inch for thin fabric or softer wood, and consider 1/2 inch if you have a thicker stack (foam, batting, heavy fabric) and plenty of bite in the seat base.
Staple gun reality check: A heavy-duty manual staple gun can work, but dense hardwood or old, tough plywood can be humbling. If your staples keep sitting proud, switching to electric (or pneumatic, if you already own one) saves your hands.
Quick safety note: Old staples love to fly. I wear eye protection when prying them up, and I keep my free hand well away from the business end of the staple gun.
Step-by-step
1) Remove the seat
Flip the chair over on a soft surface. Remove the screws holding the seat to the frame and set them aside in a small cup. Lift out the seat.
If you are doing a set: If the chairs differ slightly, or you want every pattern facing the same direction, mark the underside with a quick “front” note before you take anything apart.
2) Peel off the old fabric (and save it)
Use a staple remover or flathead screwdriver to lift staples, then pull them out with pliers.
Before you toss the old fabric, pause. Old covers make a great cutting template, especially if the seat has rounded corners.
3) Check the foam and padding
Press on the foam. If it springs back and does not have a musty or sour odor, you can keep it.
- If it is crumbly: Replace foam.
- If it is a little flat: Add a layer of batting to plump it up.
- If it smells: Replace foam or at least add a fresh top layer and consider sealing the base.
About sealing: If the wood base itself holds odor, an odor-blocking primer (the shellac-based kind used for smoke and pet smells) on the bare underside can help. Let it cure fully and ventilate well before bringing it back inside your dining space.
4) Cut your new fabric
Center the seat on your fabric and cut with enough extra to wrap around to the underside. As a general rule, add at least 3 to 4 inches past the seat edge on all sides. If you have thick foam or a deep seat board, go closer to 4 to 6 inches.
If you are using a patterned textile (mudcloth, block print, stripes), take a moment to align the motif. That tiny pause is what makes the finished chair look custom.
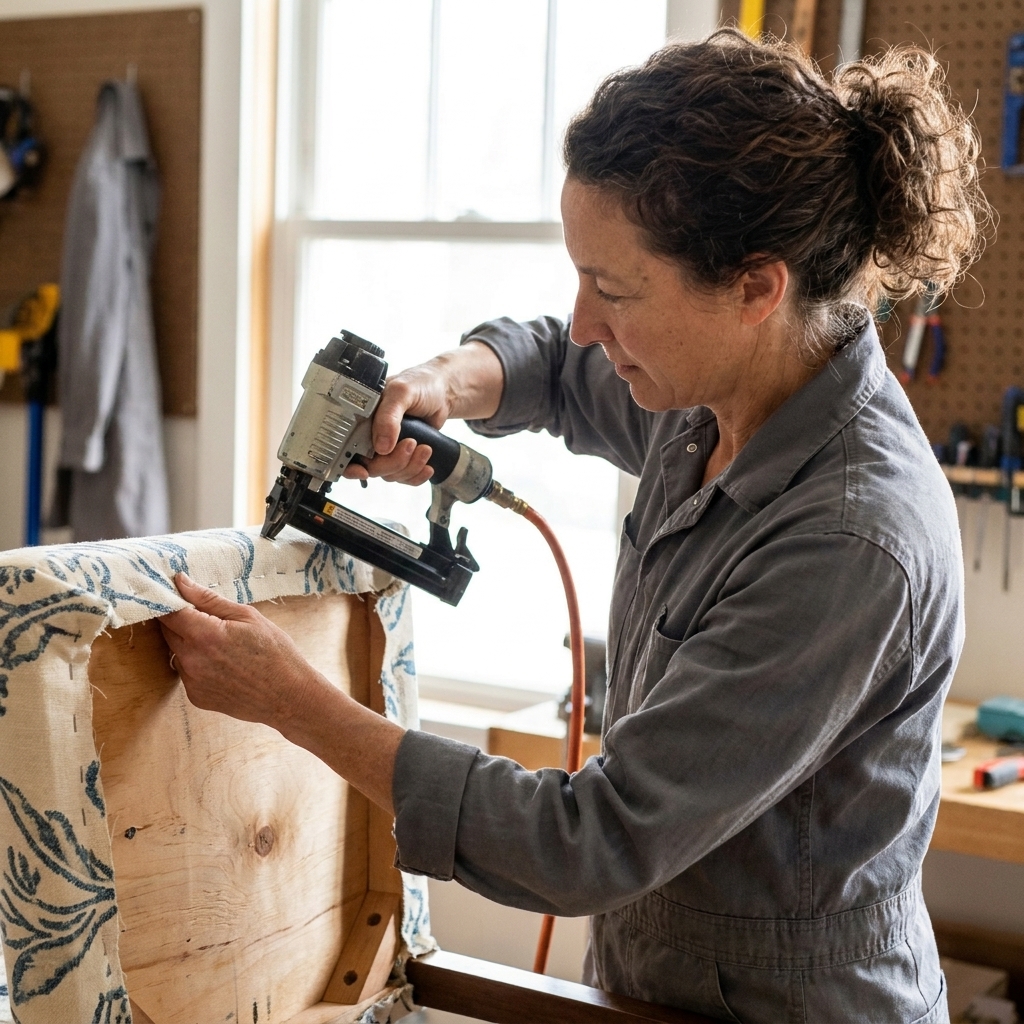
5) Staple in the right order
Place the fabric face down on a clean floor or table. Set the seat foam-side down on top, centered.
- Pull one long side snug and add 1 staple at the center.
- Move to the opposite side, pull tight (not so tight you distort the pattern), and add 1 staple at the center.
- Repeat on the two short sides, stapling the centers.
- Now work outward from the center, alternating sides as you go: left, right, top, bottom. Add staples every 1 to 2 inches.
My tension test: Flip the seat over a few times while stapling and keep checking the top surface. If you see a ripple forming, pull out that staple now. It is much harder to fix after you have added 40 more.
6) Neat corners without bulk
Corners are where beginner projects look messy, so go slowly here. You are aiming for a smooth top and a tidy fold underneath.
- For square-ish corners: Make a simple hospital corner fold. Pull the fabric over the corner, flatten one side into a straight fold, then fold the other side over it, keeping everything tight. Aim for one clean fold line, not a bunch of tiny folds. Staple close to the corner.
- For rounded corners: Make small pleats underneath only. Keep the top fabric smooth and distribute tiny folds on the underside like you are wrapping a ball.
If your fabric is thick, trim excess on the underside before final corner stapling. Less bulk means the seat sits flatter on the chair frame.
7) Add a dust cover (optional)
If you want the underside to look finished, staple a piece of thin black fabric or muslin over the bottom. It hides staples and keeps the seat cleaner over time.
8) Reattach the seat
Line up the seat with the chair frame and screw it back in. Do not overtighten into particle board. Snug is enough.
Small finishing touch: This is also my reminder to check chair glides or add felt pads if needed, especially if the chairs are headed back onto hardwood.
How much fabric do you need?
Most dining seats are smaller than you think, but the real variable is wrap allowance and pattern direction.
- Quick measuring formula: Measure the seat width and depth at the widest points. Add 6 to 8 inches to each measurement for wrapping (more if the foam is thick). That is your minimum cut size.
- Directional prints: If the pattern has an obvious up-and-down (stripes, animals, large motifs), plan for extra so every chair faces the same way.
As a rough estimate for many standard seats, about 1/2 yard of 54-inch wide fabric per chair is often plenty, but measure your actual seat and add for pattern matching if you want it to look very intentional.
If you are using a special textile like mudcloth, measure your seat top first and plan your cut so the best motif lands centered. You can always mix textiles and still keep it cohesive by repeating one color across all seats.
Design ideas
Easy global-inspired combinations
- Mudcloth + warm wood: Classic, graphic, and grounded.
- Indigo look + natural fibers: Pair the chairs with seagrass storage or a woven runner to echo the texture. My basket styling favorites are in 7 Creative Ways to Use Woven Seagrass Baskets.
- Patchwork vibe: Use different textiles on each seat but repeat a common thread, like all neutrals with one rust accent, or all patterns in the same scale.
- Quiet chair, loud table: If your dining table has a lot going on, choose simple textured linen seats and let your tabletop do the talking. I love building layers with fabric in Eclectic Tablescapes with Block Print and Natural Wood.
Pattern mixing without the chaos
If you want to mix multiple seat fabrics, keep these three things consistent:
- Color family: choose 2 to 4 repeating colors
- Pattern scale: keep patterns similarly bold, or intentionally do one bold and the rest quiet
- Texture: matte and nubby reads more relaxed than shiny and slick
If this is your design comfort stretch, my friendly deep dive is How to Mix Bold Patterns Without Clashing.
Common hiccups
Wrinkles on top
- Remove a few staples in the wrinkled area, pull fabric tighter, and restaple.
- Work in opposites. Tighten one side, then the opposite side.
Fabric looks crooked
- It usually is. Align the pattern before you commit to more than the four center staples.
- If the motif is drifting, start over now. Future you will be grateful.
Staples will not go in all the way
- Try a heavy-duty stapler, or switch to electric on dense wood.
- Try shorter staples if they are bottoming out.
- Staple closer to the edge where the wood may be thinner.
Seat feels lumpy
- Add batting to smooth out old foam dents.
- Replace foam if it is uneven or breaking down.
Old chair odors
If the seat base smells, wipe it down and let it dry fully. If the odor is in the foam, replacing foam is the cleanest fix. For anything rug-related (especially if your chairs sit on a thrifted vintage rug), my go-to refresh routine is in Deep Clean and Deodorize Secondhand Vintage Rugs at Home.
My shortcut: make one test chair
If you are doing a whole set, recover one chair completely and live with it for a day or two. Check:
- Is the fabric comfortable to sit on in shorts?
- Does it wipe clean easily?
- Do you still love the scale of the pattern across the room?
That one chair will answer a lot of questions before you cut into your favorite textile.

FAQ
Can I use mudcloth on a dining chair seat?
Yes, especially if it is a tighter weave. I like to add a sturdy backing layer (muslin or canvas) if the textile feels lightweight, and I always plan for a little patina. Dining chairs are hardworking, and that lived-in softness can be part of the charm.
Do I need to replace the foam?
Only if it is smelly, crumbly, or permanently flattened. If it is just a bit tired, add batting and you will be shocked at how much better it looks.
How do I protect the fabric from stains?
You can use a fabric protector if that fits your household, but my budget approach is choosing a pattern that forgives life: small-scale prints, darker tones, and textiles with texture. For family dining, a busy mudcloth-style pattern is basically camouflage.
Is this reversible if I change my mind?
Totally. Save the original fabric pieces as templates. You can swap covers seasonally, or whenever you find an even better thrifted textile.
One last encouraging note
If your first seat is not perfectly wrinkle-free, welcome to the club. The secret is not perfection, it is pulling tight, stapling in opposites, and fixing small issues early. And once you do one chair, you will start eyeing every thrift store dining set like it is a blank canvas.
If you want more budget-friendly upgrades like this, I keep all my thrift-forward projects collected in Budget Boho Thrifting.