
One of my favorite thrift store “tells” is a lamp with a perfectly good shape… wearing a truly tragic shade. If you have ever spotted a solid ceramic base buried under nicotine gloss or faux gold swirls, you already know the thrill: lamps are one of the fastest, cheapest ways to make a room feel styled.
Today I am walking you through my go-to formula for DIY boho lighting: refresh the base with a durable paint finish, then pair it with a textured shade you can make (or fake) on a budget. The goal is not perfection. The goal is glow, texture, and that collected, global feel.
What to look for when thrifting a lamp
When I am scanning the lamp aisle, I ignore the shade first and focus on the bones. Shades are replaceable. A good silhouette is gold.
My quick thrift checklist
- Sturdy base: No wobble, no cracks through the body, no pieces held together with mystery glue.
- Interesting shape: Chunky pottery, stacked spheres, turned wood, slim mid-century lines, anything with a little personality.
- Standard socket: A normal screw-in bulb base (E26 in the US) is easiest for replacement parts and shades.
- Harp-friendly setup: If it has a harp and finial, shade shopping is simpler. If it does not, it is still workable (I will cover options below).
- Price ceiling: For most makeovers, I like to stay under $15 to $25 so the shade upgrade still feels like a deal.
If you are building a whole budget boho room, lamps are right up there with textiles and vintage frames as high-impact thrift finds. My list of thrift store staples for authentic boho style is basically my running shopping list.
Safety first
I am all for DIY, but I am not casual about electricity. Most thrifted lamps are totally fine, but you want to give them a quick safety audit before you spend time painting.
Green lights
- Cord insulation is smooth (not sticky or brittle) and has no cuts.
- Plug is solid and not bent.
- Socket is not loose or cracked.
- No burning smell, scorch marks, or buzzing.
Red flags (I personally do not mess around here)
- Cracked socket or exposed wiring.
- Loose internal connections that make the lamp flicker when the cord moves.
- Old fabric-wrapped cords that look frayed or dry-rotted.
- Obvious DIY splices in the cord (electrical tape “repairs” make me walk away).
If a lamp is gorgeous but sketchy, you have options: a basic rewire kit is usually inexpensive, and many hardware stores can help you find compatible parts. If you are not comfortable doing electrical work, it is a great candidate for a local lamp repair shop. The makeover is still worth it.
Extra peace-of-mind check: If your lamp has a UL or ETL mark on the socket or cord, that is a nice bonus. If it does not, it does not automatically mean it is unsafe, but I get more strict about the condition of the cord, plug, and socket.
Supplies
You can do this with a small kit of basics. I keep most of this in a tote so I can pounce on lamp projects whenever the mood hits.
- Dish soap, degreaser, or rubbing alcohol for cleaning
- Microfiber cloths
- Painter’s tape
- Sandpaper (120 and 220 grit) or a sanding sponge
- Primer (bonding primer if the base is glossy)
- Paint: water-based acrylic or latex for most ceramic and wood bases, or an all-surface enamel for extra durability
- Small foam roller and an angled brush
- Optional: spray paint for a super smooth finish
- Optional: clear topcoat (water-based polyurethane) for durability
Shade supplies depend on the route you choose, but I will give you a few options that range from “no-sew, no-drama” to “I want a woven moment.”
Prep and paint the base
Prep is the unglamorous part that makes the whole thing look expensive when it is done.
1) Remove the shade, harp, and finial
Set hardware aside in a bowl so nothing disappears into the DIY void.
2) Clean like you mean it
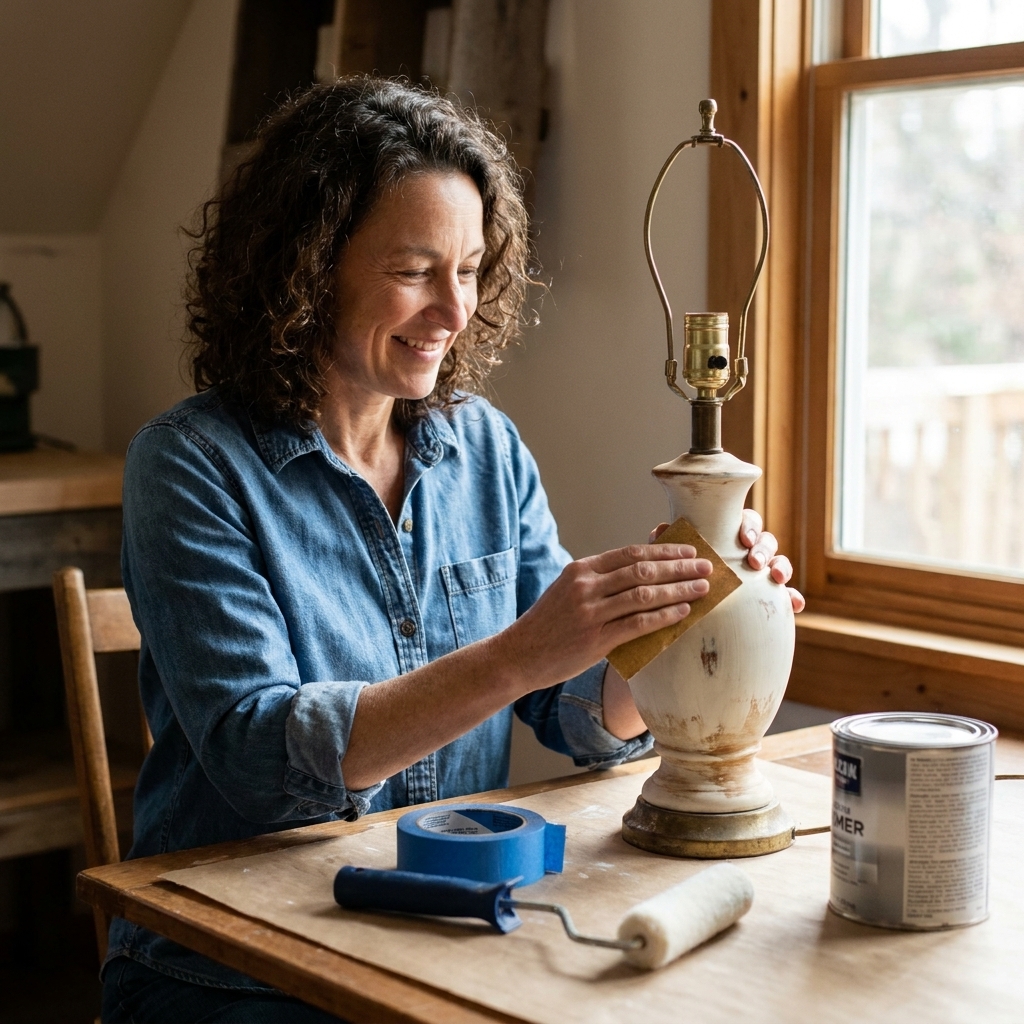
Thrifted lamps often have an invisible film of dust, kitchen grease, or old polish. Wash with warm soapy water if the base can handle it, then wipe down with rubbing alcohol to remove residue. Let it dry fully.
Quick exceptions: For unsealed wood, paper mache, or anything with lifting seams or delicate labels, I skip the soak and do a careful wipe-down with a barely damp cloth plus a little degreaser, then a final alcohol wipe where appropriate.
3) Scuff sand
You do not need to sand down to bare material. You are just giving the primer some tooth. For glossy ceramic or metal, this matters.
4) Tape what you are not painting
Tape the socket area, cord, and any metal label you want to keep. If the base has a metal stem you want to leave brass, tape it carefully.
5) Prime (especially for glossy bases)
A bonding primer prevents the heartbreak of paint scratching off later. Thin coats, let it dry, then lightly sand any drips.
6) Paint in thin coats
Two to three thin coats beat one thick coat every time. Let each coat dry properly. If you want a really smooth finish with minimal brush marks, a small foam roller is my secret weapon.
7) Seal if needed
If the lamp will live on a busy side table where it gets grabbed often, a water-based clear topcoat helps. Keep it matte or satin so it still feels boho, not shiny.
8) Let it cure before reassembling
Dry-to-the-touch is not the same as cured. I try to give painted bases at least 24 to 48 hours before I put the hardware back on and start moving it around a room. Longer is even better if you used enamel paint.
Paint finishes I love
Boho lighting looks best when it feels tactile and a little sun-warmed, not factory perfect. These are my go-tos:
- Matte warm white: Makes a lamp look like handmade plaster without needing a full plaster treatment.
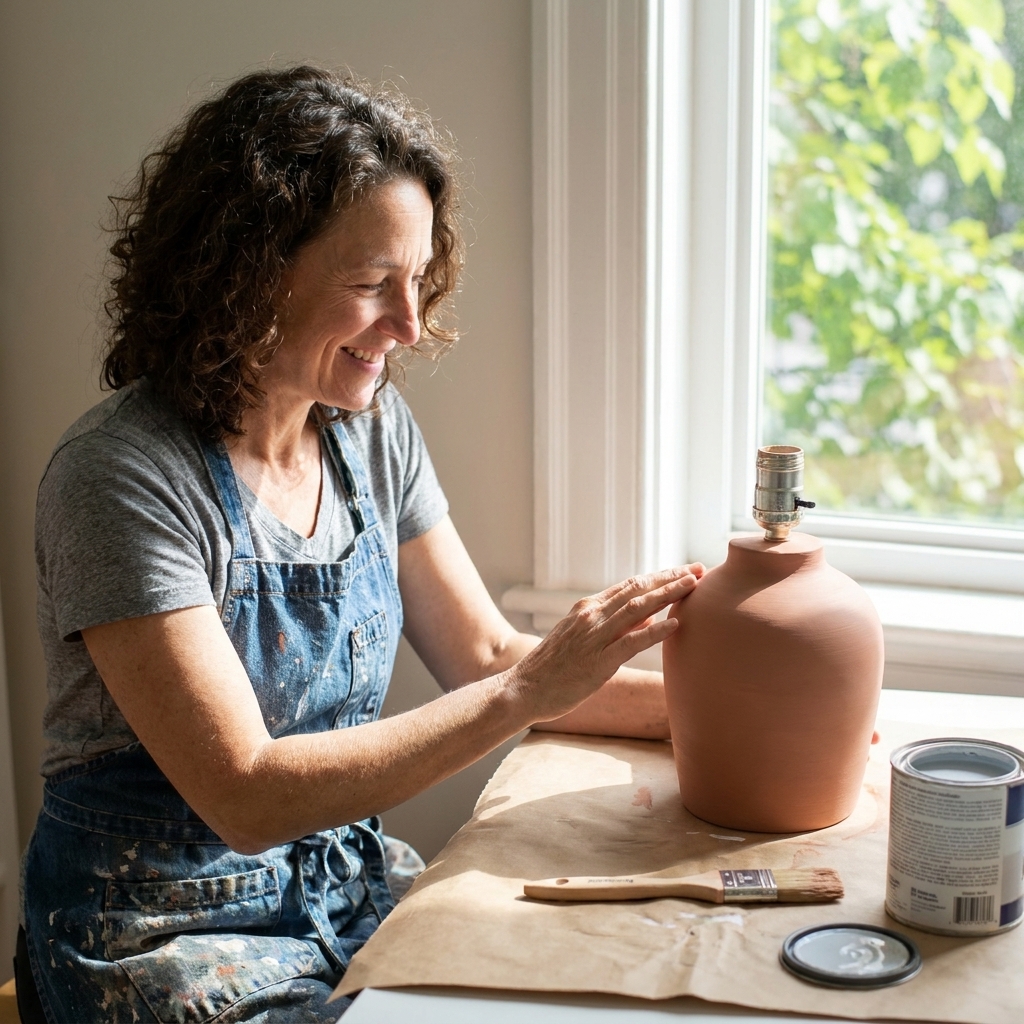
- Clay and terracotta: Instant earthy glow, especially pretty with linen shades and warm bulbs.
- Dusty sage or olive: Plays beautifully with plants and rattan.
- Soft black or deep brown: Grounding in a colorful room, especially with a woven shade.
If you love mixing materials, texture is your best friend. I lean on the same idea when I mix textiles across a room, and I wrote more about it in Leather, Velvet, and Linen: the texture mixing formula.
Shade proportions
This is where thrifted lamps go from “cute” to “wait, where did you buy that?”
Proportion rules I use
- Shade width: Usually about as wide as the base at its widest point (or slightly wider).
- Shade height: A good starting point is roughly one third of the total lamp height (base plus shade). If the base is tall and slim, you can go a little taller.
- Visual weight: A chunky base can handle a taller, more substantial shade. A petite base looks better with a lighter profile.
If the lamp feels top-heavy after you add texture, size down the shade or choose a more tapered shape.
Textured shade 1: no-sew linen wrap
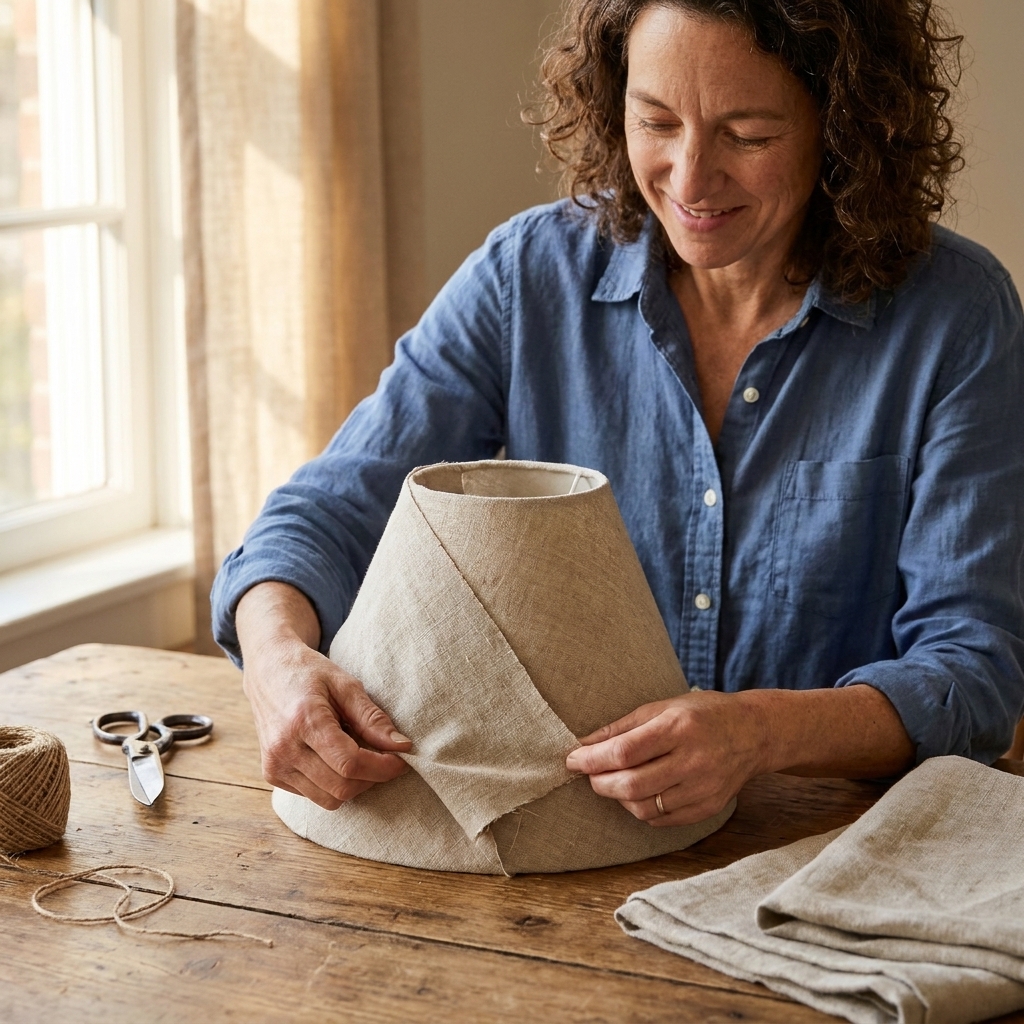
If you want “effortless boho” with minimal tools, this is the move. You are basically giving a plain shade a linen slipcover.
What you need
- A plain shade (thrifted or inexpensive new)
- Linen or linen-look fabric (prewashed so it does not shrink later)
- Fabric glue or high-temp hot glue
- Scissors
- Measuring tape
How to do it
- Measure: Wrap the fabric around the shade to check coverage, then add 1 inch for overlap.
- Cut: Cut a rectangle for the outside of the shade.
- Glue the seam: Run a thin line of glue down the shade, wrap the fabric, and press the overlap seam neatly at the back.
- Finish top and bottom: Clip small snips along the fabric edge so it folds smoothly over the rings, then glue to the inside.
- Optional trim: Add a simple jute cord, narrow fringe, or cotton tape at the top and bottom for a finished edge.
My tip: Keep the fabric slightly relaxed instead of drum-tight. A tiny bit of natural rumple looks more expensive and more boho.
Textured shade 2: faux woven jute
Real woven shades can get pricey fast, but you can cheat the look with jute and patience. This works best on a simple drum or empire shade.
What you need
- A shade with a smooth outer surface
- Jute twine or thin rope (choose a consistent thickness)
- Tacky glue or high-temp hot glue
- Clips or clothespins (helpful while drying)
How to do it
- Start at the bottom: Glue the end of the jute at the inside bottom edge.
- Wrap in rows: Wrap around the shade, keeping rows snug against each other.
- Glue smart: For the cleanest look, I use a thin, fairly continuous bead of glue on the back seam area (where a little mess will not show), then do small tack points elsewhere every 1 to 2 inches to prevent sagging over time.
- Work upward: Continue until the shade is fully wrapped.
- Finish cleanly: Tuck the final end under the top rim and glue inside.
My tip: If your jute is shedding, run it through your hands a few times and vacuum the shade after it cures. Also, keep glue neat. Little blobs can show through gaps.
Textured shade 3: cane panels
If you want a true statement piece, cane texture is so pretty with boho and vintage. This is a bit more advanced, but it is doable if you go slow.
Best candidates
- Drum shades with straight sides
- Shades that already have a sturdy frame
How I approach it
- Measure panels: I measure the shade height and circumference, then plan one clean seam at the back (or two seams opposite each other if the cane wants to fight me).
- Soften first if needed: If you are using natural cane webbing that feels stiff and curled, lightly dampening it can make it more flexible while you work. Let it dry fully before you use the lamp.
- Attach as an outer layer: I treat cane like the outer skin, attached to the frame with adhesive and a neat overlap seam.
- Let it breathe: I avoid sealing the shade up tight near the top. A little airflow and a little gap can help the lamp run cooler and look glowier.
- Diffuse if you want softer light: If the cane makes the light too spotty, add a thin inner liner so the glow is more even.
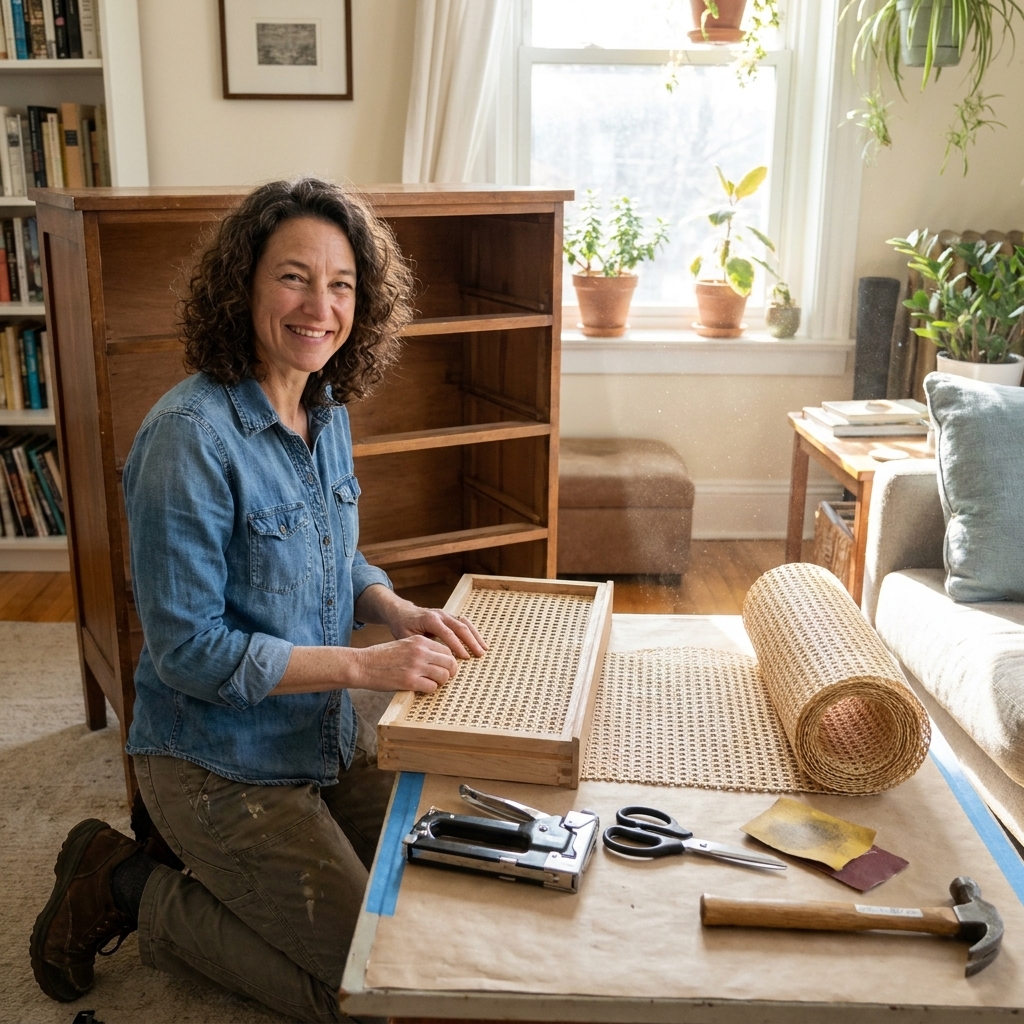
If you are cane-curious, you might also enjoy my dresser project in Upcycle a thrifted dresser with cane webbing. Same material, same slow-and-steady energy.
No harp? No problem
Thrift stores are full of lamps missing parts. Do not let a missing harp stop you.
Simple fixes
- Buy a replacement harp set: This is often the easiest route and opens up standard shade options.
- Use a clip-on shade: Great for small lamps, especially if you are going for a casual bedside look.
- Try a UNO shade: Some shades attach directly to the socket. Check your socket type before buying.
I like harps because they give you that classic “real lamp” structure, and they make it easier to swap shades seasonally if you feel like it.
Bulbs matter
This is my tiny soapbox: the wrong bulb can undo all your beautiful work.
- Color temperature: Look for warm light (around 2700K) for that cozy glow.
- Finish: Frosted bulbs soften the light. Clear bulbs can be harsh unless your shade is very opaque.
- Wattage: Stay within the lamp’s rated maximum wattage. With LEDs, pay attention to actual watts, not just “equivalent” watts on the package.
- Heat: LEDs run much cooler than incandescents, but they still produce heat at the base, so max wattage and ventilation still matter.
Once your lighting is warm, your room will suddenly look more layered and intentional, especially alongside natural textures like rattan. If you are deciding between materials, I break it down in Rattan, Wicker, or Bamboo?.
Style it so it looks collected
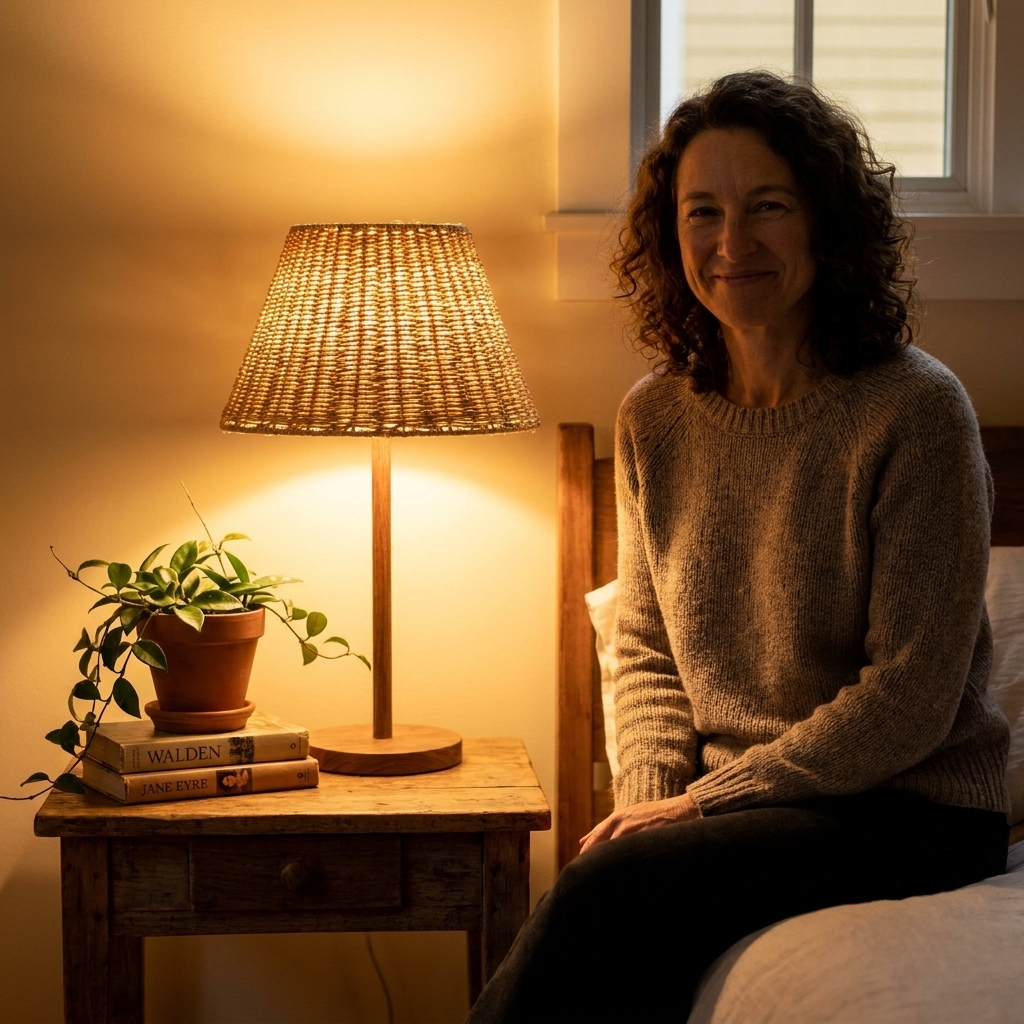
This is the fun part. Once the lamp is done, I style it like it is the anchor of a tiny vignette.
My favorite “boho lamp” trio
- Something living: A trailing pothos, a little cactus, or a leafy plant with personality. If you are plant-styling curious, you will love Arrange houseplants like a designer.
- Something woven: A small basket, a rattan tray, or a textured coaster.
- Something personal: A travel souvenir, a thrifted frame, a found object. Those story-filled pieces make the whole corner feel like you.
Mistakes to avoid
- Skipping cleaning: Paint hates residue. Clean first, always.
- Painting thick: Thick coats drip and stay tacky. Thin coats win.
- Choosing the wrong shade size: If it looks wobbly or stingy, it is usually a proportion problem.
- Over-trimming: A little fringe or jute edge is charming. Too many trims can read costume-y.
- Using a cool white bulb: It will make your cozy textures look flat and gray.
Troubleshooting
My paint feels tacky
It usually just needs more cure time. Give it another day (or two) before you reassemble hardware or start dragging it around the house.
My paint scratches off glazed ceramic
That is almost always a primer issue. A true bonding primer plus a good scuff sand makes a huge difference.
I can see brush marks
Use a small foam roller for the broad areas, then tip off edges lightly with a brush. Leveling paints can help too, but technique does a lot.
Quick FAQ
Can I spray paint a thrifted lamp base?
Yes, and it can look super smooth. The key is cleaning, scuff sanding, and using a primer if the surface is glossy. Spray light coats and let it cure fully before handling.
Is it safe to hot glue a lampshade?
Hot glue is commonly used for trim and fabric on the outside of a shade. I stick with LED bulbs to reduce heat, and I keep glue away from the socket and bulb area. Never glue anything to the inside near the bulb, and always respect the lamp’s maximum wattage rating.
How do I remove cigarette smell from a thrifted lamp shade?
If the shade is worth saving, leave it in a dry, sunny spot for a few hours, then wipe the inside and outside gently (if the material allows). For stubborn odor, replacement is often the easiest and most satisfying upgrade.
The vibe in one sentence
A thrifted lamp becomes boho the moment you pair a grounded, matte base with a shade that looks touchable. Linen, jute, cane, even a simple cotton trim can do the heavy lifting. It is one of those projects that makes the entire room feel warmer, calmer, and more you.
If you are on a full thrifting kick, my Budget Boho & Thrifting section is where I keep all my best secondhand tricks.