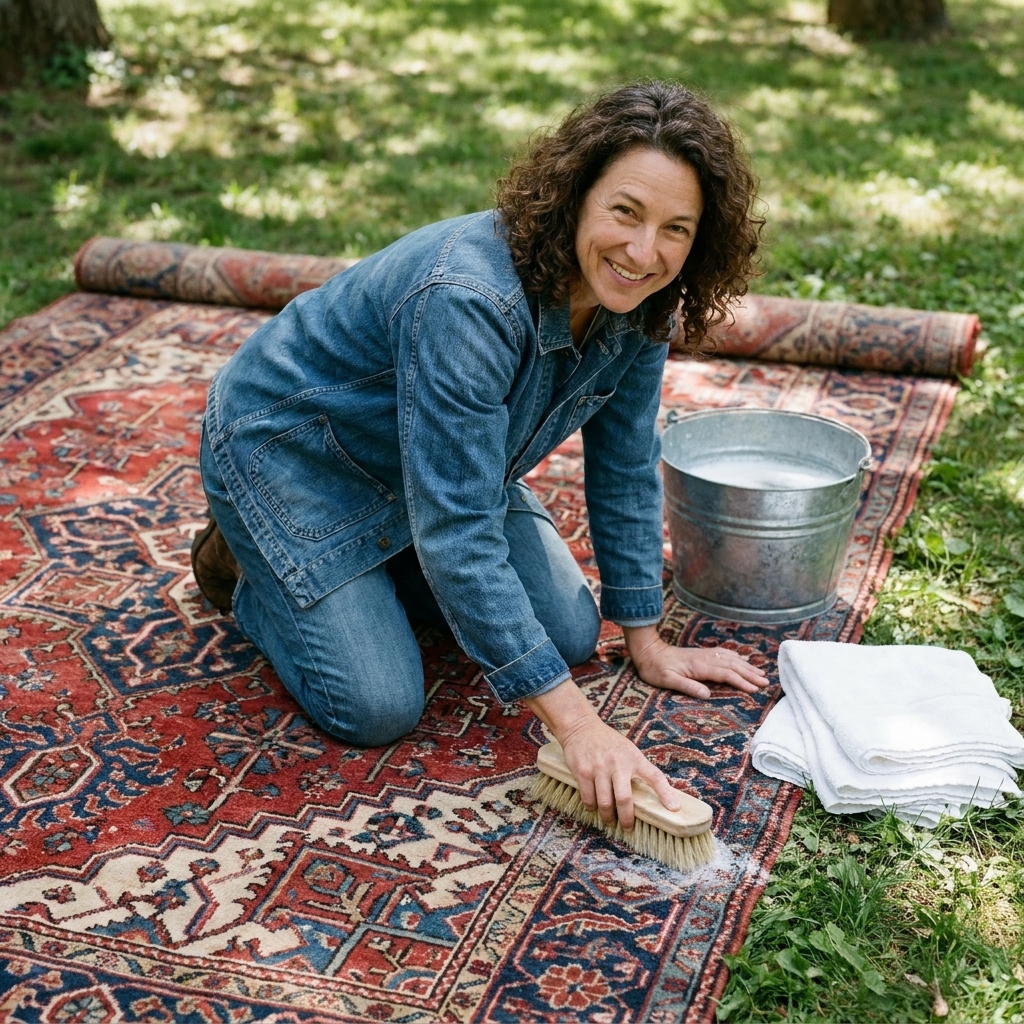

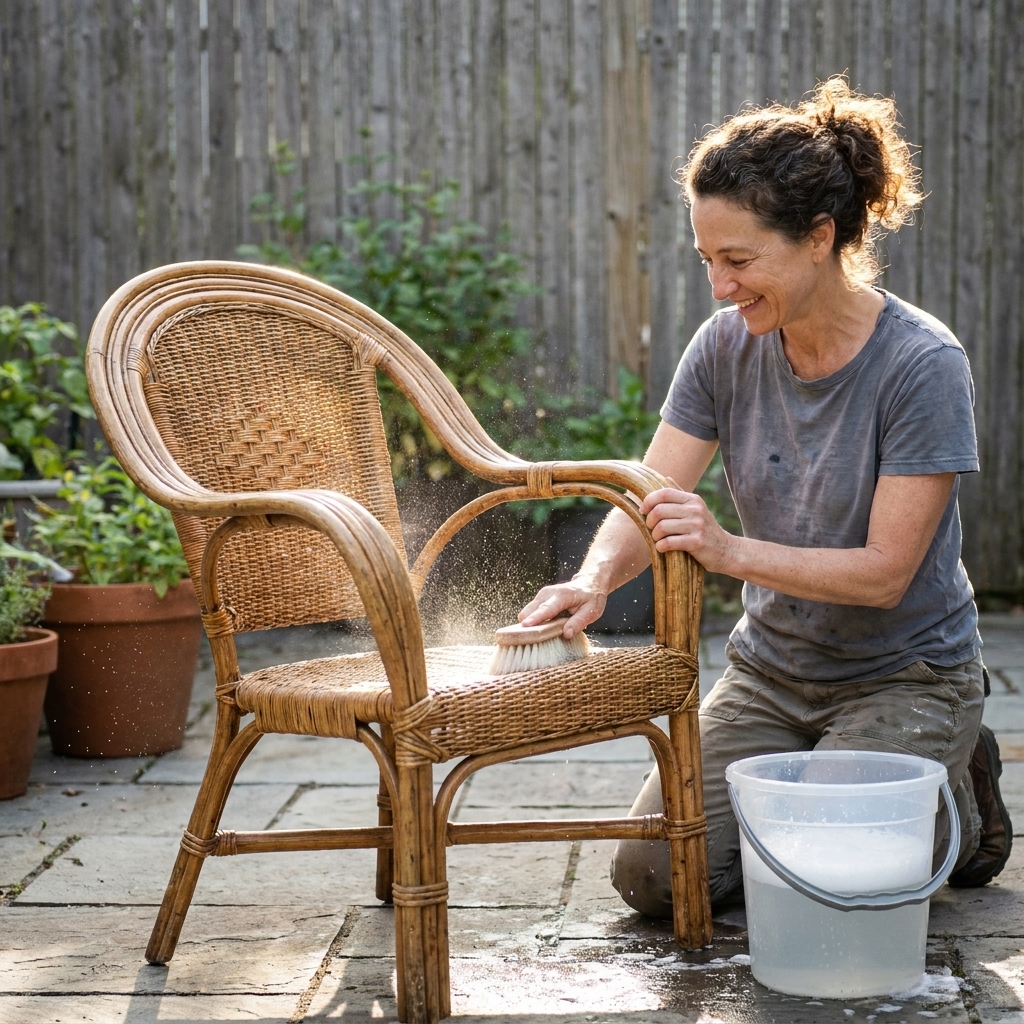
I will never forget the first rattan chair I dragged home from a flea market. It looked like it belonged in a breezy, plant-filled sunroom. Up close, it was bone dry, a little squeaky, and shedding tiny splinters like it had been living in an attic since 1993. If you have a similar thrift score sitting in your living room right now, you are in the right place.
Rattan and wicker are surprisingly forgiving, but they do have one big need: controlled moisture. Too dry and the fibers get brittle. Too wet and you risk swelling, mold, or a loose weave. The goal is gentle cleaning, then slow rehydration (for natural fibers), then protection.
If you want a quick primer on what you are actually dealing with, my guide on rattan, wicker, and bamboo can help you ID your piece before you start.
Quick decision guide
- If it is natural rattan, reed, cane, or willow: Dry clean first, wash with minimal water, then rehydrate slowly if it is brittle.
- If it is synthetic resin wicker: You can still wash it with mild soap and water, but “rehydrating” and conditioning is the pointless part.
- If it smells musty or shows fuzzy spots: Skip steam and humidity tricks and focus on safe cleaning, fast drying, and airflow.
First: figure out what you thrifted
“Wicker” is a weaving style, not a material. Your piece might be woven rattan, reed, willow, seagrass, or synthetic resin. This matters because natural fibers can be rehydrated and gently coaxed back to flexibility. Synthetic wicker can be cleaned, but it does not absorb moisture in a way that makes it more pliable.
Quick ID checks
- Natural rattan often shows subtle color variation, tiny nodes, and a warm, slightly grassy smell when damp.
- Reed and cane are usually smoother and flatter in strips (common on chair seats and cabinet doors).
- Synthetic resin wicker looks very uniform and plasticky, and the ends may show a “melted” look at joins.
- Painted wicker needs extra care because scrubbing can flake the finish.
Rule of thumb: if you see fuzziness, splintering, or a chalky surface, it is usually dehydrated natural fiber and a good candidate for gentle rehydration.
What to check before cleaning
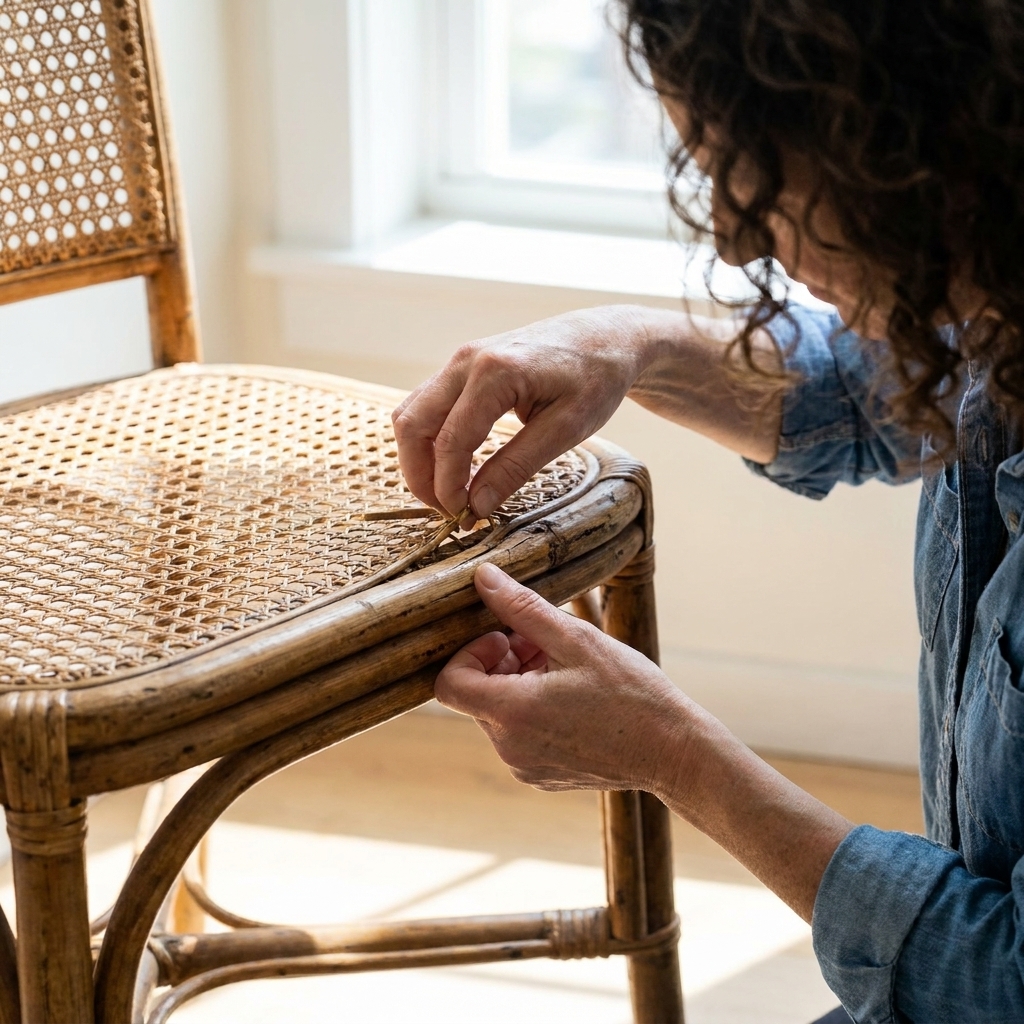
Before water touches anything, do a quick assessment. This keeps you from turning a small problem into a big one.
- Musty smell or fuzzy spots: possible mildew. Plan on a mild clean and very thorough drying.
- Cracks at bends or joints: common on arms and legs. These need stabilizing, not aggressive scrubbing.
- Loose weave: often fixable, but you want to tighten after the fibers are slightly rehydrated.
- Wobble: points to loose screws, failing glue, or a shifting frame.
- Flaking paint: use the gentlest cleaning method and avoid soaking.
If the frame feels structurally unsound (cracked through, collapsing joints), save the spa day for later and address repairs first, or pass the piece along. There is no shame in leaving a heartbreak chair at the thrift store.
Supplies I actually use
- Vacuum with brush attachment
- Soft paintbrush or a clean, dry toothbrush for crevices
- Microfiber cloths
- Bucket of warm water
- Mild dish soap
- Spray bottle
- Optional: white vinegar (spot test first, for mild surface mildew)
- Optional: 3% household hydrogen peroxide (spot test only)
- Optional: wood glue and clamps (for loose joints)
- Optional: replacement reed or cane (for broken wraps), small scissors
What I avoid: pressure washers, soaking tubs, and oily conditioning products that stay tacky and attract dirt.
Quick safety note: If you are brushing out old dust or dealing with musty pieces, work in a well-ventilated area. I also like gloves, and a mask is a smart idea if you are sensitive.
Step 1: Dry clean first
Dust plus moisture equals grime paste. Start dry.
- Vacuum gently using a brush attachment. Go with the direction of the weave.
- Brush out corners with a soft paintbrush, then vacuum again.
- Tap and listen for warning signs like crackling, flaking, or sudden crunchy sounds. If you hear that, lighten your touch and skip any aggressive brushing in that area.
This one step makes the wet clean so much easier and keeps you from grinding dirt deeper into the fibers.
Step 2: Wash without soaking
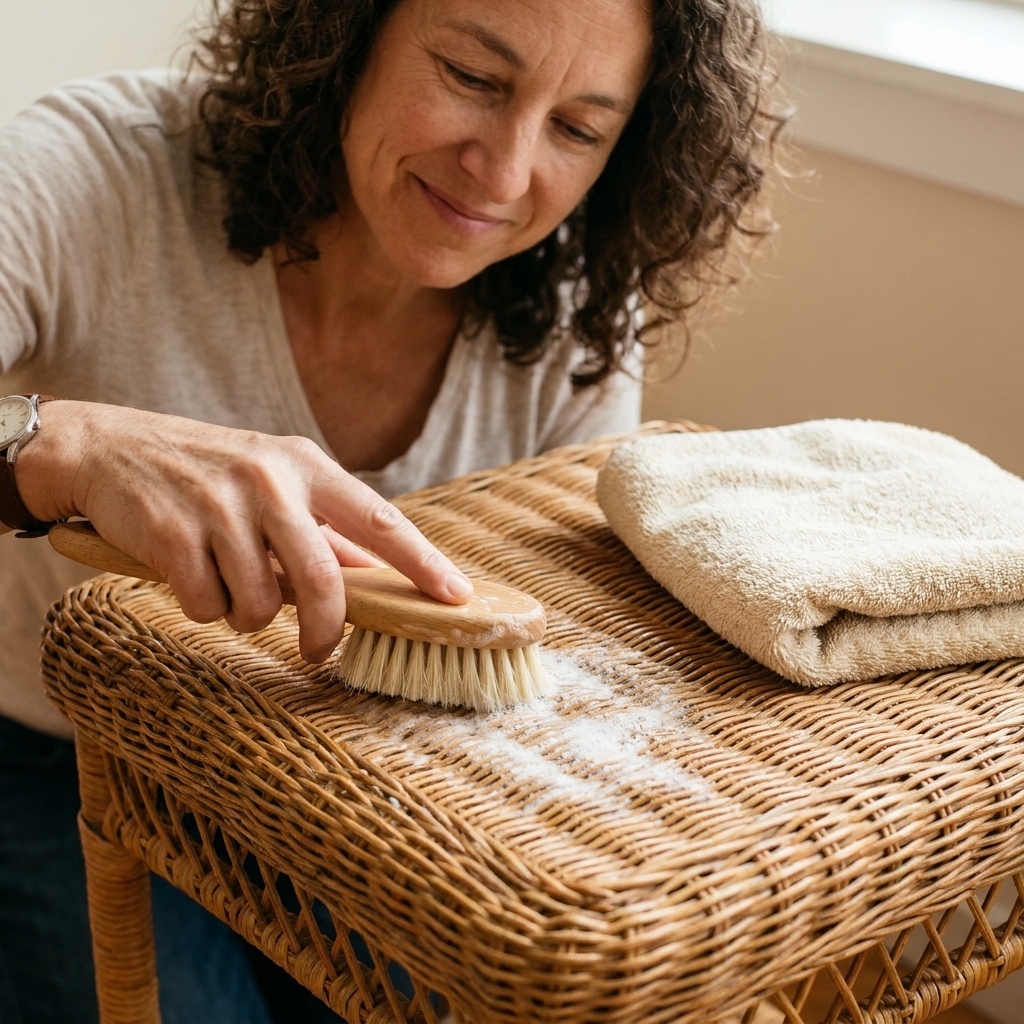
The safest way to wash rattan and wicker is to use as little water as possible while still lifting grime.
My gentle wash method
- Mix 1 teaspoon mild dish soap into 1 quart warm water.
- Dampen (do not drench) a microfiber cloth or soft brush in the solution.
- Work in small sections, following the weave.
- Wipe with a separate cloth dampened with clean water to remove soap residue.
- Dry immediately with a towel, then air dry fully.
Drying rules: Put the piece in a warm, breezy spot out of harsh direct sun. Too much hot sun can dry the fibers too fast and make brittleness worse. Expect 12 to 24 hours for thorough drying indoors, longer if your home is humid.
If it is synthetic wicker
Synthetic resin wicker is more water-tolerant than natural fibers. You can wash it with mild soap and water, rinse carefully, and dry it well. What you can skip is the rehydration step, since moisture will not “condition” plastic strands.
If you are dealing with mildew
Start mild and start small. In a spray bottle, mix equal parts water and white vinegar. Lightly mist the affected area, scrub gently with a soft brush, then wipe with clean water and dry thoroughly.
Cautions: Always spot test first, especially on painted or unknown finishes. Never mix vinegar with bleach. And if you have extensive mold, recurring musty odor, or you are dealing with porous padding or cushions, it may be more than a surface-clean situation.
If you use hydrogen peroxide, stick to 3% household peroxide and spot test underneath first. It can lighten fibers and affect some finishes.
Step 3: Rehydrate slowly
When rattan is dehydrated, it needs moisture to regain a bit of flexibility. But soaking can loosen wraps and warp the frame. Think humid day, not bath.
Option A: Controlled misting
- Fill a spray bottle with plain water.
- Lightly mist the piece from about 12 to 18 inches away.
- Wait 15 minutes.
- Mist again if it still looks chalky or feels extremely dry.
- Let it rest overnight in a ventilated room.
I do this in two or three rounds over a day rather than one big drench. Your goal is to reintroduce a little moisture into the fibers so they stop feeling like dry spaghetti.
Option B: Bathroom humidity
If the weave is so dry you are afraid it will snap when you touch it, you can rehydrate more gently by raising humidity around it.
- Place the furniture in a bathroom or laundry room.
- Run a hot shower for 5 to 10 minutes to steam up the space.
- Turn the water off and let the piece sit in the humidity for 30 to 60 minutes.
- Move it to a dry, airy spot with good airflow to rest and dry fully.
Important: Do not use this method if the piece already smells musty or shows mildew. Monitor it closely and do not leave it in a damp room all day. We want flexible, not musty.
Step 4: Tighten loose weave
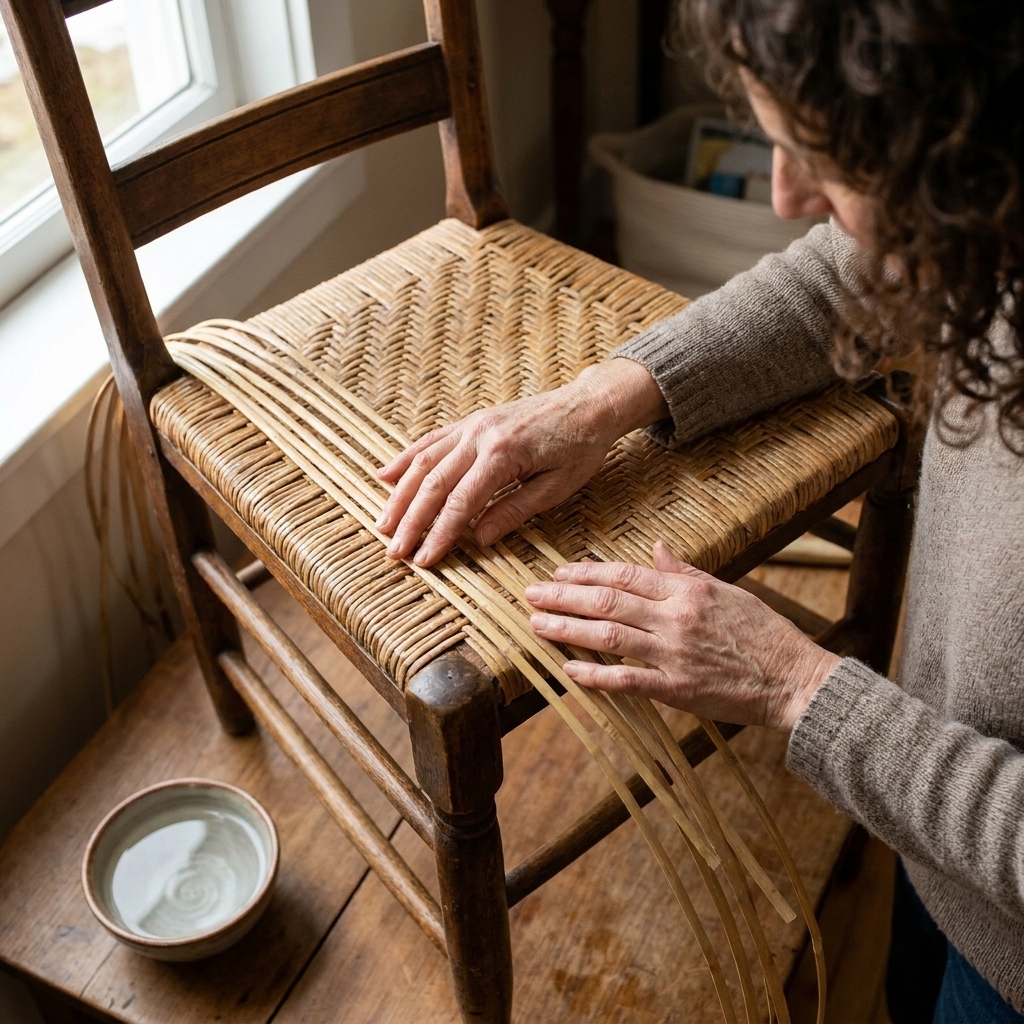
Loose wicker often looks worse than it is. Once fibers are slightly rehydrated, you can coax them back into place.
For general wicker weave
- Reposition strands with your fingers while the piece is mildly damp from misting.
- Tuck ends back in using the blunt end of a butter knife or a wooden skewer.
- Do not pull hard. If it does not move easily, stop and mist again later.
For cane webbing seats
If you have a chair with cane webbing that is sagging, the fix depends on how it is installed. Some cane is press-fit into a groove with spline. Some is hand-woven.
A light dampening and thorough drying can sometimes give a small, temporary improvement on slightly loose cane. But water alone will not permanently tighten a seat that is stretched, brittle, or broken. Controlled rehydration mainly helps you evaluate what is salvageable without snapping more strands.
If the cane is broken in multiple spots, replacement is usually the real solution. If it is only slightly loose, the seat may improve a bit after controlled rehydration and drying, but do not expect miracles on a heavily used dining chair.
Step 5: Fix wobbles and joints
A thrifted rattan piece can look perfect and still wobble like a baby deer. Most of the time it is a loose joint, not a doomed frame.
Quick checks
- Tighten any visible screws gently. If a screw spins, it may be stripped.
- Look for gaps where two pieces meet. Old glue can dry out and fail.
Simple glue repair
- If possible, separate the joint slightly without forcing it.
- Add a small amount of wood glue into the joint.
- Wipe away squeeze-out with a damp cloth.
- Clamp or tie in place (soft cloth under the clamp to avoid dents).
- Let cure fully according to the glue instructions before sitting on it.
If the rattan pole itself is cracked through, glue alone may not hold long term. At that point, it becomes a structural repair project.
Step 6: Splinters and fuzz
That prickly, fuzzy feeling is usually surface fiber breakage from dryness and abrasion.
- Start with cleaning. Sometimes the fuzz is just grime.
- Trim, do not yank. Use small scissors to snip protruding fibers flush.
- Sand only if needed. If you must sand, use a very fine grit and the lightest pressure. Over-sanding can weaken the outer skin of rattan.
After rehydration, many pieces feel noticeably smoother because the fibers relax back down.
Should you oil rattan or wicker?
This is the part where the internet gets loud. You will see advice to rub rattan with oils. Here is my practical take from trial and error: a little conditioning can help the look of very dry natural fiber, but oily residue can attract dust and turn into sticky grime over time.
If you condition anyway
- Use the smallest amount possible and apply with a cloth.
- Buff thoroughly so there is no slick surface.
- Always spot test underneath first, especially on lighter rattan.
My preference: controlled moisture (misting or humidity) plus keeping the piece out of extreme heat and dryness does most of the rehydrating work without creating a dust magnet.
Painted wicker care
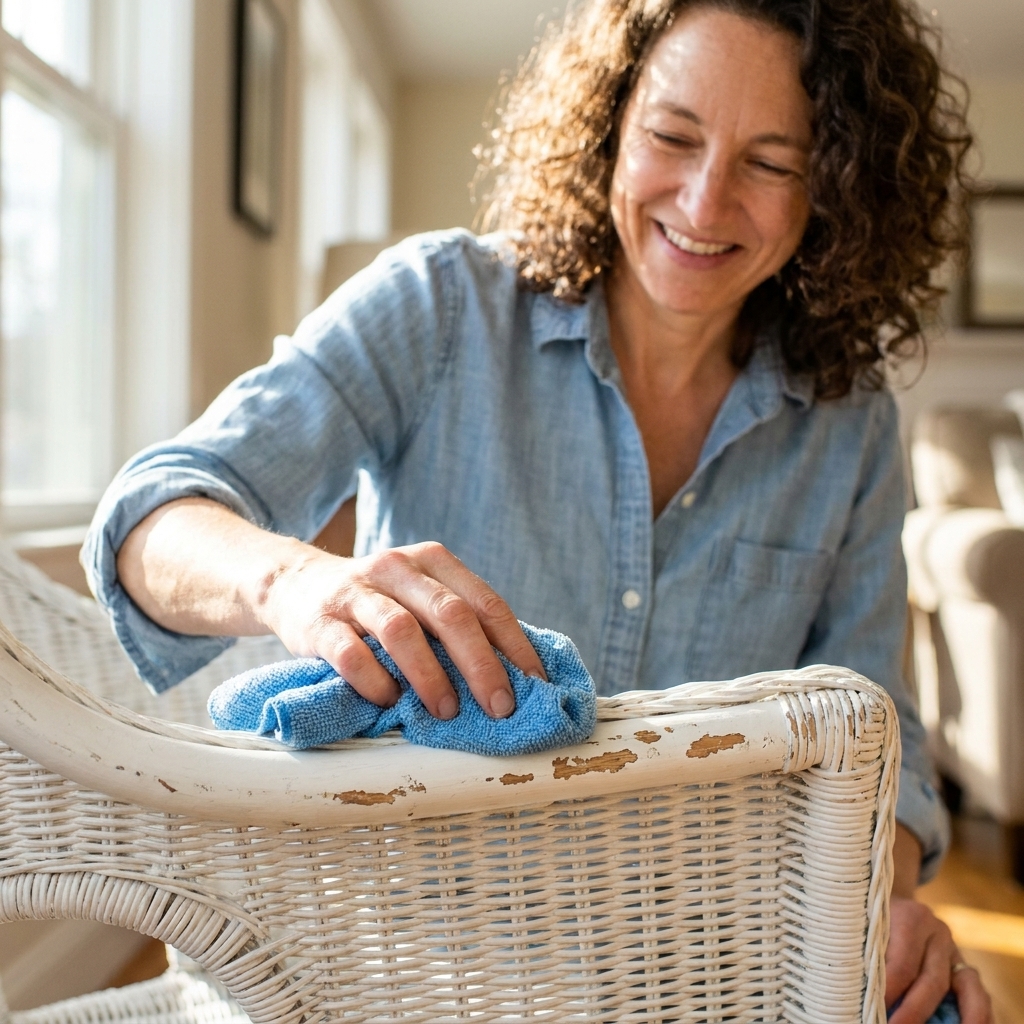
Painted wicker is beautiful, but paint can hide problems and it can also chip if you scrub too hard.
- Use a barely damp cloth instead of a wet brush.
- Avoid vinegar on unknown paint finishes unless you spot test.
- Skip heavy steam. Moisture can lift older paint.
If you are planning to repaint anyway, clean it well first, let it dry fully for a day or two, then proceed with prep. Even then, keep water exposure modest.
Older paint caution: If you are in the US and the piece could be pre-1978, assume lead paint is possible until proven otherwise. Avoid dry sanding or creating dust. If you do any paint prep, use safer methods and follow local guidance for testing and containment.
Indoor vs outdoor pieces
A quick reality check: outdoor resin wicker and indoor natural rattan live very different lives.
- Outdoor synthetic wicker: usually fine with a more normal wash and rinse, but cushions are the mold trap. Dry them completely before putting anything back together.
- Natural rattan outdoors: it can survive a covered porch, but constant sun and weather will dry it out and weaken it faster. Keep it shaded and dry when you can.
Keep it from drying out again
Once your piece is revived, maintenance is mostly about avoiding extremes.
- Keep it away from heat vents and fireplaces. Constant hot airflow dries fibers fast.
- Avoid long, harsh sun exposure, especially near windows that get blasting afternoon light.
- Dust regularly so you are not deep-cleaning as often.
- Mist lightly once in a while if your home is very dry, especially in winter. One light pass, then let it dry out normally.
- Use cushions and throws on seats and arms. It reduces abrasion and helps pieces age more gracefully.
For styling, I love pairing revived rattan with cozy textiles and layered rugs. If you are in a nesting mood, my post on draping throws to revive worn upholstery has the same soften-and-layer approach that works beautifully with wicker and rattan.
When to walk away
Some thrift finds are better as plant stands than as seating.
- Active mold inside the frame that keeps returning after cleaning
- Severe structural cracks in main supports
- Widespread broken weave that would require a full reweave
If the frame is stable but the seat is too far gone, consider using it as a styled corner piece with a tray, books, and a trailing plant. My favorite boho compromise is turning almost chairs into plant moments. I shared a bunch of ideas in thrifted furniture plant stands.
Troubleshooting
It feels sticky after cleaning
That is usually leftover soap or cleaning product residue. Wipe again with a cloth dampened with clean water, then towel dry.
It still looks dry and dull
Do one more round of light misting and let it rest overnight. Many pieces look better the next day once moisture redistributes through the fibers.
My weave got looser after cleaning
Too much water can swell fibers and relax the weave temporarily. Let it dry completely (give it a full day if needed). If it stays loose, you may need to tuck and tighten strands by hand, or the piece may have stretched beyond what hydration can fix.
It smells musty even after drying
Give it airflow for a full day or two, ideally with a fan nearby. If the smell persists, the issue may be inside the wrapped joints where moisture got trapped.
My simple maintenance routine
- Monthly: quick vacuum with brush attachment
- Seasonally: wipe with barely soapy water, then clean water, then dry
- Winter or very dry homes: one light misting session, then let it dry normally
That is it. No complicated potions. Just gentle care that keeps the fibers happy.