

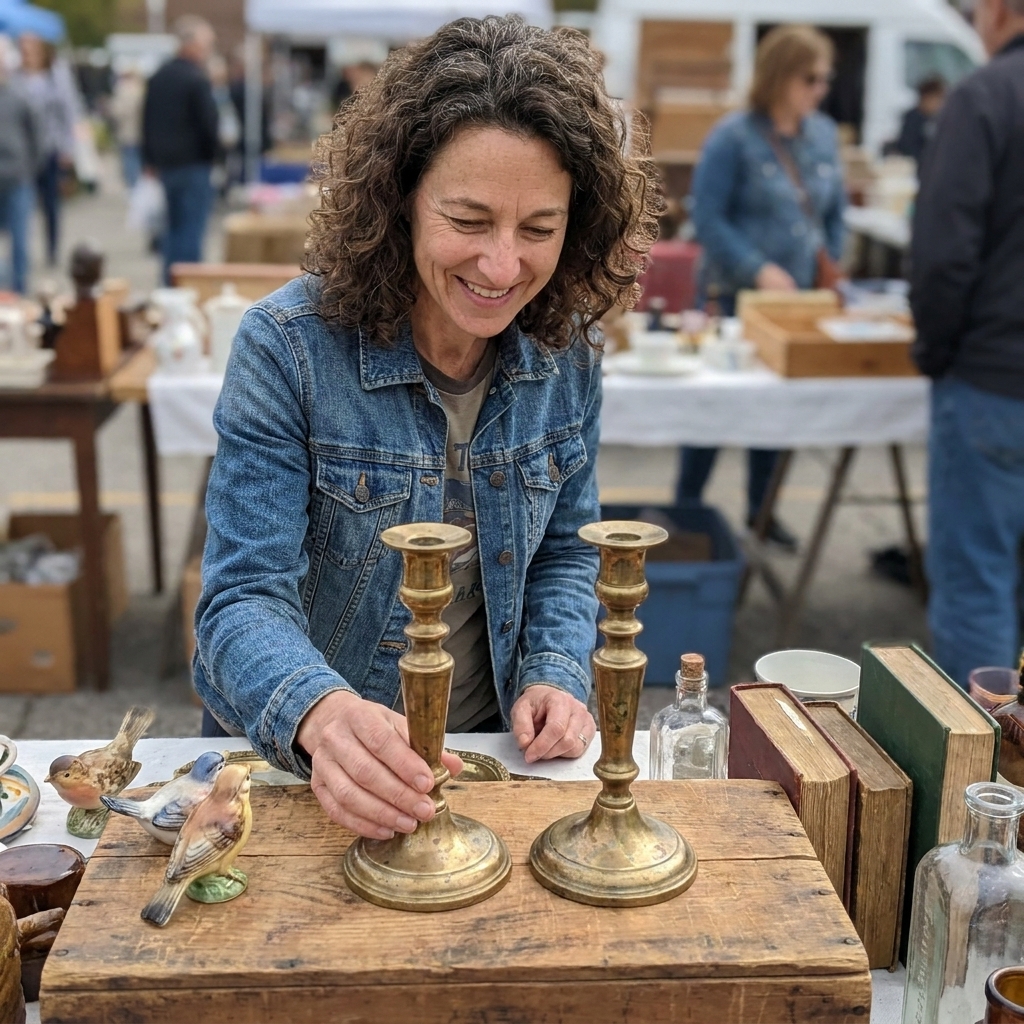
I have a very specific thrifting weakness: anything brass that looks like it has lived a life. Candlesticks with soft dents, a little tray with mystery scratches, a lamp finial that somehow feels fancier than it has any right to. Brass is one of those materials that instantly warms up a room, especially in boho and eclectic spaces where you are layering textures and stories on purpose.
But brass thrifting comes with two big questions: is it actually brass, and if it is, how do you clean it without stripping away the gorgeous aged character? Let’s walk through both, flea-market style.
First: pick your brass look
Before you buy cleaners or start scrubbing, it helps to name your goal. In my house there are two categories:
- The glow-up: bright, golden, reflective brass. This is great for a statement tray, bar cart moments, or candlesticks that you want to pop against dark paint or moody textiles.
- The patina keeper: softer brass with mellow brown tones and darker creases. This is my go-to for global, collected spaces where nothing looks factory-new.
Both are beautiful. The trick is cleaning in a way that supports the look you actually want.
How to tell solid brass from plated
When you are standing in a flea market aisle holding a dusty candlestick in one hand and a questionable “brass” bowl in the other, use this quick lineup of tests. I usually do them in this order.
1) The magnet test
Carry a small magnet in your bag or on your keychain. Brass itself is not magnetic, so if your magnet grabs hard, the piece is often steel or iron with brass plating or a brass-colored finish.
- Magnet sticks hard to large areas: probably not solid brass.
- Magnet only catches in one spot: it might still be brass, but with a hidden steel screw, pin, insert, or a weighted base.
- No pull: could be brass, or could be another non-magnetic metal like aluminum, copper, or zinc alloy.
This test does not prove it is brass, but it helps you eliminate a lot of “brass look” pieces quickly.
2) Look for worn spots
Plated pieces often reveal their base metal at edges and high-touch areas. Check:
- Rims and corners
- Handles and knobs
- The underside rim where it drags on shelves
- Any raised pattern details
If you see silver, gray, or a different color peeking through, that is usually plating wearing off. Solid brass will age more consistently, even if it is blotchy or dark.
3) Check scratches and chips
Brass has a warm, yellow-gold tone that tends to look like metal all the way through. On plated or painted pieces, damage can look more like a “surface layer” coming off, especially if you see a sharper line where the top color ends and a different metal shows underneath.
4) Flip it for stamps and labels
Not all brass is marked, but when it is, it helps. Look for:
- “Solid brass” (best case scenario)
- “Brass” (can still be plated, but often promising)
- “Brass plated” or anything indicating plating
- “EPNS” (silverplate terminology that usually means the piece is not brass at all)
- Maker’s marks (worth a quick search later)
5) The weight clue
Solid brass pieces often feel more substantial than thin plated decor, but weight varies by item type. A delicate solid brass trinket box can still be light. Use weight as a supporting clue, not the deciding one.
6) A word on the scratch test
You will sometimes hear advice to scratch an inconspicuous spot to see what is underneath. In a shop or flea market, I do not recommend it. It damages the piece and it is not your property yet. Instead, rely on the magnet, wear patterns, and stamps.
Brass, lacquer, and cloudy shine
A lot of vintage brass decor was sealed with a clear lacquer to slow tarnish. Lacquered brass can look cloudy, blotchy, or slightly orange over time, and polishing can feel like it does nothing because you are rubbing the coating, not the metal.
How to spot lacquer:
- Uneven shiny patches that look like old clear coat
- Flaking or peeling near edges
- A slightly plastic-looking shine rather than a metallic glow
If you love patina, lacquer can actually be a friend. If you want a full bright polish, you may need to remove failing lacquer first. Just know that lacquer removal is not always quick or simple, and some pieces are better left beautifully imperfect.
Before you polish: wash first
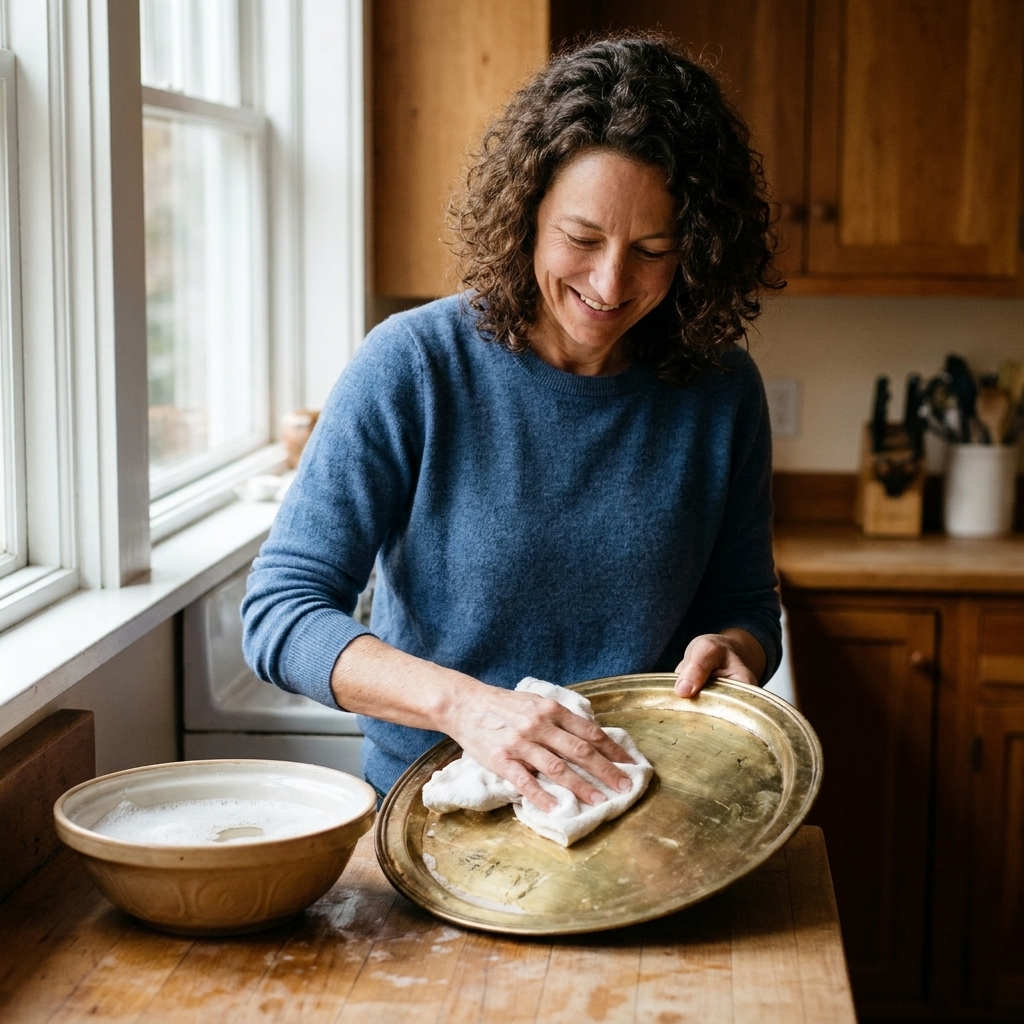
Most thrifted brass is not only tarnished, it is also coated in decades of dust, cooking film, or furniture polish residue. Start here every time:
- Wash with warm water plus a drop of gentle dish soap. Use a soft cloth or non-scratch sponge.
- Use a soft toothbrush for creases. Especially around beading, etched details, and candle cups.
- Rinse and dry immediately. Water spots are sneaky and can dull the finish.
Most of the time, this alone reveals that the piece is already the perfect warm, aged brass and you do not need to chase a mirror shine.
Polishing methods that stay safe
I like to think of polishing as a dial, not an on and off switch. Choose the least aggressive option that gets you the look you want. If the piece looks potentially collectible (clear maker’s mark, unusual form, or it just feels special), I go extra slow: test a small spot, and remember that heavy polishing can knock down character and, sometimes, value.
Option A: Patina-friendly buff
If you love an aged look but want it to feel clean and intentional:
- After washing and drying, buff with a dry microfiber cloth.
- For extra warmth, add a tiny dab of mineral oil on the cloth and buff lightly, then wipe off any excess so it does not feel oily.
This deepens color and evens out the surface without stripping the darker low spots that make vintage brass look soulful.
Option B: Gentle DIY paste (very controllable)
For brass that is truly tarnished but you still want to keep some age, you can use a simple paste. Lemon juice or white vinegar provides mild cleaning power, and baking soda makes it more of a gentle, controllable polish paste (it also tamps down the acid so it is not overly harsh).
- Mix lemon juice (or white vinegar) with a little baking soda to form a soft paste.
- Apply with a cloth, not an abrasive pad.
- Work in small sections for 30 to 60 seconds.
- Rinse thoroughly and dry immediately.
Important: do not let acidic mixtures sit on brass for long. The goal is controlled cleaning, not a long soak.
Option C: Commercial brass polish
If you are aiming for bright, reflective brass, a commercial polish is usually the most consistent choice. Use it with a soft cloth and light pressure, then buff clean. For heavily detailed pieces, a cotton swab helps you target crevices without over-polishing everything else.
When I use commercial polish, I do it near an open window and I wash the item afterward with mild soap and water to remove residue, then dry thoroughly.
Removing old lacquer (only if needed)
If the brass has a failing clear coat, polishing can look streaky because the shine is uneven across the surface. Sometimes you can work around it, and sometimes you need to remove the old coating to get an even finish. This is the step where I slow down and get picky.
Try first: hot water softening for small items
For smaller decor pieces that do not have glued parts, wood bases, felt bottoms, or electrical components:
- Bring a pot of water to a near-simmer, then turn off the heat.
- Submerge the brass piece for a few minutes to see if the coating softens.
- Carefully remove with tongs and wipe with a cloth.
- If nothing changes, stop. Do not keep cooking it.
This can help with some waxy or failing clear coats, but it will not dissolve every lacquer finish.
If it will not budge
Stubborn lacquer often requires a solvent or stripper, and that is where I recommend extra caution: ventilation, gloves, and careful product directions matter. If the piece is valuable, has a finish you want to preserve, or includes mixed materials, I would rather live with a little cloudiness than rush into aggressive stripping.
Wax on candlesticks (quick fix)
If your thrifted candlesticks come with old wax drama, I use one of two moves:
- Freeze method: Pop the holder in the freezer for a bit, then gently pry out the hardened wax. It often releases in one clean chunk.
- Warm and wipe: Warm the wax just until it softens, then wipe it away. Keep heat gentle and controlled, especially around soldered seams or mixed materials.
After that, wash with warm soapy water, dry, then decide whether you want patina or polish.
What not to do
- Do not use steel wool. It scratches and can leave tiny particles that rust.
- Do not soak pieces with mixed materials. Wood bases, glued felt, painted accents, and lamps do not want a bath.
- Do not over-polish etched details. You can flatten the contrast that makes vintage pieces interesting.
- Do not use harsh abrasives on plated brass. You can polish straight through the plating and expose the base metal.
Plated brass: how to clean it
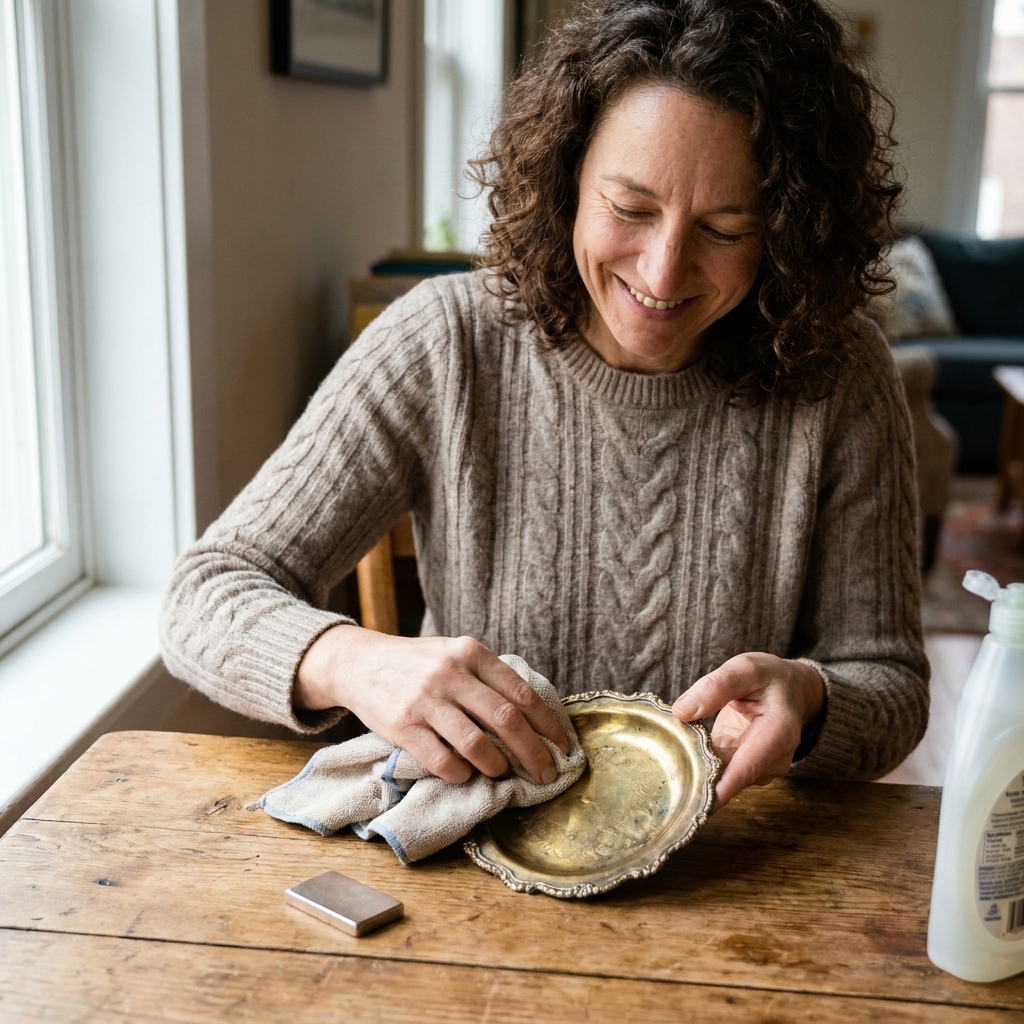
Plated pieces can still be adorable in an eclectic home, especially when the shape is special. You just want to treat them like a delicate finish.
- Stick to warm soapy water and a soft cloth.
- Dry immediately.
- Buff gently with microfiber.
- Avoid acidic DIY polishes and strong commercial polishes unless you are okay with the risk.
If the plating is already wearing off in spots, I lean into it and style it as a “timeworn” piece. Boho rooms are forgiving like that.
How to keep brass looking good
Brass darkens and dulls over time because it reacts with oxygen and sulfur compounds in the air, and moisture speeds the process up. You cannot stop it forever, but you can slow it down.
- Handle with clean hands. Skin oils speed up fingerprints and spotting.
- Keep it dry. Bathrooms and kitchens are harder environments for polished brass decor.
- Dust with a dry cloth. Spray cleaners can create buildup and dullness.
- Consider microcrystalline wax. Collectors sometimes use it as a protective layer on metals. Apply sparingly and buff well.
Easy ways to style thrifted brass
Brass is a bridge metal. It plays well with warm woods, colorful textiles, ceramics, and plants. A few of my favorite styling moves:
- Use brass as a repeat across a room: two candlesticks on a shelf, a little tray on the coffee table, and a small brass frame. It feels intentional without matching.
- Mix brass with rattan and woven texture for instant warmth. If you are building out that layered look, my thoughts on natural materials live over on rattan vs wicker vs bamboo.
- Put brass next to matte surfaces like terracotta, plaster-look ceramics, or unglazed pottery so the shine feels rich, not flashy.
- Let greenery soften the gleam. A brass planter or cachepot looks amazing with trailing plants. If you are building your plant styling confidence, you might like how to arrange houseplants like a designer.
- Layer brass with vintage textiles. A brass tray on a console with a folded textile underneath looks collected in the best way. If you love globally inspired cloth, this mudcloth guide is a good rabbit hole.
Quick thrifting checklist
- Magnet test, but watch for hidden steel parts
- Check edges and corners for plating wear
- Look for stamps underneath
- Assess lacquer: cloudy, peeling, plasticky shine
- Decide your end goal: patina or bright polish
- Start with soap and water before any polish
FAQ
Is tarnish on brass permanent?
Usually no. Most tarnish is a surface layer that can be reduced or removed. The bigger question is whether you want it removed. Patina is part of the charm for many vintage pieces.
Can I use ketchup to polish brass?
It can work because it is mildly acidic, but I skip it. It is messy, it can lodge in crevices, and it is harder to control than a simple DIY paste or a dedicated brass polish.
Why did my brass turn pinkish after cleaning?
That can happen if the piece is actually brass-plated and you have worn through areas, or if an overly aggressive cleaner changed the surface. That is why I start gentle, test a small spot, and avoid long soaks with acidic mixtures.
Should I polish vintage brass that looks antique?
If it already has a beautiful even patina, I typically just wash it, dry it, and buff it. You can always polish more later. It is much harder to put patina back once you strip it to bright gold.