

There is a very specific thrill to spotting a solid wood dresser at the thrift store that is ugly in a totally fixable way. You know the kind: chunky hardware, orange varnish, drawer fronts that look like they belong in a dentist’s office waiting room. The bones are good, the price is right, and all it needs is a little plan.
One of my favorite upgrades for that “custom boho” look is cane webbing. It adds warmth, texture, and that breezy, collected vibe without making your whole room feel like matching rattan furniture. It is also surprisingly doable with basic tools, even in a rental-friendly workspace like a balcony or a drop-cloth-covered living room floor.
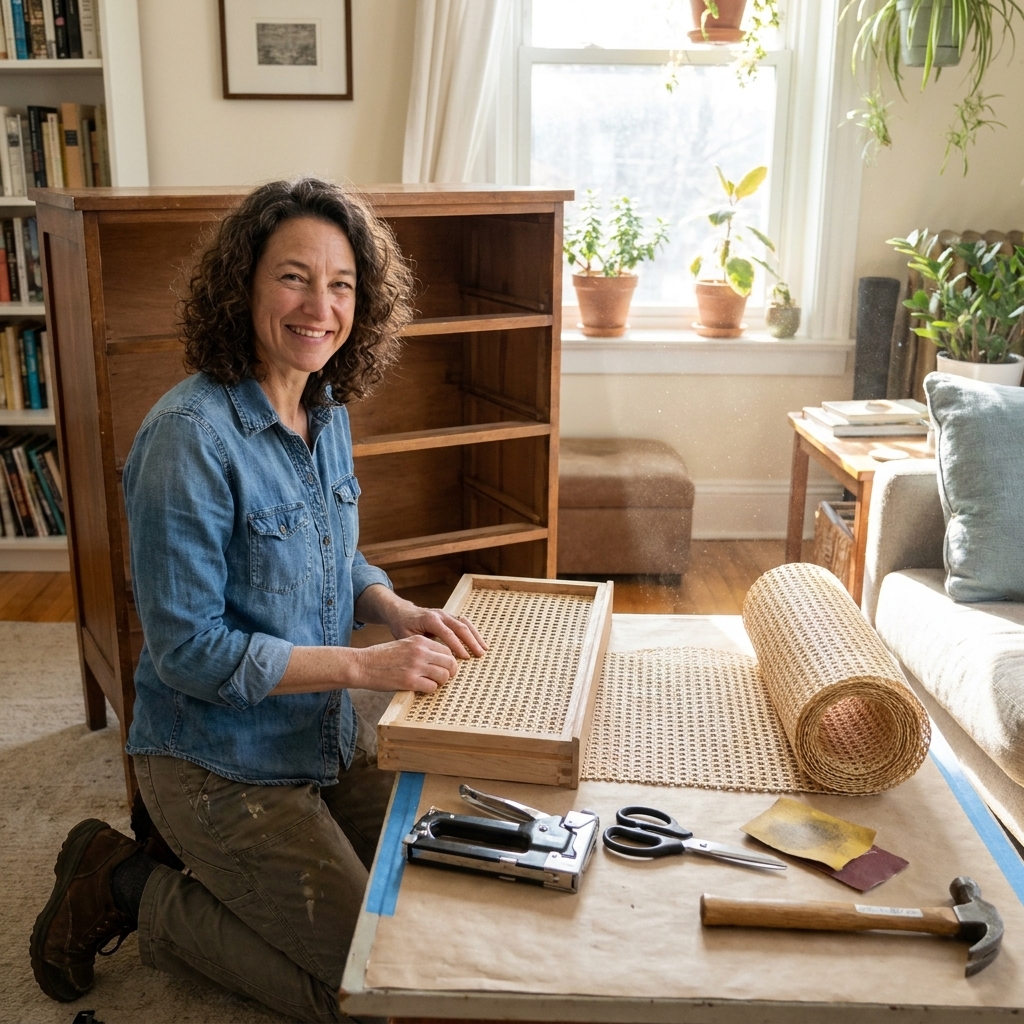
Why cane works on dressers
Cane brings in that airy, organic texture that makes a space feel layered and globally inspired. On a dresser, it breaks up heavy wood surfaces and instantly reads “designer” when you pair it with the right hardware.
- It lightens visual weight, especially in small bedrooms or rentals.
- It plays nicely with vintage, from brass pulls to carved legs.
- It is a texture you can repeat across a room with baskets, rattan, and woven accents. If you love that look, you will also like the ideas in 7 Creative Ways to Use Woven Seagrass Baskets for Stylish Boho Storage.
- It helps the “thrifted” origin disappear so the piece feels intentional, not just cheap.
Pick the right dresser
Before you buy, do a quick bone check. Cane looks best when the underlying piece is sturdy, even if the finish is rough.
My thrift-store checklist
- Solid wood or sturdy veneer: Solid wood is easiest to sand and refinish. Veneer is fine too, but sand gently and avoid digging through the thin top layer.
- Drawer action: Open and close every drawer. A little stickiness is fixable. A drawer that drops, twists, or falls off the runners can be a bigger project.
- Flat drawer fronts: Cane is easiest on flat fronts or simple recessed panels. Deep grooves and ornate carvings can still work, but you will likely need a frame method.
- Smell test: If it smells like smoke or mildew, be realistic about how much sealing you want to do.
If you are still building your thrifting instincts, my general approach is in Budget Boho Thrifting.
Materials and tools
You have two main ways to add cane: the inset method (most classic) and the overlay method (fastest). Your tool list depends on which you choose.
Materials
- Natural cane webbing (open weave sheet cane, often sold by the roll)
- Wood glue for most projects, plus clamps
- Contact cement (optional, only when clamping is not realistic and after you test for bleed-through)
- Staples (optional but helpful for the overlay method)
- Trim or reed spline (for the inset method, or trim for the overlay frame)
- Primer and paint or stain and topcoat for the dresser body
- New hardware (pulls or knobs)
- Sandpaper (80, 120, 220 grit)
- Wood filler (for old hardware holes or chipped corners)
- Painter’s tape and drop cloth
- Pin nails or brads (optional, for attaching trim) and nail hole filler
Tools
- Screwdriver
- Measuring tape and pencil
- Scissors (for rough cutting cane)
- Utility knife (for clean trimming)
- Clamps (very helpful)
- Drill (for new hardware holes)
- For inset method: router with a straight bit, or a multi-tool, or a steady hand with a chisel and patience
- For overlay method: staple gun
Quick note on cane: Cane webbing is easiest to work with when it is softened and flexible, but you do not need to soak it into oblivion. More on that in the step-by-step.
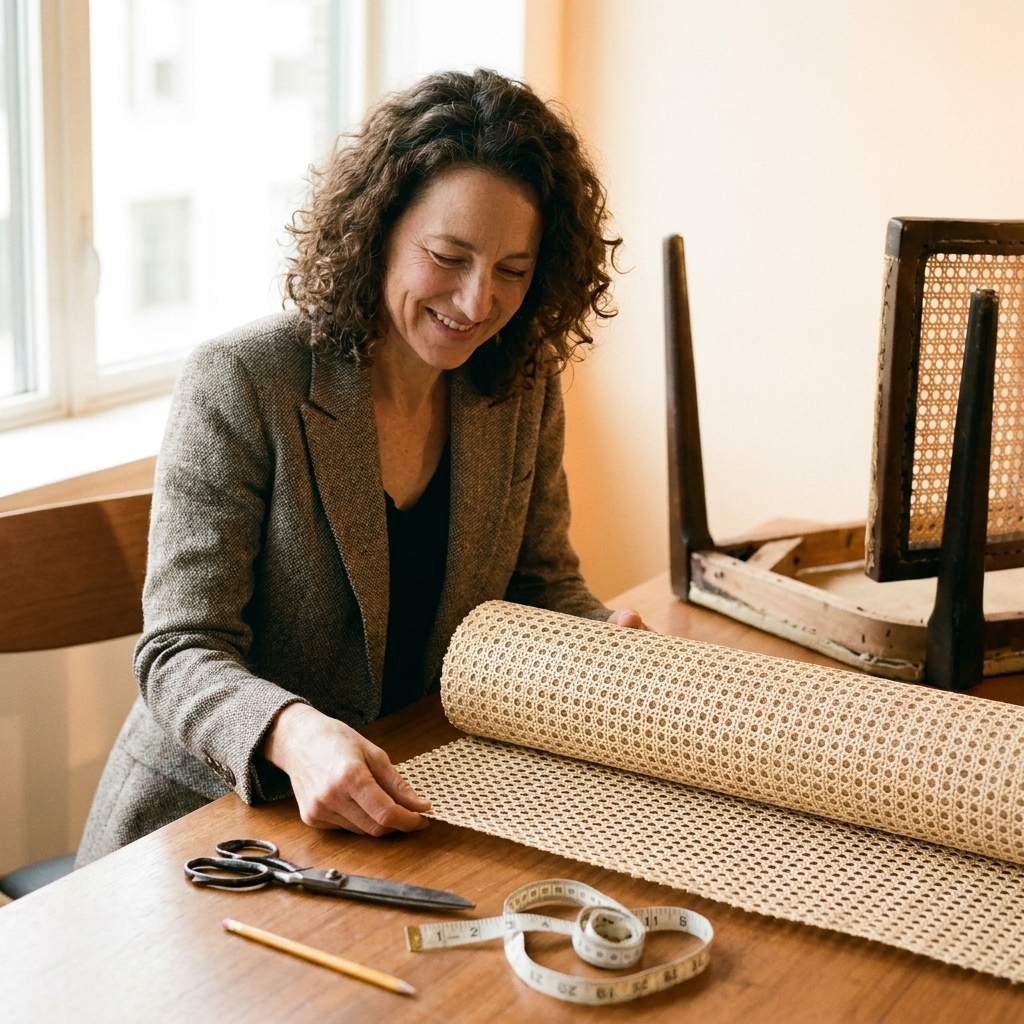
Before you cut anything
Two small moves make the finished dresser look calm and intentional instead of “DIY in a rush.”
- Plan your weave direction: Decide if you want the pattern running the same way on every drawer (my preference). Before cutting, lay the roll out and mark the direction so you do not accidentally rotate pieces.
- Order extra cane: Add a few inches on all sides for each drawer front, plus a little extra in case you need to re-cut one piece or pattern-match. Cane is cheap compared to your time.
Step-by-step: Overlay method
If you want the biggest impact with the least fuss, start here. The overlay method means the cane sits on top of the drawer front, usually framed by thin trim so it looks finished.
1) Remove drawers and hardware
Label drawers with painter’s tape on the inside so you can put them back in the same openings. Remove pulls, knobs, and any backplates.
2) Prep the drawer fronts
- Clean with a degreaser or warm soapy water and let dry fully.
- Lightly sand to scuff the surface so glue can grip.
- Fill old hardware holes if you are changing the layout, then sand smooth.
3) Soften the cane
Cut a rough piece of cane that overhangs the drawer front by about 1 to 2 inches on all sides. Soak it in warm water for 15 to 30 minutes, just until it feels pliable. Over-soaking can loosen strands on some weaves. When it is flexible, lift it out and blot it with a towel, then let it sit for a couple minutes so it is damp, not dripping.
4) Attach the cane
Center the cane on the drawer front, keeping the weave straight. (This is the moment to slow down and eyeball alignment across your other drawers.) Then choose your attachment style:
- Wood glue (my default): Spread a thin, even layer, press the cane down, and clamp between two flat boards. Use wax paper in between so you do not glue your clamps forever. Wood glue gives you a little working time and is less likely to telegraph through the weave than many fast-grab adhesives.
- Contact cement (use with care): Only reach for this if clamping is truly impossible. Test first because some contact cements can show through the open weave or get tacky in heat. Apply thin coats and commit, because repositioning is not its love language.
- Glue plus staples: Run a thin line of glue, press cane down, then staple around the perimeter on the back edge of the drawer front where it will be hidden by trim or by the drawer box.
Small reliability tip: Cane tightens as it dries, which is part of the magic. If you glue it while it is soaking wet, that shrink can stress your glue line or pull on thin trim. Damp is perfect.
5) Trim and frame it
Once dry, trim the overhang neatly with a utility knife. Then add thin wood trim around the edges like a picture frame. This is what takes it from “DIY craft” to “custom furniture.”
- Trim size that looks right: Something in the neighborhood of 1/4 to 3/4 inch wide and fairly thin usually looks crisp on drawers.
- How to attach: Wood glue plus pin nails or small brads is sturdy and tidy. When it dries, fill nail holes, sand lightly, and paint or stain to match.
6) Check clearance before you commit
Overlay cane plus trim adds thickness. Before you glue the frame permanently, do a quick dry fit and slide the drawer in and out. You want the new edge detail to clear drawer openings, drawer slides, and any face frame lip without rubbing.
7) Drill new hardware holes
After your trim is set, mark and drill for hardware. If your pull will sit over cane, use washers on the inside of the drawer to distribute pressure and prevent crushing.
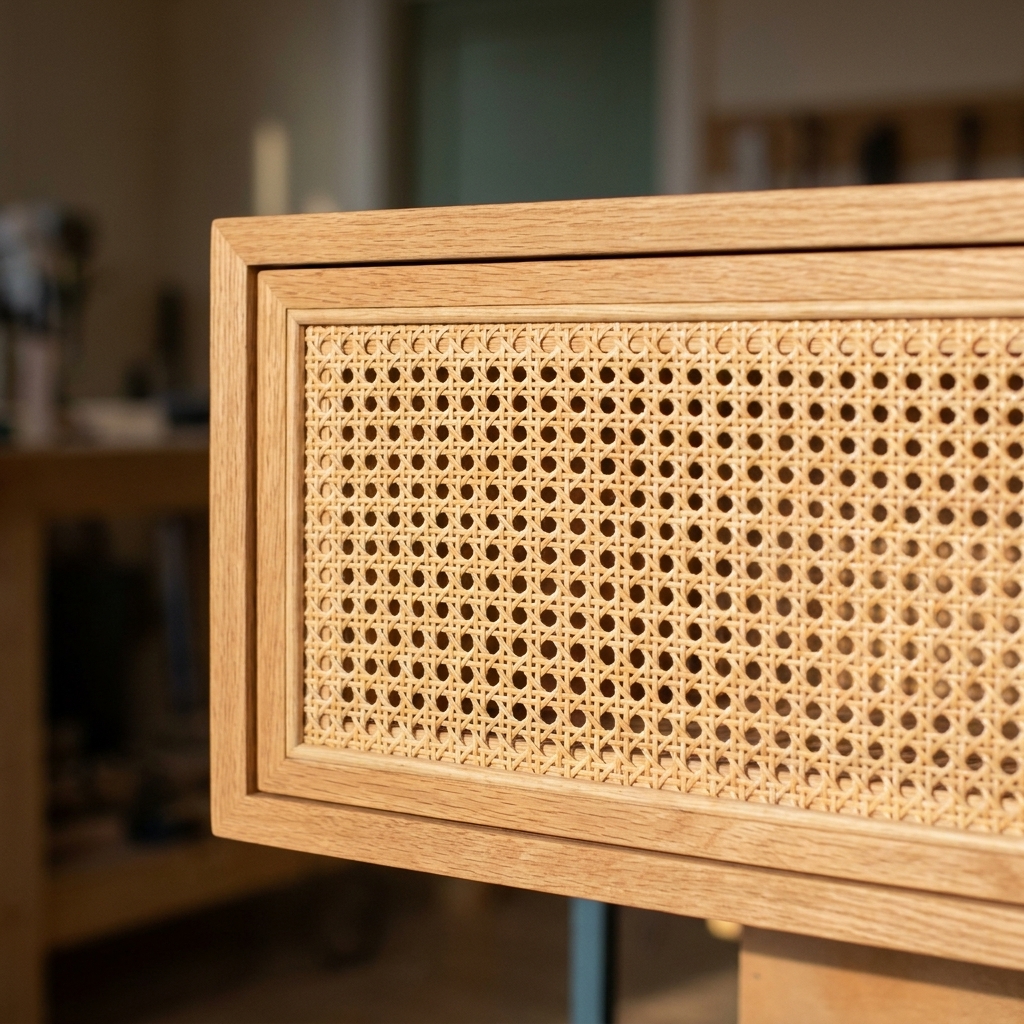
Step-by-step: Inset panels
If your dresser has cabinet doors, or you want the cane to look original to the piece, inset panels are gorgeous. This method works best when the drawer front has a recessed center panel, or when you are willing to cut a window into the front.
Safety note: If you are routing or jigsawing, clamp the workpiece and wear eye protection. Fingers are great and I like keeping them attached.
1) Mark your opening
Decide how much solid wood border you want around the cane. I like 1.5 to 2.5 inches of border for dressers, depending on scale. Mark the rectangle carefully and double-check that all drawer fronts match.
2) Cut the opening
Drill a starter hole inside the marked area, then cut along the lines. A jigsaw works, but a router gives the cleanest edge. Sand the inside edges smooth.
3) Create a ledge for the cane
You need a lip for the cane to sit against. You can do this by:
- Routing a rabbet on the inside edge (classic cabinet method).
- Adding thin wood strips around the inside perimeter to act as a stop.
4) Soften, stretch, and attach
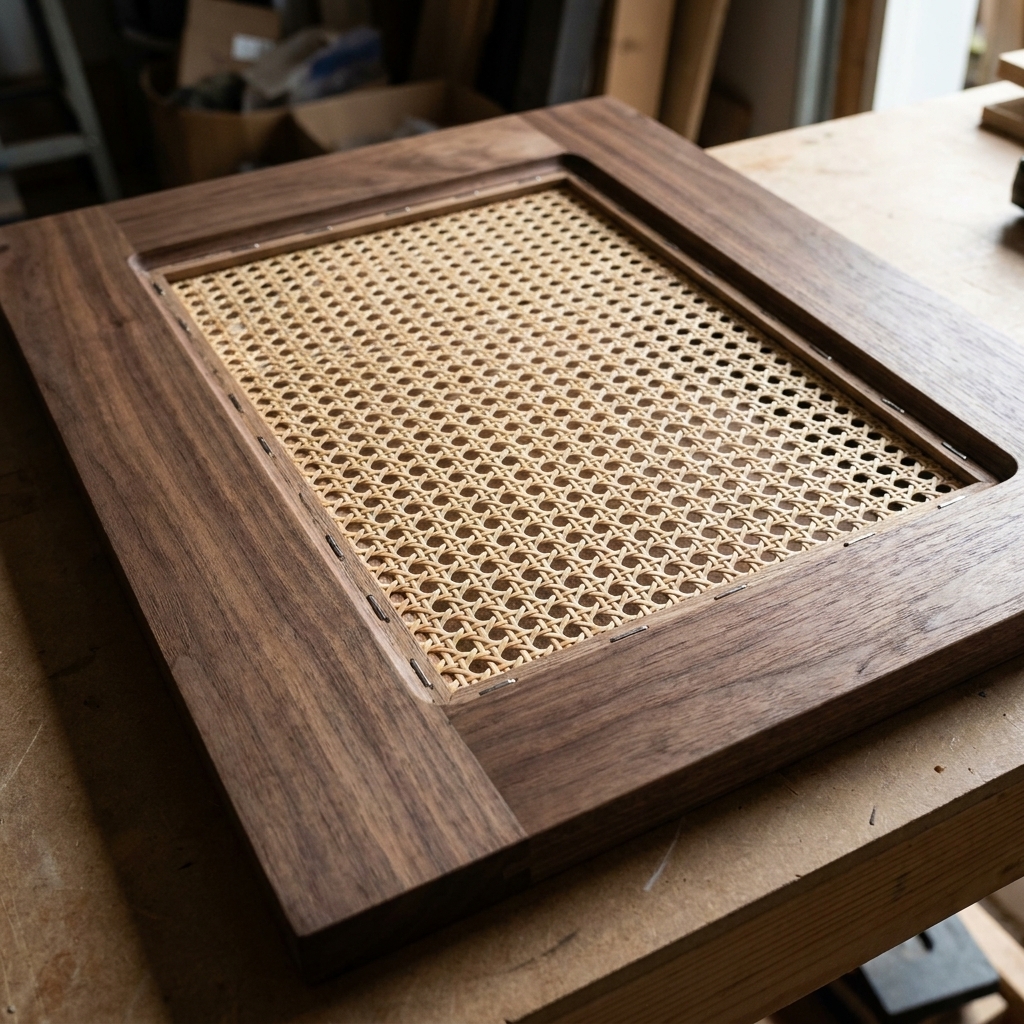
Soften the cane until pliable, blot it, and let it surface-dry for a couple minutes. Then lay it over the opening on the back side. Pull it gently so the weave stays straight. Staple or glue it to the ledge. The cane will tighten as it dries.
5) Cover the raw edge
Finish the inside edge neatly with a thin trim piece or a reed spline style strip. The goal is a clean border so no one sees staples or ragged cane ends.
Refinish the body
Cane is warm and organic, so it pairs beautifully with soft, earthy finishes. My personal favorite boho combo is painted body plus natural cane with warm brass or matte black hardware.
Best order of operations
- Paint or stain the dresser body first (especially if you are using a sprayer or a roller). It is much easier to keep paint drips off cane than to remove them later.
- Install cane and trim after the finish cures, then add hardware last.
Option A: Paint
- Sand enough to remove gloss.
- Prime if the piece is shiny, stained, or has tannin bleed.
- Apply 2 coats of paint with a foam roller for a smooth finish.
- Seal with a water-based topcoat if this is a high-traffic piece.
Option B: Stain
- Strip only if you must. Often a good sanding is enough for an updated tone.
- Use a pre-stain conditioner on blotchy woods like pine.
- Topcoat matters. A satin finish usually looks most natural in boho spaces.
If you love mixing natural materials with textiles after your makeover, you will probably enjoy Textiles & Natural Elements for styling ideas.
Hardware that looks custom
Hardware is the jewelry. It is also the fastest way to steer the final vibe.
- Warm brass: instantly vintage and cozy, great with cream, clay, olive, and inky tones.
- Matte black: more modern boho, looks amazing with natural cane and light wood.
- Wood knobs: calm, tonal, and very collected, especially with textured paint finishes.
- Backplates: can hide old holes and make a thrifted piece feel more expensive.
Style it after
This is the part where the dresser stops being a project and starts being a little anchor for the whole room.
- Layer a vintage textile runner on top. If you love global patterns, start with Authentic Mudcloth Sourcing and Styling.
- Add a plant with shape, like a trailing pothos or philodendron to soften the lines. If you want to go all in: Arrange Houseplants Like a Designer.
- Lean art instead of hanging it if you rent or just like the relaxed look.
- Mix one shiny and one matte element nearby, like a brass tray with a rough ceramic vase.

Common mistakes
- Skipping the planning: If the weave direction changes from drawer to drawer, it reads chaotic in a not-fun way.
- Over-soaking cane: You want pliable, not waterlogged. Blot it before gluing.
- Using too much glue: It can seep through and dry shiny. Thin and even wins.
- Skipping the frame: Raw edges read unfinished. Trim is what makes it look like a real furniture detail.
- Forgetting clearance: Extra thickness can make drawers rub. Dry fit early.
- Drilling hardware too soon: Let glue and finish fully cure so you do not shift your alignment.
- Choosing a dresser with structural issues: Cane is a glow-up, not a miracle cure for broken drawer boxes.
FAQ
Will cane hold up on a dresser?
Yes, especially on drawer fronts that do not get heavy impact. It is not fragile, but it can dent if you regularly bang hard objects into it. If you have kids who treat drawers like drums, consider inset cane behind a thicker frame for extra protection.
Does cane need to be sealed?
In most cases, no. I usually leave it natural so it keeps that matte, organic texture. If this dresser lives in a high-humidity room or is going to get wiped down often, a very light coat of a water-based clear finish can add a little protection. Test on a scrap first. Oil-based finishes can amber cane, and heavy sealers can make it look plasticky.
Can I paint cane webbing?
You can, but you will lose some of the natural charm that makes cane so pretty. If you love a tonal look, I would paint the dresser and keep the cane natural. If you do paint cane, use light coats and keep the weave from clogging.
What if my drawer fronts are curved or carved?
Curves are tricky because cane wants to sit flat. For carved fronts, you can sometimes cut a flat inset area, or use cane only on cabinet doors. Another option is to save cane for a different piece and still give your dresser a boho revival with textiles and styling. I love the approach in Budget Sofa Revival: Draping Throws Over Worn Upholstery, and the same layered mindset applies to case goods too.
My favorite part
The best moment is the last drawer going in, when the cane catches the light and the whole piece suddenly looks like it came from a boutique vintage shop instead of the back corner of the thrift store. It is one of those upgrades that reads high-end, but it is really just texture, patience, and a little bit of nerve.
If you try it, take your time on the framing and weave alignment. Those two details are what make the finished dresser look custom, collected, and very you.