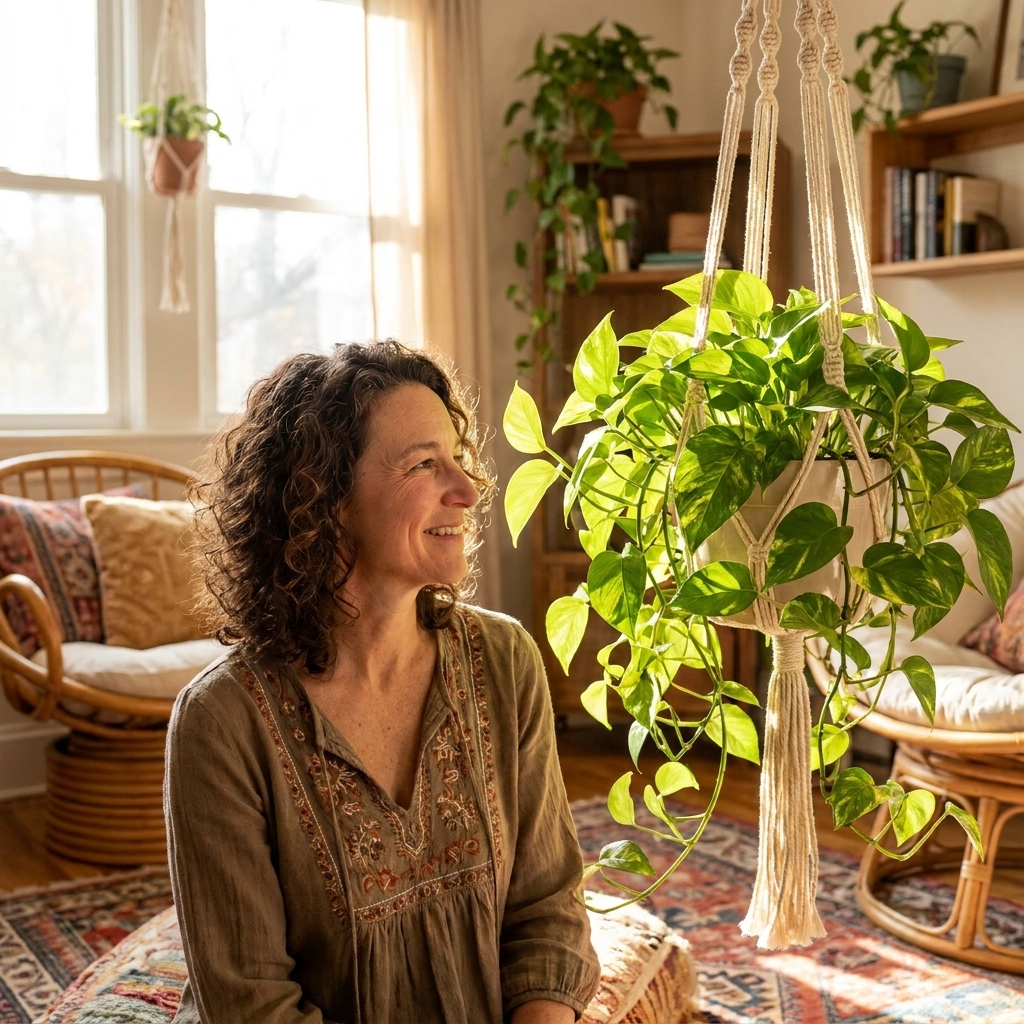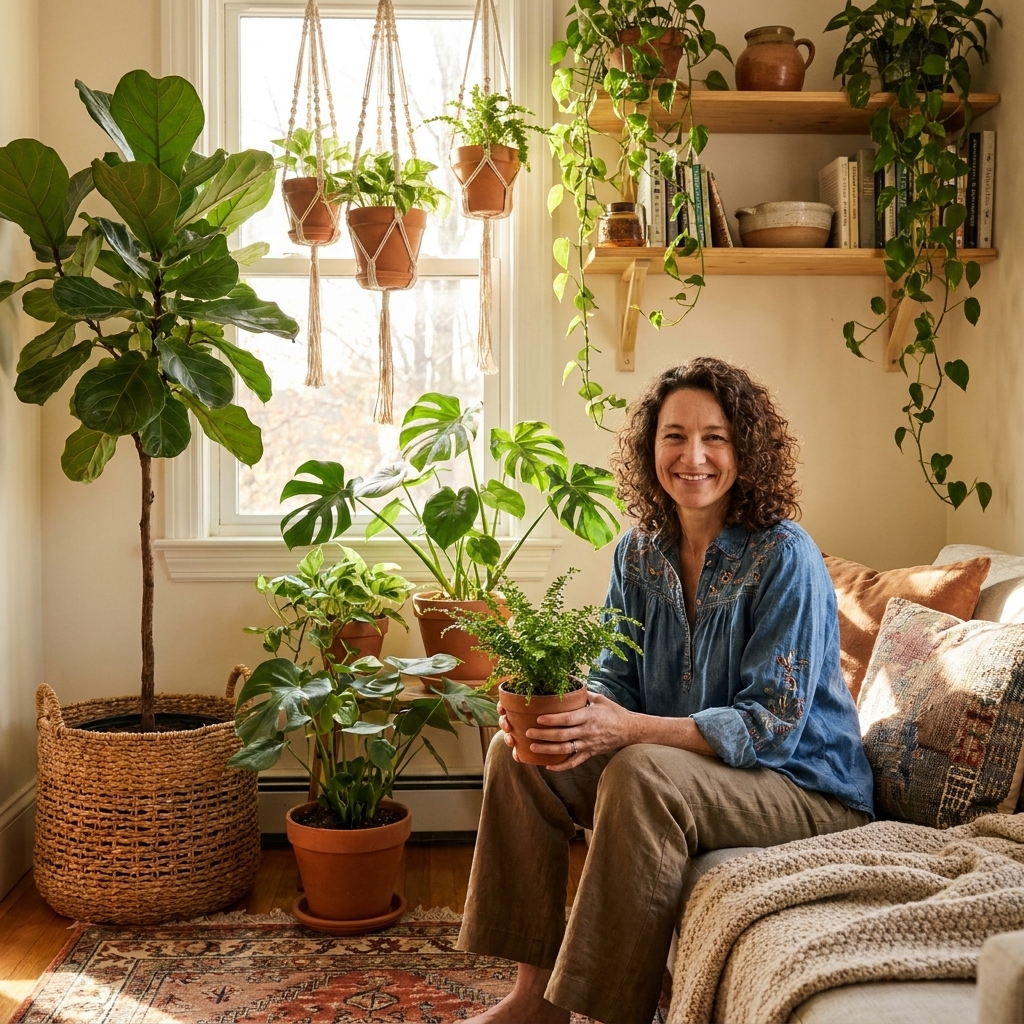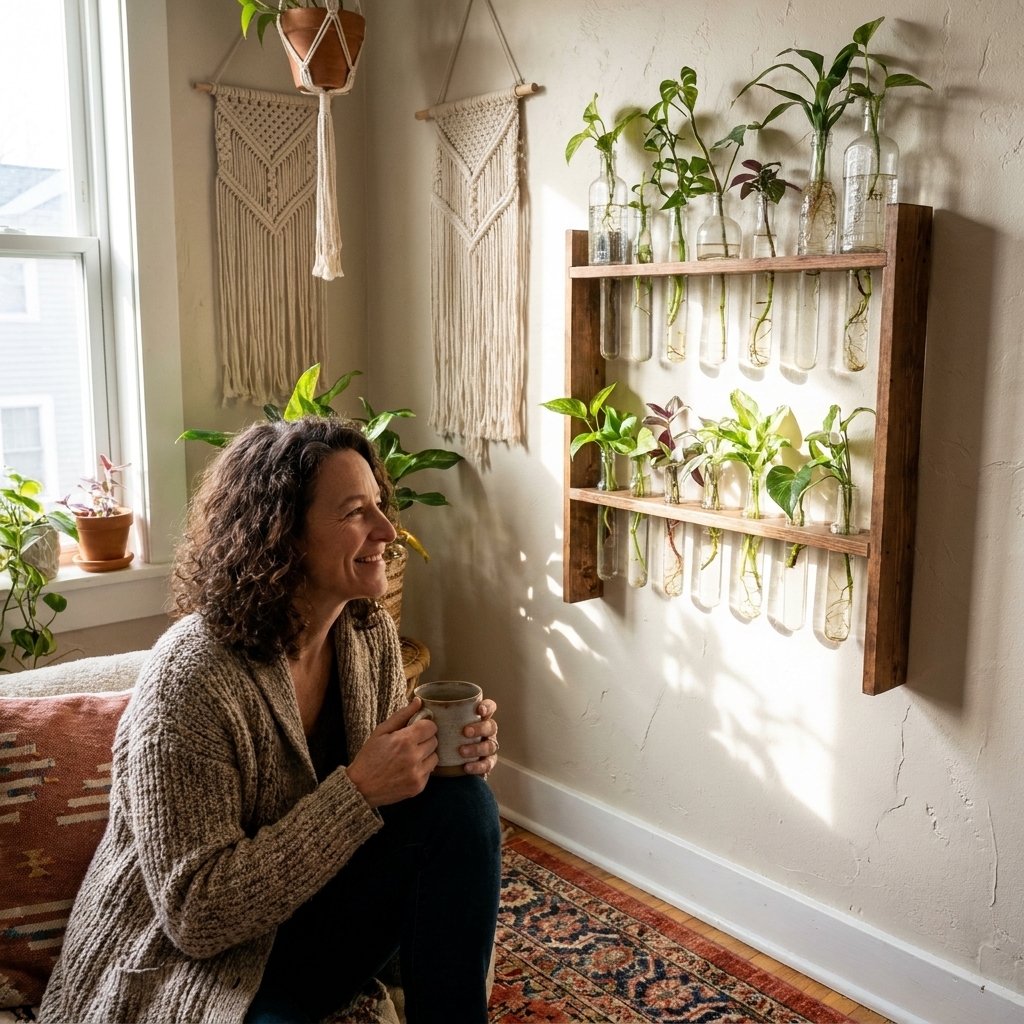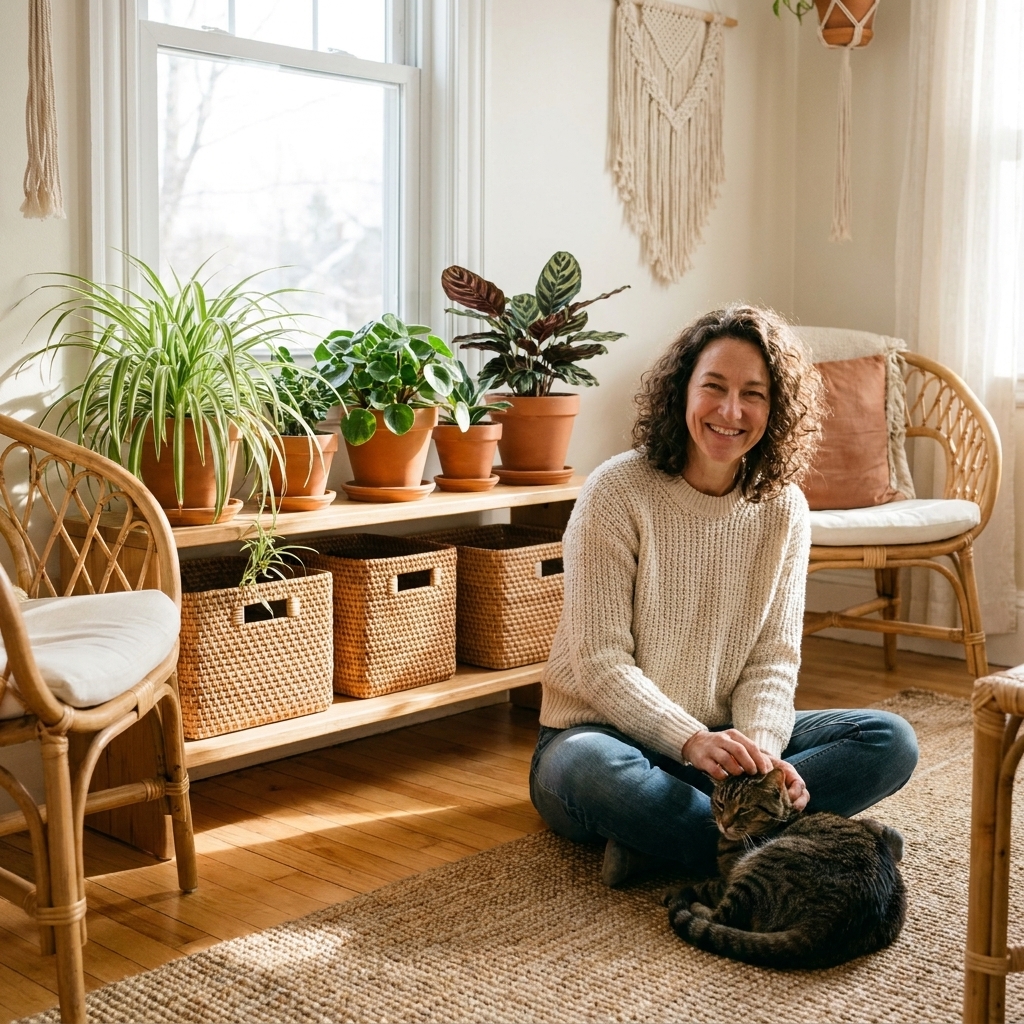

The fastest way I know to make a rental or builder-basic room feel soulful is to add something living that moves. Not a stiff “plant corner” that stays put, but vines that wander, climb, and softly frame your space the way textiles do. Pothos and vining philodendrons are my go-to for this because they are forgiving, easy to propagate, and they actually want to reach.
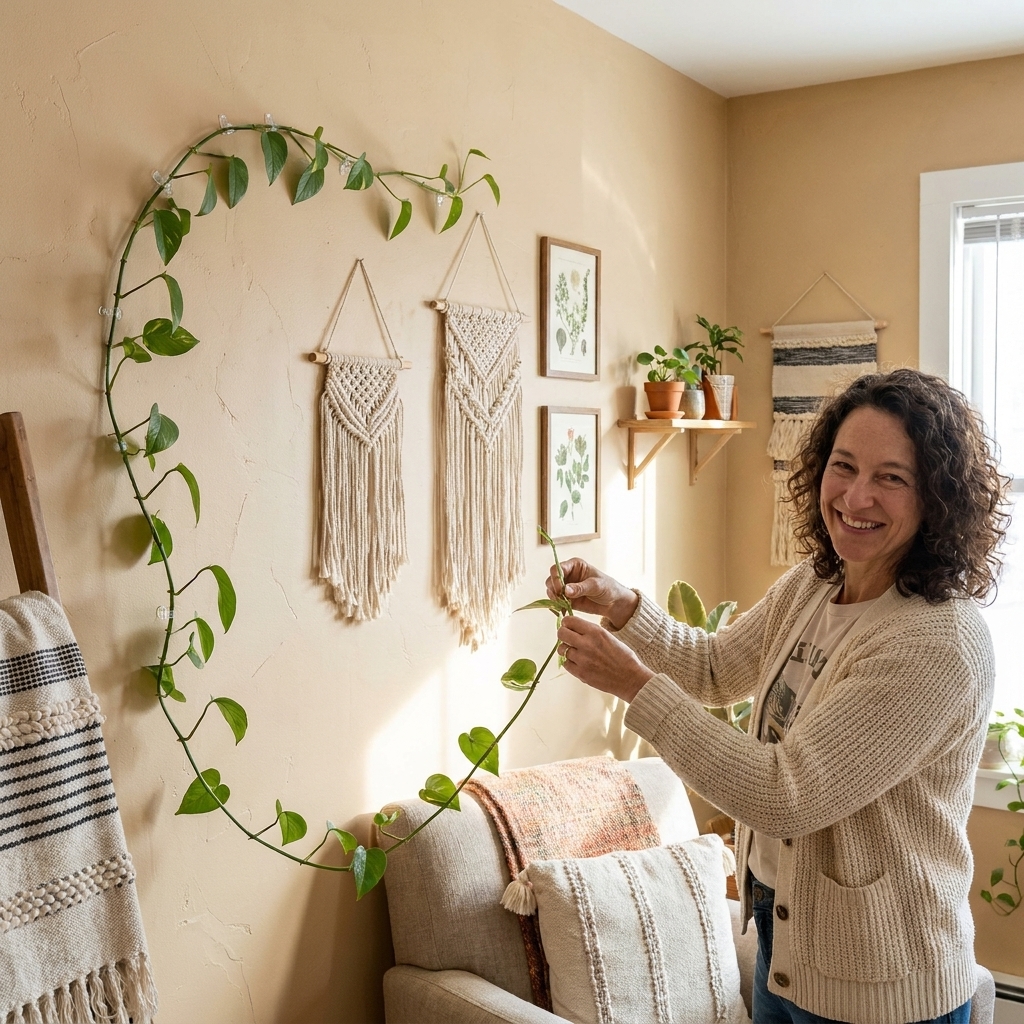
This is my step-by-step method for turning a couple of happy vines into a living green wall using clear wall clips for subtle support and bamboo trellises for that warm, boho structure. We will keep it plant-safe, as paint-friendly as possible, and easy to adjust as your vine decides it has opinions.
Start with the right vines
You can train almost any trailing aroid, but these are the ones that behave beautifully on walls and ceilings.
Pothos (Epipremnum)
- Why it works: Fast growth, hardy leaves, tolerates a range of light.
- Look: A little more graphic and crisp, especially variegated types.
- Good to know: Leaves can get larger when the plant is allowed to climb and mature, especially with good light.
Vining philodendrons
- Why it works: Flexible stems, lush heart-shaped leaves, easy to reroute.
- Look: Softer, more romantic drape than pothos.
- Good to know: Many common vining philos grow fastest in bright, indirect light, though exact needs vary by cultivar.
If you are still building your indoor jungle and want more plant picks that naturally trail, I keep a running list here: Top 10 trailing houseplants for macrame hangers and high shelves.
Clips vs trellises
I like using both because they solve different problems.
Clear wall clips
- Best for: Drawing lines across drywall, around windows, over door frames, and along ceilings.
- Best look: “Floating vine” that feels effortless.
- Big benefit: Easy to reposition as you edit your path.
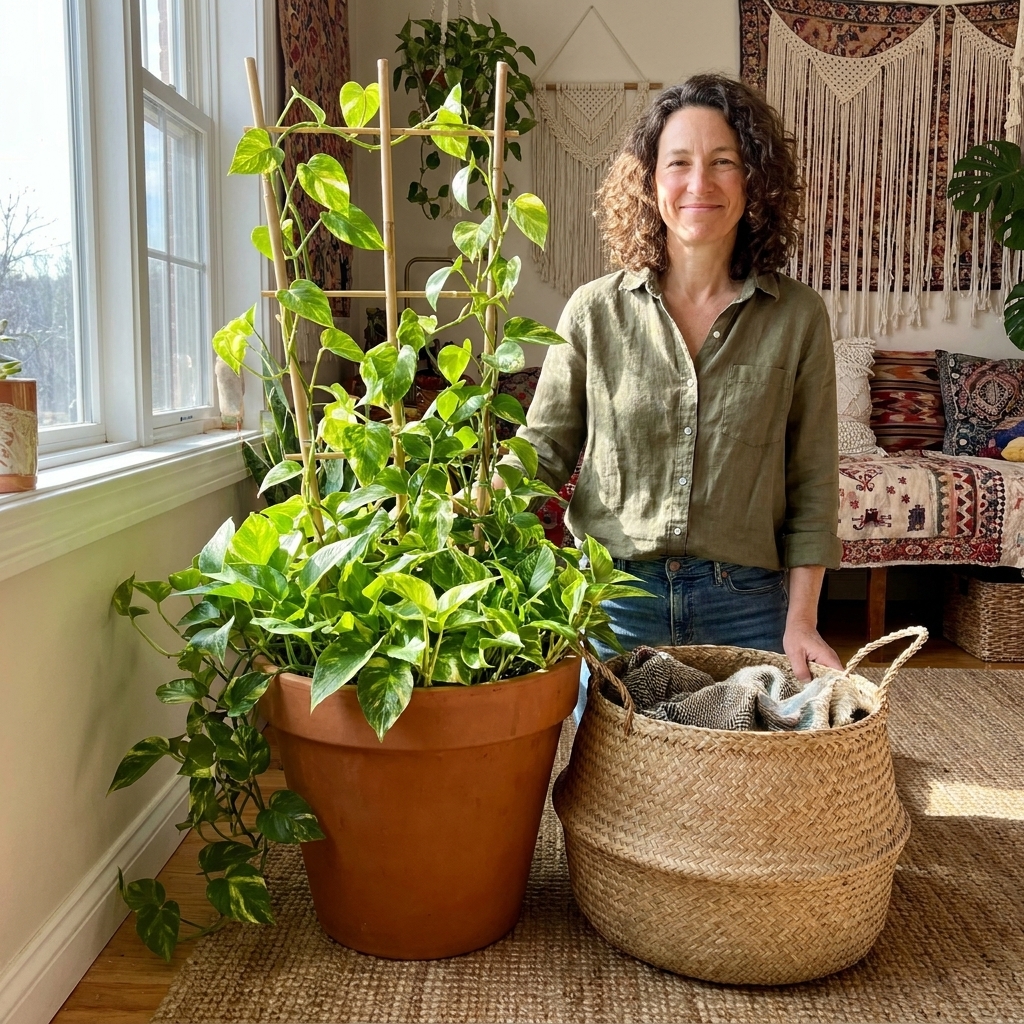
Decorative bamboo trellises
- Best for: Creating a focal point, giving aerial roots something to grab, and training a plant upward so it can look fuller and more mature.
- Best look: Warm, global texture that reads boho without trying too hard.
- Big benefit: Less reliance on adhesives because the plant is supported structurally.
If you love the warm texture of bamboo and woven pieces, you might also enjoy my thoughts on choosing natural materials: Rattan, wicker, or bamboo?
Before you start
This tiny prep step saves paint and saves vines.
1) Plan a vine path for your light
Vines will stretch toward the brightest area. If you train them into a darker corner, they can get leggy and sparse. I plan a path that starts near the plant’s pot and heads toward the nearest bright window wall.
What “bright, indirect light” means: Close enough to a window that you could comfortably read there in daytime, but with no harsh sunbeams scorching the leaves for hours. Lower light still works, it just fills in slower and stays smaller.
2) Clean the surface
Wall clip adhesives hate dust. Wipe the wall with a dry microfiber cloth. If it is greasy (kitchen walls, I am looking at you), do a gentle wipe with a slightly damp cloth, then let it fully dry.
3) Check your wall type
Adhesive clips tend to struggle on textured walls, brick, dusty plaster, and very matte or chalky paint. If your wall finish is unpredictable, lean harder on a trellis in the pot and use fewer clips, spaced farther apart, just to guide the line.
4) Pick your look
- Floating line: A simple arc across a wall, great above a headboard, sofa, or gallery wall.
- Living frame: Vines outlining a mirror, window, or doorway.
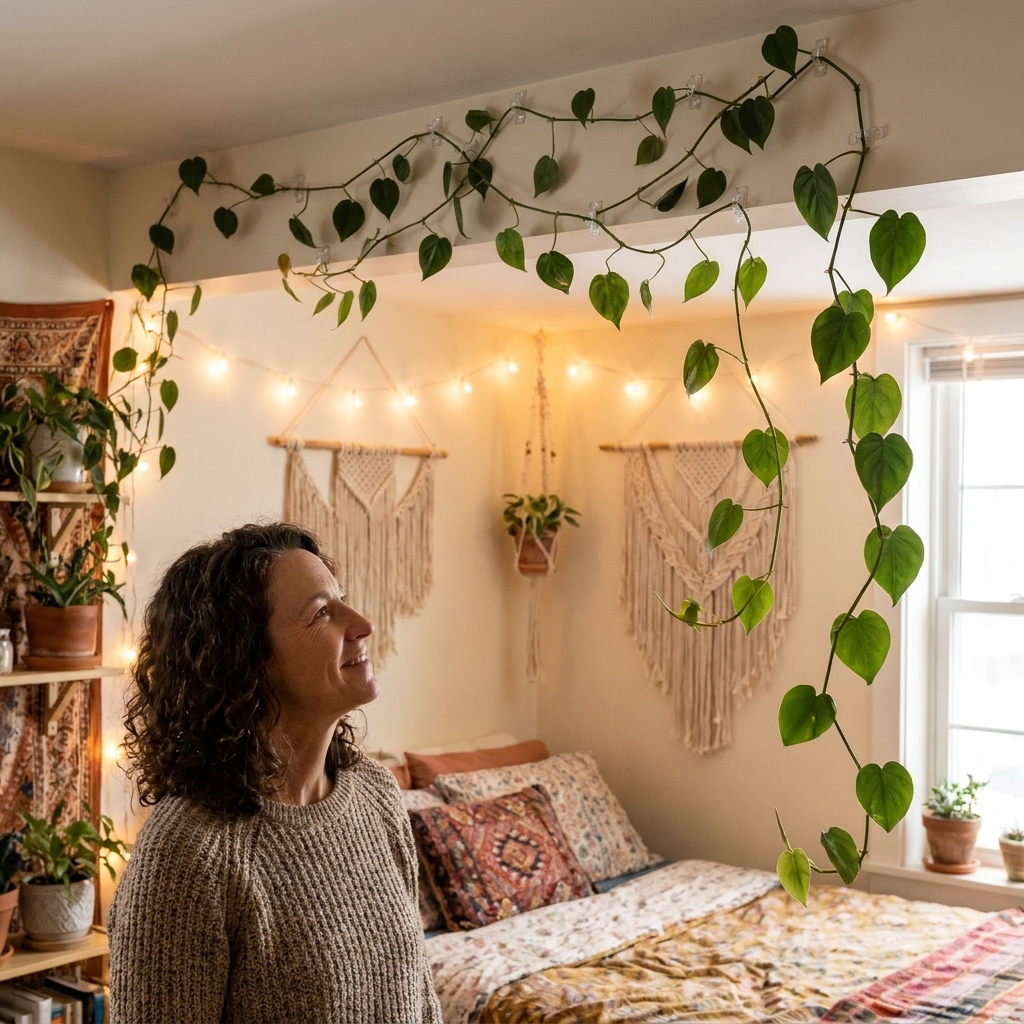
- Green canopy: Vines guided onto the ceiling perimeter for a soft, tented feel.
If you are into that canopy vibe, my ceiling fabric guide is a fun companion for styling the rest of the room around the greenery: Ceiling Draping 101.
Tools and materials
You do not need much, but the right little things make the whole project feel clean and intentional.
- Clear wall clips with adhesive backs (choose a size that will not pinch your vine)
- Bamboo trellis (fan shape, ladder shape, or arch)
- Soft plant ties (garden velcro, jute, or coated wire)
- Small scissors or snips
- A step stool
- Optional: a few push pins for guiding ties on the trellis only (not for supporting the whole plant)
A note on plant-safe support
Avoid anything that tightens like a zip tie directly on a stem. Vines thicken as they mature, and tight ties can slowly girdle them. Think “gentle hug,” not “handcuffs.”
Wall clips step by step
This is the method I use when I want vines to look like they naturally chose the architecture.
Step 1: Start with the healthiest, longest vines
Pick 1 to 3 vines that are already reaching. If your plant is very full, do not try to train every strand at once. You want airflow and an easy-to-read line.
Step 2: Hold the vine up and map the route
I literally hold the vine up and stand back. I aim for:
- Gentle curves instead of sharp angles
- Spacing that lets leaves sit flat without overlapping too much
- A path that can expand as the vine grows
Step 3: Place the first clip close to the pot
This anchor clip takes the strain off the vine base. Position it so the vine leaves the pot in a relaxed curve, not a hard bend.
Step 4: Add clips every 6 to 12 inches
Use more clips on curves and fewer on straight runs. If your leaves are larger, give them more room so the foliage is not crushed against the wall.
Step 5: Clip loosely around the stem
Clip the vine by the stem, not the leaf, and do not clamp it tight. The goal is to guide the line, not squeeze it. Each leaf should be able to pivot toward the light.
Step 6: Build in growth slack
Leave a small amount of wiggle room so the vine can expand. If you clip it taut like a string, it can kink as it grows.
Step 7: Let new growth tell you what to do next
Every week or two, guide the newest section into the next clip. I prefer slow training over forcing a long vine into a full wall design in one afternoon.
Trellis step by step
When you want a more sculptural look, a trellis is your best friend.
Step 1: Stabilize the trellis in the pot
Push the trellis down into the soil near the back of the pot, angled slightly so it leans away from the plant’s base. If the pot is very light, consider a heavier cachepot so the whole setup does not tip as the plant climbs.
Step 2: Choose a main stem to climb
Pick the strongest vine as your “leader.” You can add a second vine later for fullness.
Step 3: Tie loosely at nodes
Attach the vine to the trellis with soft ties around the stem near a node (where leaves and aerial roots emerge). Keep it loose enough to slide a finger under the tie.
Step 4: Spiral upward, do not stack leaves
I like a gentle spiral because it spaces the leaves. If you tie the vine straight up the front, the leaves can pile on each other and look flat.
Step 5: Encourage aerial roots (optional)
Pothos and philodendrons often put out little aerial roots. On a trellis, those roots can anchor and the plant can look more mature over time. You do not need to mist obsessively, but consistent watering and decent humidity helps.
Style it with boho decor
A green wall looks best when it feels like it belongs to the room, not like a science project. These are my favorite styling pairings.
Use textiles as your background layer
Vines love a warm backdrop. Try training them near:
- A block print pillow situation on the bed
- A vintage rug hung as a soft wall tapestry
- A woven headboard or rattan shelf line
If pattern mixing makes you nervous, this is my gentle pep talk: How to mix bold patterns without clashing.
Let vines frame, not fight
If you have a gallery wall, train vines to outline it rather than weaving through every frame. The art stays readable, and the plant still gets its moment. If you want help building a layered gallery wall, I wrote a full guide here: Eclectic gallery wall with mixed frames and art.
Match your planter textures
I love a terracotta pot inside a woven basket, or a glazed ceramic pot with a bamboo trellis. If you are mixing planters, this will help you keep it intentional: Mixing terracotta, glazed ceramic, and woven planters.
Care tips for a lush wall
Rotate the pot, not the wall vines
Trained vines tend to face the light. Instead of trying to twist stems in clips, rotate the pot a quarter-turn every week or two. Then adjust clips only if you need to.
Prune to thicken
Long vines can get bare near the pot over time. The fix is pruning and replanting cuttings:
- Snip just below a node.
- Root in water until you have a few inches of roots.
- Plant the cutting back into the same pot to fill it out.
If you want to go full plant-lab chic, my propagation setup is here: Building an eclectic propagation station.
Feed lightly in the growing season
A diluted, balanced houseplant fertilizer in spring and summer can keep growth steady. More is not better. Over-fertilizing can burn roots, cause salt buildup in soil, and push soft growth that is more attractive to pests.
Watch the too dry, too high combo
Ceiling training is gorgeous, but heat rises. If vines near the ceiling start crisping at the edges, check two things: overall watering routine and whether the vine path is close to a vent.
Rental and paint precautions
I have trained vines in rentals, and the secret is treating your walls like they are wearing delicate linen. Gentle, reversible steps first. Adhesive clips are often paint-friendly, but they are not universally safe across all brands and finishes.
- Test one clip first: Put a single clip in an inconspicuous spot and leave it for a week. Remove slowly to see how your paint behaves.
- Remove with patience: When you take clips down, peel slowly and parallel to the wall. If the clip has a pull-tab style adhesive, use it.
- Avoid fresh paint: New paint can cure for weeks. Adhesives on fresh paint are a heartbreak waiting to happen.
- Use trellises where possible: When the plant is supported in the pot, you need fewer wall attachments overall.
Common problems
The vine keeps popping out
- Use clips sized for the thickness of your stem.
- Add an extra clip on either side of a curve.
- Do not try to force a stiff, older section into a tight bend. Train the flexible new growth instead.
Leaves are facing the wall
- Give the vine a little slack and let leaves pivot toward light.
- Rotate the pot gradually over time.
It looks sparse near the pot
- Take cuttings from the long ends and replant them back into the base.
- Consider training only 1 or 2 vines until the plant is fuller.
Sticky residue on the wall
Try warm water on a soft cloth first. If you need more, a tiny amount of gentle dish soap can help. Always spot-test, especially on matte paint.
A layout that always works
If you want a foolproof starting design, do this:
- Place the pot on a plant stand a foot or two from a bright window.
- Train one vine up and over the window casing with clear clips, leaving the window unobstructed.
- Train a second vine in a wide arc above a nearby mirror or piece of art.
- Add a small bamboo trellis in the pot for a third vine to climb upward for fullness.
You get movement, framing, and height all in one corner, and it still feels airy.
Quick FAQ
Will pothos or philodendron damage my wall?
If you are using clips or a trellis, the plant is not attaching to the wall. That is the safest route. Aerial roots can stick to some surfaces if pressed and left for a long time, so I prefer clipping the stem with a tiny bit of space rather than pushing nodes flat to the wall.
Can I train vines on the ceiling?
Yes, as long as you can reach them safely for watering checks and clip adjustments. Use a stable step stool on a flat surface, and avoid training directly above a bed or favorite chair if you are worried about the occasional bumped pot, dropped leaf, or soil crumb.
How long does it take to fill in?
It depends on light and how established your plant is. In bright, indirect light, you can see noticeable progress in a couple of months. In lower light, expect slower growth and more space between leaves. The biggest visual leap usually happens after you start pruning and replanting cuttings to thicken the pot.
Are these plants safe for pets?
Pothos and many philodendrons are toxic if chewed. If you share your home with curious cats or dogs, check my pet-safe suggestions before committing to a low-hanging vine path: Pet-friendly boho plants for cats and dogs.
One last styling note
Do not aim for perfect symmetry. The magic of a living green wall is that it looks collected, like it grew into your home the same way your favorite thrifted pieces did. Give your vines a path, then let them freestyle a little. That is where the cozy happens.
If you want to make the rest of your plants look equally intentional, my best layout tricks are here: Arrange houseplants like a designer.