
I have a soft spot for thrift store wall art. Not the rare vintage oil painting kind (though I always peek). I mean the mass-produced prints in flimsy frames that seem to multiply near the fluorescent lights. They are usually the cheapest thing in the whole store, and that is exactly why I love them.
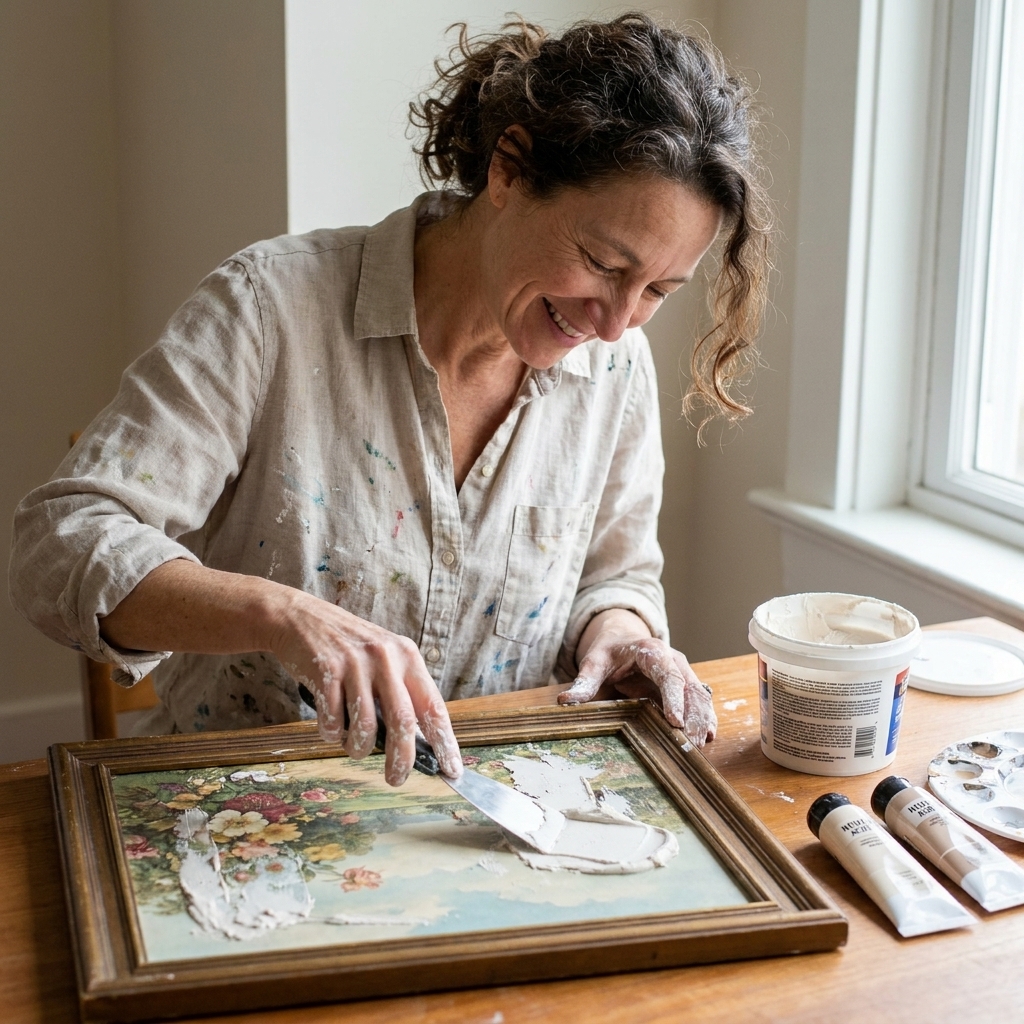
With a little joint compound and a few earthy acrylics, those forgettable prints can become modern, plaster-like pieces that feel sculptural and intentionally imperfect. This is one of my favorite rental friendly style upgrades because you get big visual impact without needing expensive original art.
Why thrifted prints work
Plaster-style texture art is all about scale, shadow, and soft movement. Thrift store art gives you three things for almost nothing:
- A ready-made surface (canvas board, stretched canvas, or even a flat print you can cover).
- A frame option you can reuse, paint, or ditch.
- Permission to experiment because you are not afraid of “ruining” a $4 landscape.
My personal rule: if it is large enough to anchor a wall and cheap enough that I will not overthink it, it is a yes.
What to look for
Best bases
- Wood panels: The most stable option if you find one, and the least likely to warp.
- Stretched canvas: The easiest base to work on, but it can warp if you go too wet or too thick. Build in thinner layers.
- Canvas board: Great for smaller pieces or gallery walls.
Okay in a pinch
- Framed paper prints: Higher risk. Moisture can wrinkle paper, lift ink, or cause bubbling. If you try this, remove the glass and backing, test a small corner, and consider priming first. If it feels flimsy, pass.
Frame tips
Do not get distracted by ugly frames. A chunky frame can be painted later, and a thin frame can be swapped for a thrifted upgrade. If you want help mixing frames without things looking chaotic, my approach is here: Eclectic gallery wall with mixed frames and art.
Supplies
- Thrifted canvas or framed canvas print
- All-purpose joint compound (lightweight is easiest to spread)
- Putty knife or plastic drywall knife (2 to 6 inches is versatile)
- Sandpaper (220 grit) or a sanding sponge
- Acrylic paint in earthy tones (think: warm white, sand, terracotta, clay, taupe, muted brown)
- Optional: acrylic craft paint in black or deep umber for tiny contrast details
- Paintbrushes (one wide brush plus a smaller one)
- Drop cloth or kraft paper
- Painter’s tape and optional plastic wrap (for protecting frames)
- Optional: primer or gesso, matte sealer, upgraded hanging hardware
- Mask or respirator for sanding dust
- Optional but smart: eye protection for sanding
If you are trying to keep this extra thrifty, joint compound plus two paint colors (a warm white and a clay tone) can carry the whole look.
Quick prep
This part takes about 10 minutes, not counting dry time.
1) Clean and de-gloss
Wipe the surface down with a damp cloth. If the canvas has a shiny printed coating, lightly scuff it with 220 grit sandpaper so the compound grabs.
2) If it is framed, strip it first
If you are working with a framed piece, take it apart before you start. Remove the glass, backing, mats, and any paper layers. (Joint compound and glass are not friends.)
Then decide:
- Texture the canvas while it is in the frame for a clean “floating” look, but tape and wrap the frame edges first.
- Remove the canvas if the frame is warped or you want to paint it separately.
3) Protect what you do not want textured
Joint compound has a way of traveling. Tape off the frame lip, cover your work surface, and keep a damp rag nearby for quick cleanup.
If your piece has an exposed back (common with framed canvas), tape a sheet of kraft paper or scrap cardboard over the back before you start. It keeps drips off the frame corners and saves you from picking dried compound out of hanging hardware later.
Make the texture
Step 1: Skim coat
Use your putty knife to apply a thin layer of joint compound across the surface. You are not trying to create the design yet. Think of this as erasing the old print and giving yourself a fresh plaster canvas.
- Thickness: about 1 to 2 mm is plenty for the base.
- Tip: Pull the knife in long, confident strokes. Too many tiny swipes can look fussy.
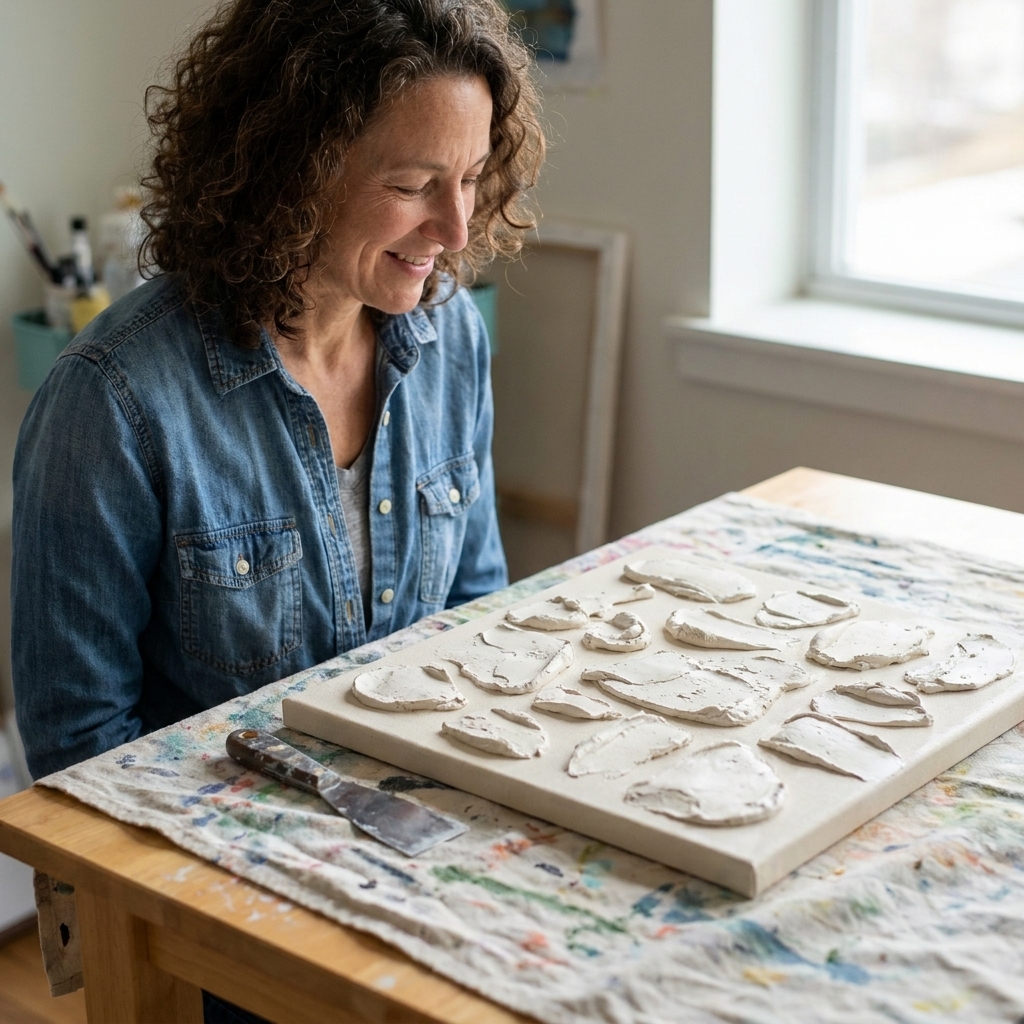
Step 2: Build raised shapes
Now add dimension. Some easy shapes that always look good:
- Soft arches (like a sun-faded doorway shape)
- Organic blobs (think river stone silhouettes)
- Layered horizon lines (modern desert landscape vibe)
- Half circles (sunrise or abstract moon forms)
Scoop a little more compound and lay it down where you want height. Then use the knife edge to smooth and taper the edges so it looks sculpted instead of clumpy.
Step 3: Leave a few tool marks
This is where the piece gets interesting. Drag the knife lightly to leave ridges. Make a few areas smoother so the texture feels designed, not accidental. I like to keep the most texture near the focal shape, and let the outer edges stay calmer.
Step 4: Let it dry fully
Dry time depends on thickness, humidity, and room temperature. A thin skim coat can dry overnight, but raised areas can take 24 to 48 hours.
A helpful clue: if it feels cool to the touch, it is often still drying. When in doubt, wait. Painting too soon can re-soften the surface and turn your smooth moment into a lumpy one.
Do: build thickness in layers if you want more height. Don’t: pile on a very thick, wet layer on stretched canvas and expect it not to complain.
Sand it smooth
Once dry, lightly sand the sharp peaks and any crumbly bits. This step is what takes it from “DIY craft” to “smooth plaster moment.”
- Use 220 grit and a light hand.
- Wear a mask or respirator. Joint compound dust is very fine.
- Wear eye protection if you have it, especially if you sand overhead or near edges.
- Sand outdoors or in a garage if you can, and avoid making dust in living areas.
- Avoid sanding near HVAC returns or intakes. The last thing you want is fine dust getting pulled into your system.
- On stretched canvas, do not over-sand the edges or corners. You can cut into the canvas weave.
- After sanding, wipe down with a slightly damp microfiber (not soaking) or a tack cloth to pick up dust.
If you accidentally sand through a raised area, just add a little more compound, let it dry, and sand again. This is a forgiving project.
Paint with depth
Before you paint, make sure the compound is fully dry all the way through. Water-thinned washes and heavy brushing can re-soften damp compound and create drag marks.
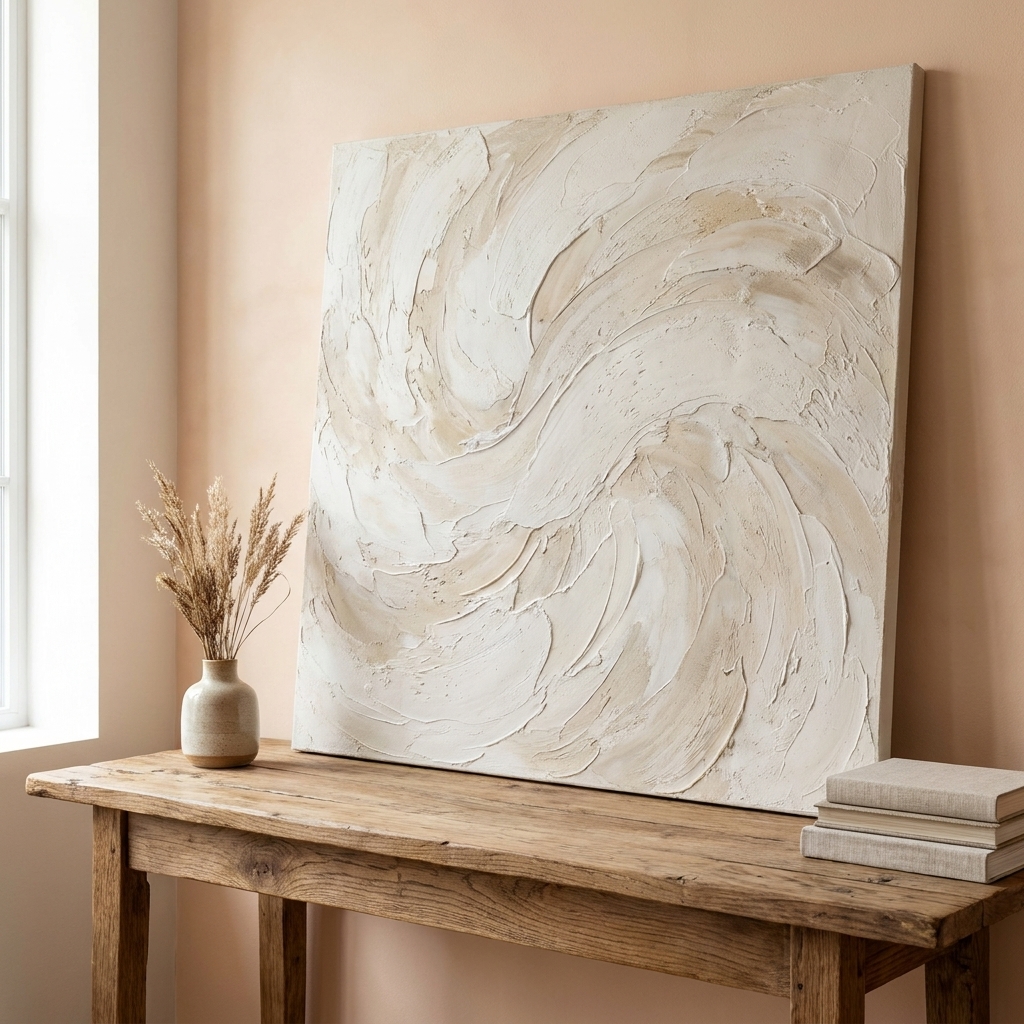
Option A: One-color wash
This is my favorite for a calm, modern look.
- Paint the entire piece a warm white or sandy beige.
- Once dry, make a thin wash using a tiny bit of clay or taupe paint mixed with water.
- Brush the wash on, then quickly wipe back with a rag so it settles into texture lines and low spots.
You get depth without harsh contrast.
Option B: Two-tone shapes
If you want a little more graphic punch:
- Paint the entire piece your base color (warm white).
- Paint the raised shape in a second earthy tone (clay, terracotta, mushroom brown).
- Dry brush a tiny bit of the base color over the shape edges to soften the transition.
Option C: Warm desert palette
This one always feels cozy with rattan, linen, and vintage textiles:
- Base: creamy ivory
- Wash: sandy tan
- Accent: terracotta dabbed lightly in one area
If you love playing with warm and cool balance, you might also enjoy: Earth tones vs jewel tones for eclectic homes.
Finish it well
Refresh the frame
A thrifted frame can make this look custom. A few easy finishes:
- Matte warm white for a clean gallery look
- Mushroom taupe for a soft, earthy feel
- Dusty clay for a subtle tone-on-tone moment
- Rubbed brass if you want a vintage edge (especially pretty with plaster-like surfaces)
If you do go the brass route, this walkthrough helps: How to spot and polish vintage brass.
Seal (recommended in real life)
Joint compound can be left unsealed for low-touch wall art in a dry room, but it can stay a little scuffable or chalky compared to true plaster. If the piece will be handled, hung in a hallway, live in a humid space, or you are using darker paint that shows burnishing, a matte acrylic sealer is worth it. Gloss will make it look plasticky.
Upgrade the hanging hardware
Textured pieces can end up heavier than they look, and thrift store hanging wire is often questionable. Swap it for new D-rings and wire, or hang from a sturdy sawtooth hanger rated for the weight.
For renters, choose damage-minimizing hooks that still match the weight of the piece, and use proper anchors when you need them. This is the part where I prefer boring and secure over brave and crunchy.
Reassemble the back
Once everything is fully dry (including any sealer), re-seat the backing and add a fresh dust cover if your frame originally had one. Even a simple sheet of kraft paper taped neatly to the back makes it look finished and keeps grit from sneaking in over time.
Style it at home
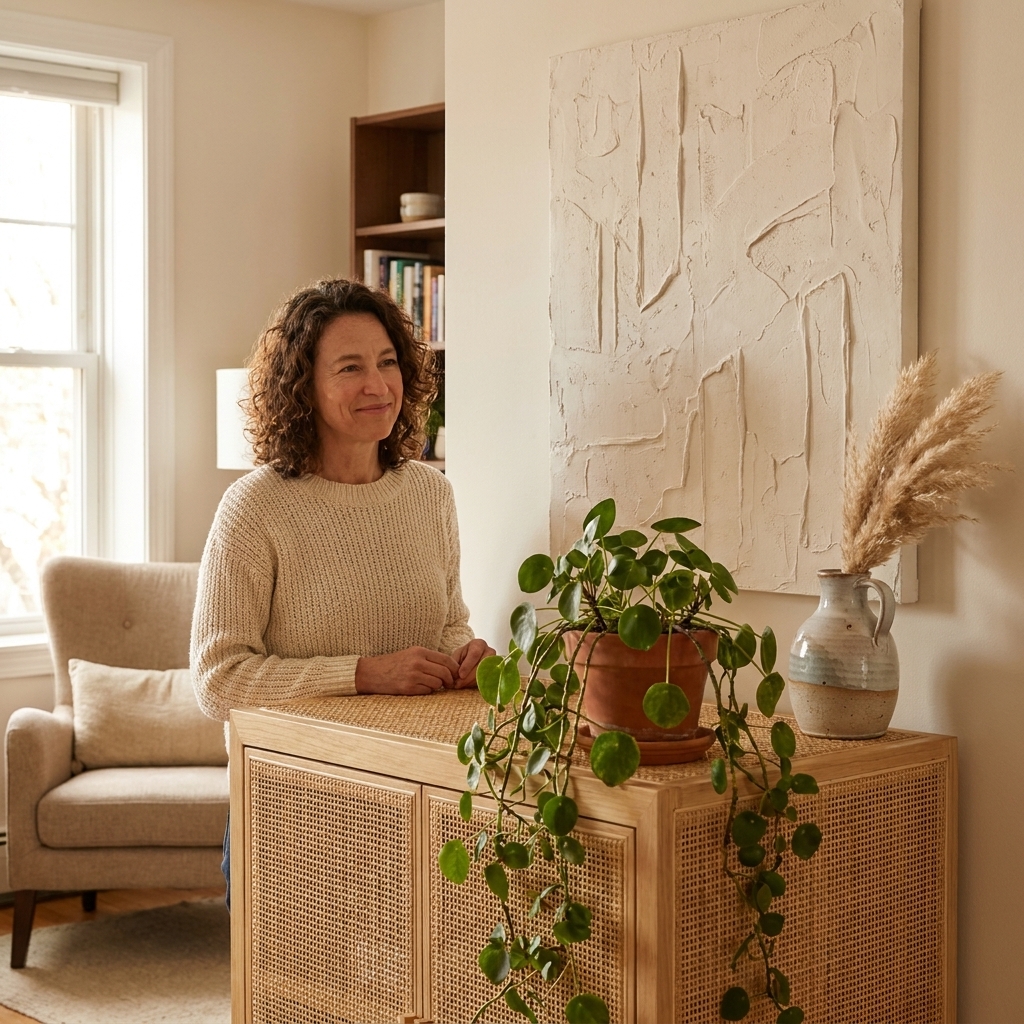
Texture art loves other tactile things around it. A few pairings that always work in my rentals:
- Leaning art on a console with a small stack of books and a thrifted vase
- Layering with a smaller vintage frame in front for depth
- Natural materials nearby like rattan, linen, raw wood, and seagrass
- Greenery beside it to bring the neutrals to life
If you want that effortless “collected shelf” look, you will like: Styling open shelves in an eclectic kitchen. And for plant placement that looks intentional, not random, start here: Arrange houseplants like a designer.
Troubleshooting
My canvas is warping
This usually happens when the compound is too wet or too thick, especially on stretched canvas. Try:
- Using thinner layers and letting each one dry
- Letting the piece dry flat, not propped upright
- Choosing a wood panel base for larger pieces
Cracks appeared
Hairline cracks can be beautiful, but big cracks usually mean the layer was too thick. Patch with a thin coat of compound, let dry, sand, and repaint.
The surface is crumbly
Some joint compounds sand to a chalky finish. After sanding, wipe down well (slightly damp microfiber helps), then paint with a solid base coat. If you still feel dust rubbing off, seal with a matte acrylic sealer.
The texture looks messy
My fix is always the same: sand the peaks, soften harsh edges, then do a tonal wash. The wash visually unifies everything and makes it feel calmer.
One last pep talk
If you have never made art before, this project is the perfect place to start because it is more about feel than precision. Keep your shapes simple, commit to a warm palette, and let the texture do the heavy lifting.
And if you end up with a piece you do not love, you did not fail. You just created the world’s cheapest practice canvas, and the thrift store will gladly supply the next one.
For more budget-friendly secondhand upgrades, I keep all my best thrifting tips gathered here: Budget Boho Thrifting.